
Easy Diy Bedroom Accent Wall
📖 Table of Contents
- What Is an Accent Wall and Why It Works
- Choosing the Right Materials for Your Accent Wall
- How to Prepare Your Wall for the Accent Project
- Applying the Texture and Paint
- Adding the Finishing Touches
- Why This Project Works for Beginners
- Tips for Customizing Your Accent Wall
- Make It Your Way
- Frequently Asked Questions
I still remember the first time I transformed my plain bedroom wall into something I could actually be proud of. It wasn't the fanciest project, but it was the first real step into DIY. That wall, now a simple but striking feature with a touch of texture, is still the most frequently complimented part of my room. And the best part? It took me less than a day and barely any money. This is the story of how I created an easy DIY bedroom accent wall. Why I think it's one of the best ways to personalize your space without the stress of a full renovation.
The idea came from a simple desire to make my bedroom feel more like me. I had always loved the idea of a feature wall but never thought I'd be the one to do it. My bedroom was a sea of beige and white, and I wanted something that stood out but didn't scream at me. I found inspiration in a rustic DIY tutorial online, but I simplified it to match my skill level and budget. The result? A wall that felt like it was made by me, not by a contractor.[1]
Now, every time I walk into my bedroom, that wall feels like a personal statement. It's not just a wall; it's a reminder of what I can do when I take the time to think through a project. And I know I'm not alone in this. People often ask me how I managed to create such a dramatic change without breaking the bank or getting overwhelmed. The answer is simple: an easy DIY bedroom accent wall. And I'm here to walk you through exactly how I did it.
Why You'll Love This Easy DIY Bedroom Accent Wall
- It's a low-cost way to transform your bedroom's look and feel.
- It's customizable, so you can match your style or decor.
- It can be completed in under a day with minimal tools.
- It's a great way to practice DIY skills without the pressure of a big project.
What Is an Accent Wall and Why It Works
As of September 2026, an accent wall is a single wall in a room that's designed to stand out from the rest of the space. It's not a full renovation; it's a way to add personality without overhauling the entire room. When I first considered an accent wall, I thought of it as a way to make my bedroom feel more like mine. It's a low-effort, high-impact change that can take a plain space and transform it into something unique.
The best part about an accent wall is that it's not limited to one style. Whether you want a bold pattern, a muted texture, or something in between, you can create a wall that reflects your personality. I chose a simple, hand-painted design with a muted color palette, but there are endless options if you're looking for something more dramatic.
For a bedroom, an accent wall can serve as a visual anchor. It can soften a room, add dimension, and even help guide the eye in a specific direction. It's a subtle but effective way to make your space feel more intentional and lived-in.
When applying any kind of material to a wall, a level is essential. I learned this the hard way when I tried to apply a texture without one, and it looked uneven. A level ensures your design is straight and even across the entire wall.
Part of our Wall bedroom guide.
Choosing the Right Materials for Your Accent Wall
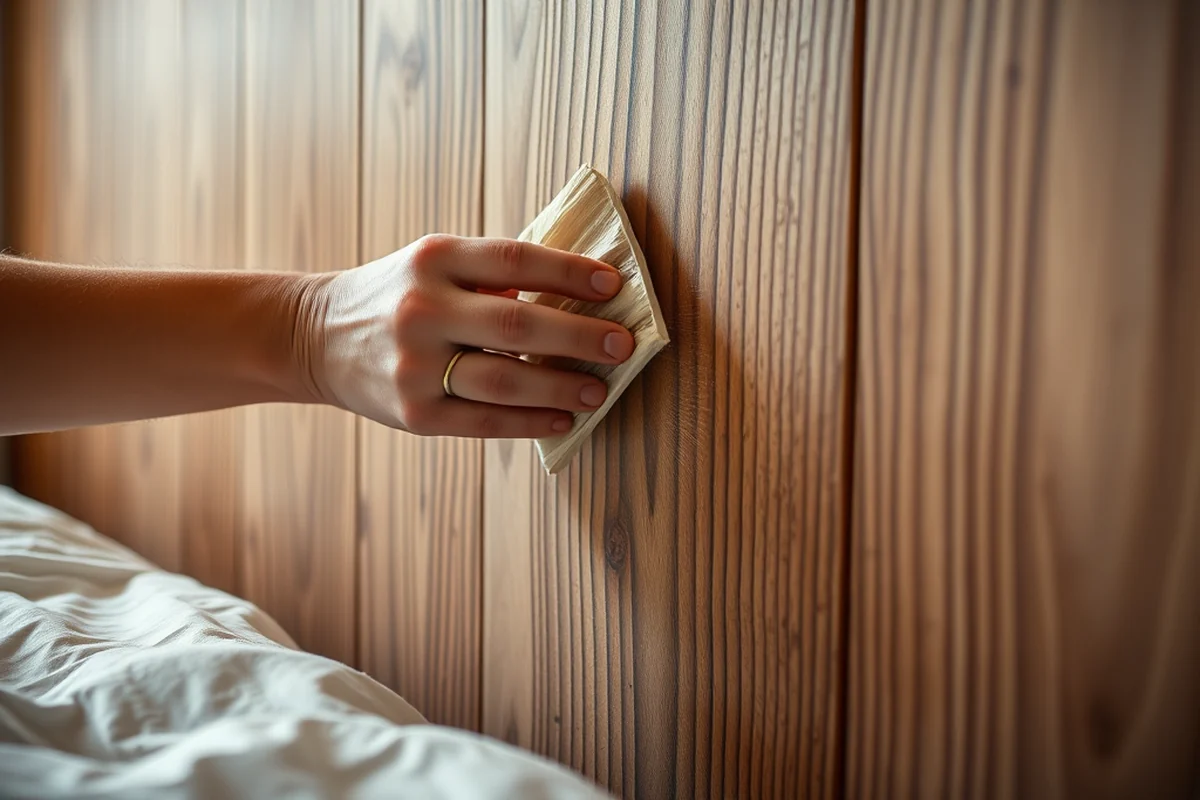
Materials are the foundation of your accent wall. I chose a combination of texture paste and paint to give my wall a subtle but distinct look. The texture paste added depth, while the paint kept things cohesive. The key is to find materials that are both affordable and easy to work with.
For my project, I used a basic texture paste, which is available at most hardware stores. It's not the cheapest option, but it's durable and can be painted over easily. I also used a small can of paint to match my room's color scheme, which kept the overall look unified.
If you're looking for a more budget-friendly option, there are alternatives like fabric, wood paneling, or even repurposed materials. The important thing is to choose something that fits your style and is easy to apply.
The right materials make all the difference in the final look of your accent wall.
Related: Diy accent wall ideas living room
Related: Diy brick accent wall
Related: Diy accent wall ideas on a budget
Related: Master bedroom accent wall ideas
Related: Diy flower accent wall
How to Prepare Your Wall for the Accent Project
Before you start applying any materials, it's essential to prepare your wall. I learned this the hard way when I skipped the prep and ended up with a messy, uneven finish. Proper preparation involves cleaning, sanding, and priming the wall to create a smooth, even surface.
I used a damp cloth to clean the wall and remove any dust or dirt. Then, I lightly sanded the surface to create a better bond for the materials I was using. Finally, I applied a coat of primer, which helped the texture paste and paint adhere better.
Skipping this step could lead to peeling or an uneven finish. Taking the time to prep your wall is an investment in the longevity of your project.
I used a water-based primer before applying my texture paste, and it made a huge difference. The primer helped the paste stick better and prevented peeling later on. If you're using a different material, check if a primer is necessary for your chosen option.
“I still remember the first time I transformed my plain bedroom wall into something I could actually be proud of.”— DIY Furniture with Concrete Accents editors
Applying the Texture and Paint
Now that the wall is clean, sanded, and primed, it's time to apply the texture. I used a small trowel to spread the texture paste in a thin, even layer. It's important to work quickly, as the paste begins to dry relatively fast. I applied it in sections, making sure the surface was even.
After the texture paste was applied, I let it dry for about 15 minutes. Then, I used a small brush to apply a coat of paint. The paint helped even out the texture and added a subtle sheen to the wall. I chose a paint color that complemented the rest of the room without being too bold.[2]
The final step was to let the paint dry completely. I gave it about an hour before I touched it again. The end result was a wall that felt intentional and looked professional, even though it was all done by me.
Adding the Finishing Touches
Once the paint was dry, I stepped back and assessed the wall. I noticed that a few areas looked uneven, so I used a small sponge to blend them in with the rest of the wall. This helped create a more cohesive look.
I also added some subtle details using a small brush. I painted a few small geometric patterns in the corners of the wall, which gave it a more intentional design. These details weren't too bold, but they added a nice visual balance.
Finally, I cleaned up my tools and stepped back to admire the work. The wall looked like it had been done by a professional, but it was all my own doing. It was a small project with a big impact.
Why This Project Works for Beginners
I was a total beginner when I first tackled this project, and I'm still proud of the outcome. The key to success is simplicity. This project doesn't require any advanced skills or expensive tools. All you need is a small set of materials and a little patience.
The steps are straightforward: prep the wall, apply the texture, paint, and add any final details. Each step is easy to follow, and there's no need for complicated techniques or expensive tools.
This makes it a great project for anyone looking to dip their toes into DIY. It's a low-pressure way to get started and see results quickly.
Beginners can achieve great results with the right approach and simple materials.
Tips for Customizing Your Accent Wall
Customization is one of the best parts of this project. You can tailor the texture, color, and design to match your style and the rest of your room. I chose a simple, hand-painted design with a muted color palette, but there are endless options if you're looking for something more dramatic.
If you're not sure where to start, consider the overall look of your room. Do you want the wall to stand out or blend in with the rest of the space? A bold color or texture can make it a focal point, while a subtler design can create a more harmonious look.
Another way to customize is by adding subtle details, like geometric patterns or small accents. These can be done with a small brush and a little paint. It's a great way to add personality without overcomplicating the design.
💰 Budget Build
Use basic texture paste and paint to create a subtle, cost-effective accent wall.
⏰ Weekend Version
A quick and easy version that can be completed in a single day with minimal effort.
✨ Upgraded Finish
Add more depth and detail with higher-quality materials for a more polished look.
🛋️ Small-Space Adaptation
Tailor the design to fit smaller spaces by using subtle textures and neutral colors.
🚪 Rental-Safe Option
Use removable or temporary materials that won't damage walls if you're renting.
| The mistake | Why it happens | The fix |
|---|---|---|
| Skipping the wall prep step | Skipping the prep step can lead to an uneven finish and peeling later on. | Always clean, sand, and prime the wall before applying any materials. |
| Applying too much texture paste | Too much texture paste can create a bulky or uneven look that's hard to fix. | Apply the texture paste in thin, even layers to avoid excess buildup. |
| Using the wrong type of paint | Using the wrong type of paint can result in a finish that doesn't match the rest of the room or doesn't adhere well to the texture paste. | Choose a paint that's compatible with the texture paste and matches the overall color scheme of your space. |
| Not allowing enough drying time | Not allowing the texture paste or paint to dry properly can lead to a messy or uneven finish. | Always let each layer of texture paste and paint dry completely before moving on to the next step. |
Easy Diy Bedroom Accent Wall
Common Questions
Can I do this project if I have no DIY experience?
How long does the project take to complete?
What materials do I need for this project?
Can I use this method on a wall with existing wallpaper?
References
- Architecture and Modern Literature - OAPEN Library (tile.loc.gov)
- TECHNICAL SPECIFICATION (pk.usembassy.gov)
Cite this guide
DIY Furniture with Concrete Accents (2026). Easy Diy Bedroom Accent Wall. https://concreteshape.com/easy-diy-bedroom-accent-wall/
Feel free to cite or share this guide.