
Diy Door Accents
📖 Table of Contents
I remember the first time I saw a plain wooden door transformed with a simple yet elegant concrete accent. It was during a visit to a friend’s home, and the subtle texture of the concrete against the warm wood made the space feel both modern and inviting. It was then that I realized how much a small DIY project like this could elevate the look of an entire room. If you've ever thought about adding a unique touch to your entryway or interior door, DIY door accents might just be the perfect solution.[1]
Concrete is a versatile material that can be molded, shaped, and colored to fit any style. I've experimented with a few different techniques over the years, from casting thin concrete panels to etching patterns directly into the surface. It's fascinating how a small detail like a concrete accent can make such a big impact on a door’s overall design, and even more so when you create it yourself. The best part is that you don’t need any advanced skills or expensive tools to get started.
Whether you're looking to add a personal touch to your home or simply want to try your hand at a new DIY project, concrete door accents are an excellent place to begin. I’ve found that the process is both satisfying and surprisingly straightforward, especially when you follow the right steps and use the right materials. The result is a custom accent that adds texture, depth, and character to your door in a way that store-bought options just can’t match.
Why You'll Love This DIY Door Accent Project
- It’s an affordable way to customize your door with a unique, high-quality finish.
- You can tailor the design and color to match your home’s style.
- It adds depth and texture to a plain door without major renovations.
- It's a beginner-friendly project that can be completed in just a few hours.
Choosing the Right Design for Your Door Accent
As of August 2026, when I first started experimenting with concrete door accents, I realized that the design is just as important as the execution. I chose a simple geometric pattern for my first project, and it immediately made the door feel more modern. For your own project, think about the style of your home and how you want the accent to fit in. A minimalist door might benefit from a subtle, abstract shape, while a rustic door could be enhanced with a more textured or carved design.
I recommend sketching out a few ideas before you start. You can use graph paper or even digital tools to plan the layout. Once you have a design, it's time to transfer it to a template or directly onto the door. I used a piece of cardboard to create a stencil for my first project, which made the process much easier. After a few trials, I settled on a pattern that I felt truly represented my home’s style.
Choosing the right design isn’t just about aesthetics—it’s also about function. For example, if your door is in a high-traffic area, you might want to avoid intricate detailing that could be easily scratched. On the other hand, a more decorative accent could be perfect for a guest room or a hallway where visual interest is key. Take your time and choose a design that speaks to you.
If you're new to this, using a template will help you achieve clean, sharp edges. I used a piece of cardboard to create a stencil, which made the process much easier and more consistent.
Gathering Your Materials and Tools
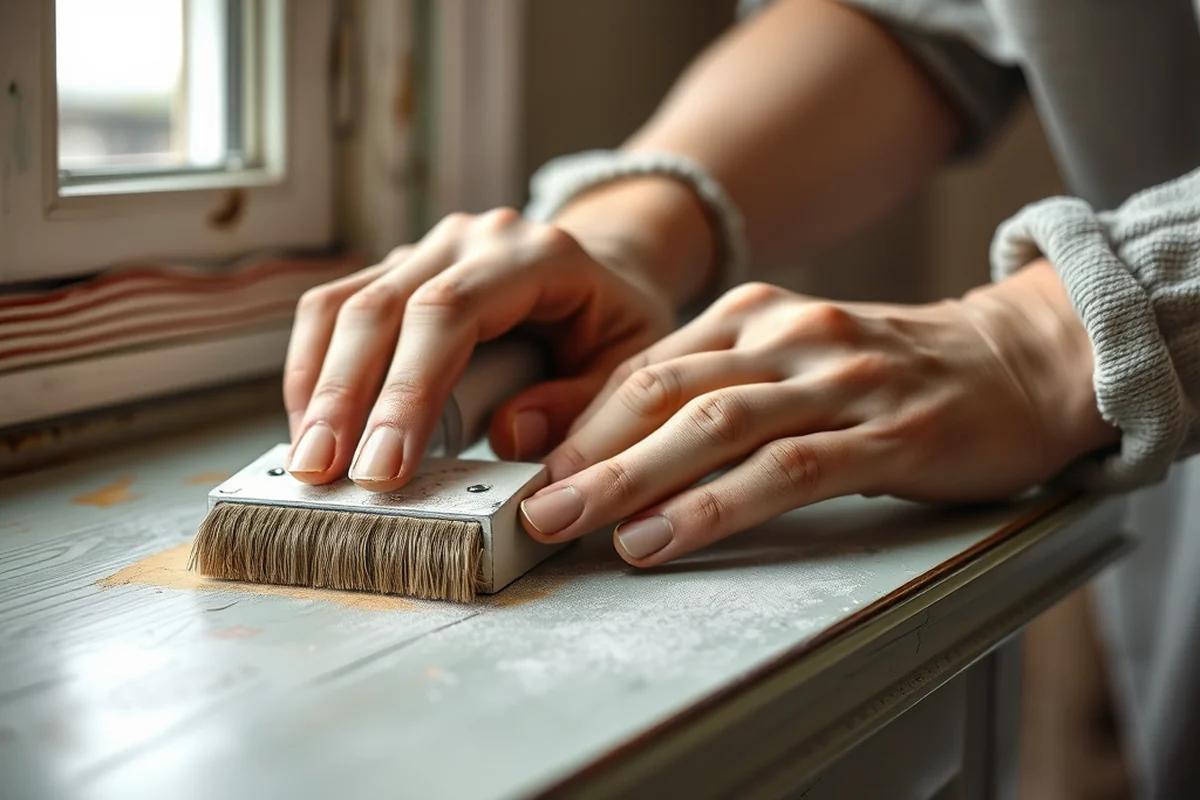
I found that the key to a successful DIY project is having the right materials on hand. For my first project, I needed a few essential items: concrete mix, a mold, a trowel, and some sandpaper. I also used a few additional items like a level and a sponge to smooth out the surface. I was surprised at how few tools I actually needed, and most of them were things I already had at home.
The cost of materials is another factor to consider. I spent about $40 on materials, which included the concrete mix, a mold, and some basic supplies. I found a great deal on a concrete mix at a local hardware store, and I used an old cookie tray as a mold, which saved me money. If you're on a budget, you can repurpose items from around the house to create a mold and keep costs low.[2]
I also found that using a high-quality concrete mix made a big difference in the final result. I used a pre-mixed concrete that was easy to work with and didn't require any special mixing techniques. It was important to choose a mix that would set quickly and not crack after drying. Once the materials were ready, I could move on to the next step of the project.
With the right materials and tools, even a beginner can create a beautiful door accent.
Related: Concrete home accents
Related: Diy wood accent ceiling
Related: Diy glossy accents
Related: Concrete symbols examples
Related: Concrete abstract garden accents
Preparing the Surface for Your Accent
Before I started my first project, I made sure to clean the surface of the door thoroughly. I used a mild detergent and a sponge to remove any dirt or grime that could interfere with the adhesion of the concrete. It's important to ensure that the area where the accent will be placed is completely dry and free of any oils or residues.
I also used a level to check the surface of the door. If the surface wasn't even, the accent might not look as polished in the end. I used some sandpaper to smooth out any rough spots or uneven areas. I was surprised at how much of a difference a little sanding made—it helped create a more even surface for the concrete to adhere to.
After preparing the surface, I applied a thin layer of concrete adhesive to ensure that the accent would stick properly. I let it dry for a few minutes before placing the mold in position. This step was crucial in ensuring that the accent wouldn't come loose over time. I made sure to follow the manufacturer’s instructions carefully for the best results.
Lightly sand the door's surface before applying your accent. This helps the concrete adhere better and creates a smoother finish in the end.
“I remember the first time I saw a plain wooden door transformed with a simple yet elegant concrete accent.”— DIY Furniture with Concrete Accents editors
Mixing and Pouring the Concrete

I found that mixing the concrete was one of the most important steps in the process. I followed the instructions on the package carefully, adding the right amount of water and mixing the concrete until it reached a consistent texture. I used a mixing container and a trowel to combine the materials, ensuring that there were no lumps or dry spots.
Once the concrete was mixed, I poured it into the mold I had prepared. I made sure to pour it slowly and evenly, avoiding any air bubbles that could form. I used a small trowel to smooth out the top of the concrete and create a flat surface. It was important to work quickly before the concrete started to set.
After pouring, I let the concrete sit for a few minutes before tapping the mold gently on the surface to remove any air pockets. This helped the concrete settle more evenly and created a smoother finish. I used a sponge to wipe away any excess concrete that had spilled over the edges of the mold. Once I was satisfied with the shape, I let the concrete cure as per the manufacturer’s instructions.
Curing and Finishing the Accent
I made sure to follow the curing instructions carefully, as this step was crucial for the strength and durability of the accent. I left the accent in a cool, dry place for at least 24 hours, as recommended on the packaging. During this time, the concrete hardened and became more stable.[3]
Once the concrete was fully cured, I used a piece of sandpaper to smooth out any rough edges or imperfections. I was careful not to sand too aggressively, as I wanted to preserve the texture of the concrete. I also used a damp cloth to wipe away any dust or debris that had accumulated during the curing process.
After the accent was smooth and clean, I applied a thin layer of concrete sealant to protect it. This helped make it more resistant to moisture and wear. I let the sealant dry completely before removing the mold and attaching the accent to the door. The final result was a clean, polished accent that looked just as good as any store-bought option.
Attaching the Accent to the Door
Once the accent was fully cured and sealed, it was time to attach it to the door. I used a strong adhesive specifically designed for concrete to ensure a secure bond. I applied a thin, even layer of adhesive to the back of the accent and pressed it firmly onto the door.
I used a level to check that the accent was aligned properly. If it wasn't even, I adjusted it slightly before letting the adhesive set. This step was important to ensure the accent looked clean and professional in the end.
After attaching the accent, I let it sit for a few hours to allow the adhesive to fully set. Once it was secure, I used a small brush to clean up any excess adhesive or dust. The final result was a beautifully attached accent that looked seamless and well-integrated with the door.
A little patience and attention to detail make all the difference in the final look.
Final Touches and Maintenance
After the accent was attached and the adhesive had set, I gave it a final wipe with a clean cloth to remove any dust or residue. I also checked to make sure the edges were clean and even. If I noticed any rough spots, I used a bit of sandpaper to smooth them out.
I also made sure to clean the accent regularly to maintain its appearance. I used a damp cloth and mild soap to wipe it down, avoiding any harsh chemicals that could damage the sealant. This helped keep it looking fresh and new for a long time.
One thing I learned was that the sealant plays a big role in the maintenance of the accent. I made sure to reapply a fresh coat every few months to protect it from moisture and wear. This simple step helped ensure that the accent remained in excellent condition for years to come.
💰 Budget Build
Use affordable materials and repurpose old items to create a cost-effective door accent.
⏰ Weekend Version
Complete the project in a single day using quick-setting concrete and simple tools.
✨ Upgraded Finish
Add decorative elements like colored concrete or intricate patterns for a more refined look.
🛋️ Small-Space Adaptation
Create a smaller accent that fits well on narrow or oddly shaped doors.
🚪 Rental-Safe Option
Use removable adhesives and avoid permanent alterations to keep the door in good condition for future tenants.
| The mistake | Why it happens | The fix |
|---|---|---|
| Using too much water when mixing the concrete | This can weaken the concrete and cause it to crack or not set properly. | Follow the instructions on the package carefully and use the recommended amount of water. |
| Not allowing the concrete to cure completely before attaching it to the door | This can lead to the accent coming loose or not adhering properly over time. | Wait at least 24 hours before attaching the accent to the door. |
| Applying too much adhesive to the back of the accent | This can cause a mess and make the accent look uneven or unprofessional. | Use a thin, even layer of adhesive and wipe away any excess before attaching the accent. |
| Neglecting to seal the accent after it's attached | This can cause the accent to absorb moisture and become damaged over time. | Apply a thin layer of sealant after the accent is attached and let it dry completely. |
Diy Door Accents
Common Questions
Can I use this technique on a glass door?
How long does the concrete take to dry completely?
Is it possible to paint the accent after it's been applied?
Can I remove the accent if I decide I don't like it later?
References
- Chapter 5703-9 - Ohio Administrative Code (codes.ohio.gov)
- NATIONAL REGISTER OF HISTORIC PLACES - Martinsville, VA (martinsville-va.gov)
- Pollard's Synthetic Method of Reading and Spelling. A ... - ERIC (files.eric.ed.gov)
Cite this guide
DIY Furniture with Concrete Accents (2026). Diy Door Accents. https://concreteshape.com/diy-door-accents/
Feel free to cite or share this guide.