
Concrete For Diy Projects
📖 Table of Contents
- Getting Started with Concrete for DIY Projects
- Choosing the Right Concrete Mix for Your Project
- Curing Concrete for a Strong and Durable Finish
- Adding Color and Texture to Your Concrete Project
- Finishing Touches for a Professional Look
- Customizing Your Concrete Project for Function and Style
- Troubleshooting Common Issues in Concrete Projects
- Make It Your Way
- Frequently Asked Questions
I remember the first time I poured concrete for a DIY project — it was for a small table base in my living room. I had no idea what I was doing, but the way the material settled and hardened in the mold was oddly satisfying. Concrete for DIY projects isn’t just about building something sturdy; it’s about creating something that feels like it was made with your hands. Over the years, I’ve learned that it’s a versatile medium, and when used right, it adds a unique, modern edge to furniture and decor.
Concrete for DIY projects has become a staple in my creative process. Whether I’m making a coffee table with a smooth, polished finish or a set of planters with a rustic, textured look, the material allows me to experiment with form and function. It’s not as intimidating as it seems — with the right tools and approach, even a beginner can create something beautiful and lasting. The key is to approach it with patience and attention to detail.
I’ve poured concrete on countertops, built custom shelves, and even created decorative wall art that people have asked about. Each project taught me something new — about mixing ratios, curing times, and how to achieve the perfect finish. If you’re thinking about trying concrete for DIY projects, you’re in for a rewarding experience that blends creativity with craftsmanship.
Why You'll Love This DIY Concrete Project
- Adds a custom, modern look to your space with minimal effort.
- Can be shaped and finished in countless ways to match your style.
- Is incredibly durable and long-lasting when done right.
- Offers a creative outlet that’s both satisfying and meditative.
Getting Started with Concrete for DIY Projects
As of September 2026, getting started with concrete for DIY projects requires a few basic materials and tools. You’ll need a mixing container, a trowel, a mold, and the right type of concrete mix. I’ve found that using a pre-mixed concrete, like Quikrete, simplifies the process and ensures consistent results. The key is to read the instructions carefully and follow the mixing ratios precisely to avoid weak spots or cracks.
I always start by preparing my workspace — covering the floor with plastic or old newspaper to keep things clean. Then, I mix the concrete in small batches, making sure to stir thoroughly until there are no lumps. It’s important to work quickly, as the mix starts to set within 30 minutes. I’ve learned that rushing can lead to uneven surfaces, so taking your time here is crucial.[1]
After mixing, I pour the concrete into the mold and smooth it out with a trowel. I’ve found that using a sponge to remove excess and level the surface makes a big difference in the final result. Once the surface is even, I let it cure for at least 24 hours before removing it from the mold. I’ve had success with this method on multiple projects and it’s become my go-to approach.[2]
After pouring the concrete into the mold, use a sponge to remove excess material and level the surface. This step ensures a smooth finish and reduces the need for additional sanding later.
Choosing the Right Concrete Mix for Your Project
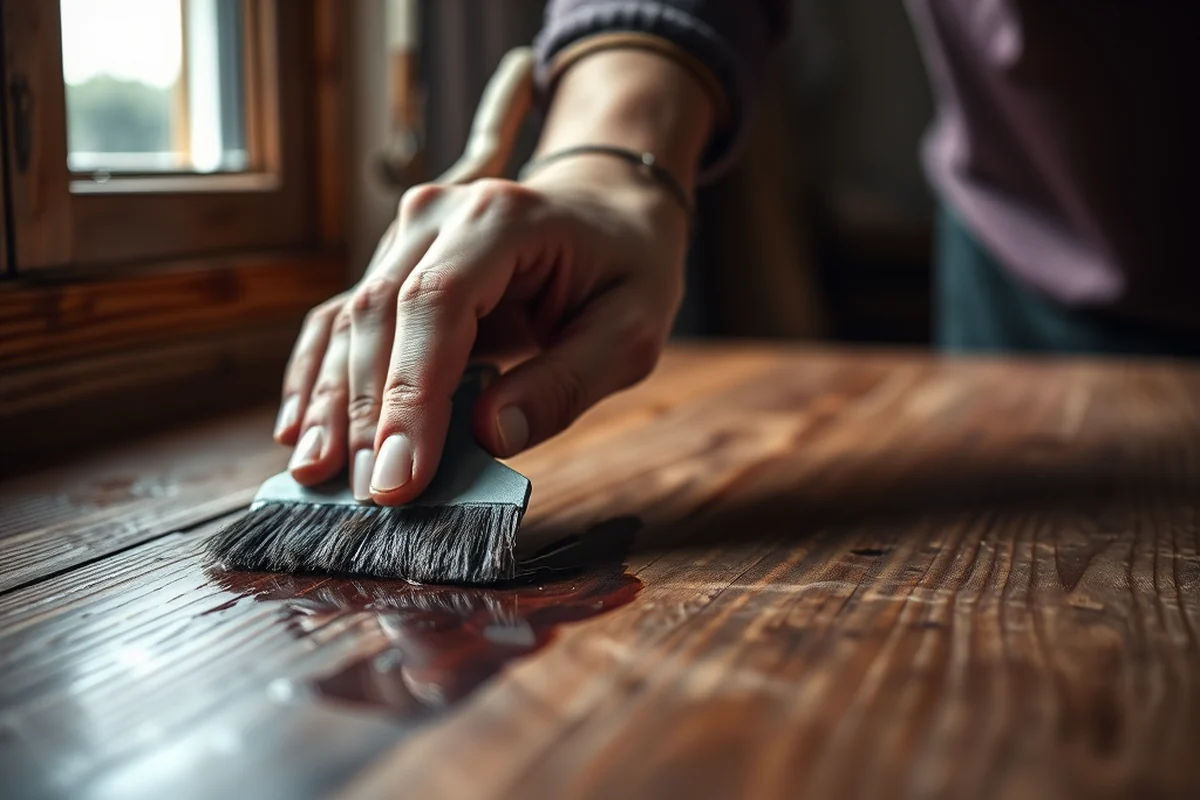
Choosing the right concrete mix for your project is the first step in ensuring success. There are several types of concrete available, each suited for different purposes. For DIY projects, I recommend using a fast-setting mix like Quikrete 5000, which hardens within an hour and is ideal for small-scale builds. It’s also low in slump, which means it holds its shape well and is less likely to sag in a mold.[3]
I’ve tested a few different mixes over the years, and I’ve found that the type of project determines the best choice. For something like a tabletop base, a high-strength mix is key. For decorative elements like wall art, a mix that can be sculpted or shaped is better. It’s also worth considering the texture — some mixes allow for a smoother finish, while others are more textured and rustic.
I’ve had great results using the 5000 mix for most of my projects. It’s reliable, easy to work with, and gives a professional finish when done right. Always check the product specifications to ensure it matches the needs of your project.[4]
The right concrete mix can make or break your DIY project — choose wisely.
Related: Diy concrete console table
Curing Concrete for a Strong and Durable Finish
Curing concrete for a strong and durable finish is a critical step that many beginners overlook. After pouring and shaping the concrete, it needs time to set and harden. I’ve learned that allowing the concrete to cure in a cool, dry place away from direct sunlight is the best approach. This prevents cracking and ensures even hardening.
I always cover my freshly poured concrete with a plastic sheet or a tarp to help retain moisture during the initial curing phase. This step is especially important in the first 24 to 48 hours. I’ve noticed that without proper moisture retention, the surface can become brittle and prone to cracks.
After the initial curing period, I let the project sit undisturbed for at least a week before handling it. This allows the concrete to fully harden and reach its maximum strength. I’ve found that patience pays off — rushing this step can lead to weak spots and a less-than-ideal finish.
Covering your concrete project with a tarp or plastic sheet during the first 48 hours of curing helps retain moisture and prevents cracking. This simple step can make a big difference in the final outcome.
“I remember the first time I poured concrete for a DIY project — it was for a small table base in my living room.”— DIY Furniture with Concrete Accents editors
Related: Diy concrete chairs
Adding Color and Texture to Your Concrete Project
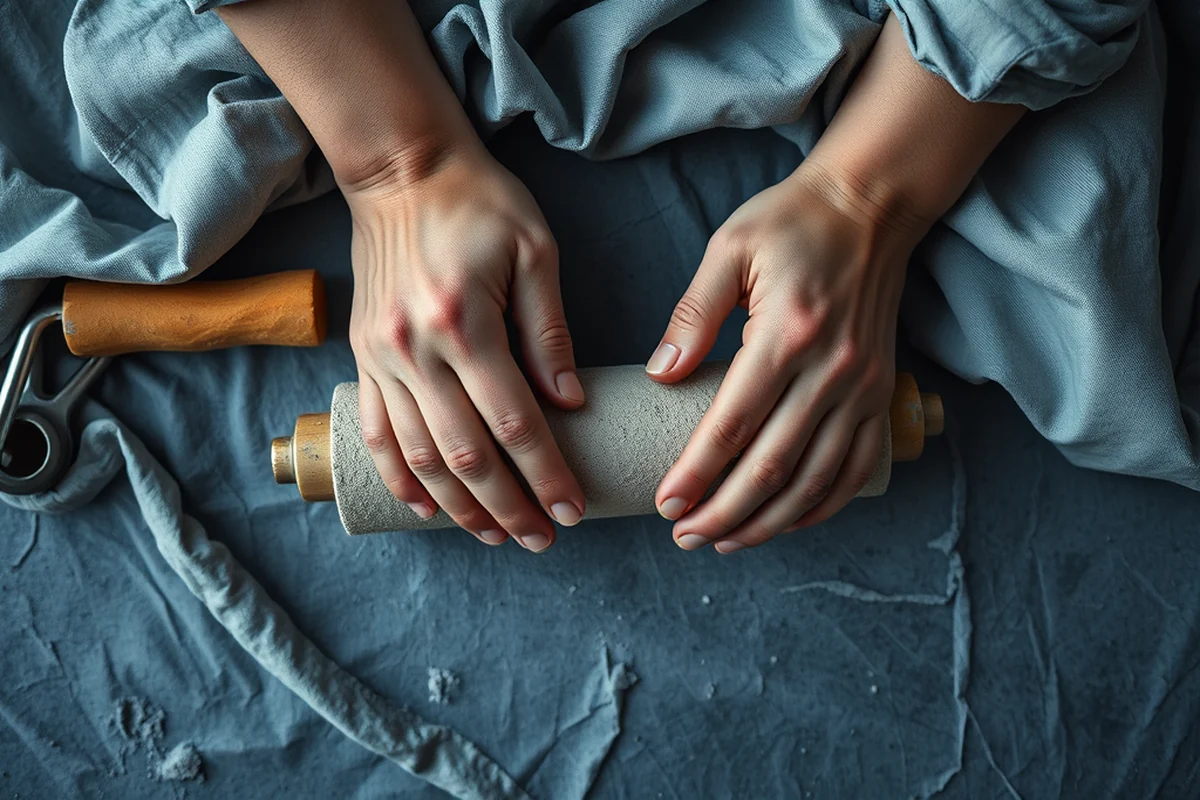
Adding color and texture to your concrete project is a great way to make it stand out and reflect your personal style. I’ve used colored pigments, which come in a variety of shades, to achieve different effects. These pigments are mixed into the concrete before pouring and can be used to create anything from a simple monochrome finish to bold, eye-catching patterns.
For texture, I’ve used tools like a trowel, sponge, or even a textured roller to create different effects on the surface. I’ve found that using a sponge to roll over the wet concrete creates a nice, organic texture that looks great in modern spaces. You can also add items like pebbles, glass, or even metal pieces into the wet concrete for a more decorative look.
Experimenting with colors and textures is one of my favorite parts of working with concrete. It allows me to be creative without compromising on functionality. I’ve used this technique on everything from coffee tables to wall art, and each project has turned out unique and personal.
Related: Diy cement furniture
Finishing Touches for a Professional Look
Finishing touches for a professional look are the final steps that elevate a concrete project from basic to beautiful. After the concrete has fully cured, I use a sanding block to smooth out any rough edges or imperfections. This step is important because it ensures the surface is even and ready for any additional treatments.
I’ve used a concrete sealer in the past to protect the surface and give it a shiny, polished look. The sealer not only enhances the appearance but also makes the surface more resistant to stains and moisture. It’s a simple step that adds a lot of value to the project.
For a more refined finish, I’ve used a concrete polish or buffing tool to achieve a glossy, marble-like sheen. This technique requires some practice but can be very rewarding. I’ve found that a little effort here goes a long way in making the project look professional and well-crafted.
Related: Diy concrete decor ideas
Customizing Your Concrete Project for Function and Style
Customizing your concrete project for function and style allows you to create something that is both beautiful and useful. I’ve made several projects where I combined form and function — like a coffee table with built-in storage or a decorative shelf that doubles as a display stand. It’s all about thinking ahead and planning how the piece will be used.
When customizing, I always consider the size and shape of the piece. For example, a table base needs to be sturdy and centered, while a planter should be wide enough to hold the plant comfortably. I’ve also found that adding cutouts or grooves can help with drainage in planters or provide extra grip in handles or bases.
I’ve had great success with customizing my projects to fit specific needs. Whether it’s making a unique centerpiece or a functional piece of furniture, the possibilities are endless. Taking the time to plan and customize ensures that the project meets both aesthetic and practical expectations.
Customizing your concrete project adds a personal touch that makes it one of a kind.
Related: Diy concrete block patio furniture
Troubleshooting Common Issues in Concrete Projects
Troubleshooting common issues in concrete projects helps prevent mistakes and ensures better results. One of the most common problems is cracking, which can occur if the concrete dries too quickly or if there are inconsistencies in the mix. I’ve learned that keeping the concrete moist during the curing process and using the right mix ratio can help prevent this issue.
Another issue I’ve encountered is uneven surfaces, which can happen if the concrete isn’t poured and smoothed properly. I’ve found that using a trowel and a sponge to smooth the surface makes a big difference. It’s also important to work quickly to avoid the mix setting before it can be shaped properly.
I’ve also had issues with weak spots, which can be caused by improper mixing or not allowing the concrete to cure fully. Taking the time to mix the concrete thoroughly and letting it cure for at least a week has helped prevent this. Being proactive about troubleshooting ensures that your project is strong and long-lasting.
💰 Budget Build
A simple, cost-effective concrete project that uses affordable materials and minimal tools.
⏰ Weekend Version
A fast-paced concrete project that can be completed in a single weekend with minimal effort.
✨ Upgraded Finish
An advanced version of the project that includes polishing and sealing for a professional look.
🛋️ Small-Space Adaptation
A compact concrete project designed for small spaces, like a shelf or table base.
🏠 Rental-Safe Option
A concrete project that is easy to disassemble and move, making it perfect for renters.
| The mistake | Why it happens | The fix |
|---|---|---|
| Using the wrong mix ratio | This can result in weak spots or cracks in the final product. | Always follow the manufacturer’s instructions for the correct mix ratio. |
| Skipping the curing process | This can lead to a brittle and fragile concrete structure. | Allow the concrete to cure for at least 24 hours and keep it covered during this time. |
| Pouring too much concrete at once | This can make it difficult to shape and may cause uneven surfaces. | Pour the concrete in small batches and work quickly to shape it properly. |
| Not smoothing the surface properly | This can lead to rough, unfinished edges and an unprofessional look. | Use a trowel and sponge to smooth the surface and remove excess material. |
Concrete For Diy Projects
Common Questions
Can I use regular concrete for DIY projects?
How long does it take for concrete to cure?
What tools do I need for a concrete project?
Can I add color to my concrete project?
References
- Concrete Technology Research Papers - Academia.edu (academia.edu)
- Roman Concrete - Ancient Engineering Technologies (ancientengrtech.wisc.edu)
- Innovation grants awarded to four concrete production projects that ... (bouldercounty.gov)
- Concrete Mix Designs - Colorado Department of Transportation (codot.gov)
Cite this guide
DIY Furniture with Concrete Accents (2026). Concrete For Diy Projects. https://concreteshape.com/concrete-for-diy-projects/
Feel free to cite or share this guide.