
Diy Concrete Chairs
📖 Table of Contents
I remember the first time I laid hands on raw concrete mix for a DIY project — the gritty texture, the smell of wet cement. The rush of anticipation as I imagined the finished piece. That day, I decided to build my first set of DIY concrete chairs. Not only was it a way to customize my living space, but it also felt like a bold statement of creativity and craftsmanship. DIY concrete chairs are more than just a furniture trend; they're a canvas for personal style, a durable addition to any home. A testament to what can be achieved with a little patience and the right tools.
What started as a weekend experiment turned into a full-blown passion for concrete design. My initial set of DIY concrete chairs took me two days to complete, but the satisfaction of seeing them stand in my home was worth every moment. The process is surprisingly straightforward, and the results are nothing short of stunning. Whether you’re looking to update your outdoor space or add a unique touch to your living room, DIY concrete chairs are a fantastic option that blend form and function seamlessly.
Concrete furniture has a growing presence in the DIY community, and for good reason. It’s versatile, long-lasting, and can be adapted to suit almost any decor. I’ve built chairs in various styles — from minimalist and modern to rustic and industrial — and each one told its own story. If you’re considering exploring this project, you’ll be happy to know that it's accessible even to beginners, and the materials are affordable. With just a few tools and a bit of time, you can create something truly one-of-a-kind.
Why You'll Love This Project
- DIY concrete chairs are incredibly customizable, allowing you to personalize every detail from color to shape.
- Concrete is a durable and long-lasting material, making these chairs ideal for both indoor and outdoor use.
- Building your own chairs offers a unique sense of accomplishment and satisfaction.
- This project is cost-effective and doesn’t require advanced skills, making it accessible to most DIYers.
How to Choose the Right Concrete Mix
As of August 2026, I recommend using a fast-setting concrete mix specifically designed for DIY projects, as it dries quickly and is easier to shape. I’ve used a mix like Quikrete’s 5000 psi Concrete Mix in the past, which gives a strong and smooth finish. The mix should be easy to work with and allow you to shape the chair forms without cracking. I found that the right mix can make or break the success of your project, so take time to research and choose wisely.
The consistency of the mix is also important — it should be pourable but not too runny. I learned this the hard way when I used a mix that was too thin and ended up with a chair that looked more like a blob than a chair. If you're unsure, check the manufacturer's guidelines and look for mixes that are recommended for outdoor or furniture use. I've found that some mixes have a slight color variation, which can be an aesthetic bonus if you're going for a natural, raw look.[1]
Lastly, I always look for mixes that are easy to clean up. A mix that requires a lot of special cleaning agents can be frustrating, especially if you're working on a tight deadline. I've found that using a mix with a quick cleanup process makes the entire experience more enjoyable and less stressful.
Use a form made of wood or plastic to shape your chair. I used a simple wooden frame covered in plastic wrap, which helped keep the concrete from sticking. It also made it easier to remove the finished chair once the concrete had set.
Designing Your Concrete Chair
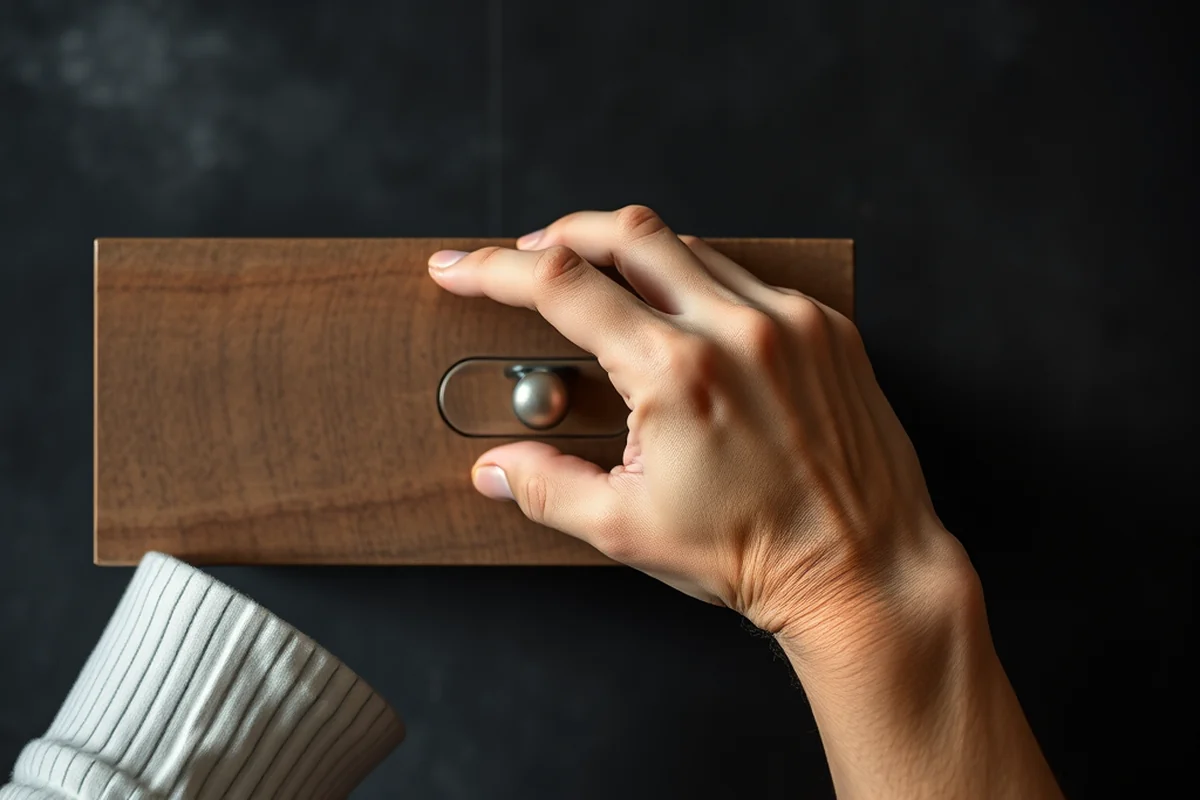
I always start by sketching out my design on paper, considering the size and shape of the chair. I like to make chairs that are slightly curved to give them a more organic feel. I’ve found that using a chair template or even a real chair as a base helps with the design process. It’s important to think about the ergonomics — the chair should be comfortable and support the user properly.
I also consider the placement of the chair. Will it be used indoors or outdoors? If it's for outdoor use, I tend to go for a more rugged design, while indoor chairs can be more elegant and minimalist. I’ve made chairs with a high backrest, a low profile, and even a reclining design — each has its own appeal depending on the space and purpose.
The design should also match your overall home decor. I’ve made chairs that complement modern, rustic, and even industrial styles. It’s always good to think about the color and texture of the chair — will it be painted, stained, or left in its raw state? Each option can dramatically change the look of the chair.
Design is the first step in any great DIY project — it's where your vision begins to take shape.
Related: Diy cement furniture
Related: Diy concrete console table
Related: Diy concrete end table
Related: Diy concrete coffee table outdoor
Related: How to make cement table top
Related: Phonetic Spelling Alphabet
Related: How To Type The N In Spanish
Related: How To Voice Keyboard
Molding and Pouring the Concrete
Once your design is finalized, it's time to build the mold. I use a wooden frame covered in plastic wrap to prevent the concrete from sticking. I found that using a mold with corners and edges helps create a more defined shape. The mold should be slightly larger than the final chair size to allow for expansion as the concrete sets. I’ve made mistakes before by not accounting for expansion, which led to cracks in the final product.
Pouring the concrete is a delicate process. I always start by filling the mold about two-thirds full, then let it rest for a few minutes. This allows the concrete to settle and eliminates air bubbles. I found that using a hand tamper or even a sledgehammer to gently tap the sides of the mold helps achieve a smooth surface. It's important to work quickly and efficiently, as the concrete sets fairly fast.
After pouring the concrete, I use a piece of foam or a sponge to smooth out the surface. I've found that this step is crucial for achieving a clean, professional finish. If you skip this step, you’ll end up with a rough surface that's hard to fix later. Once the surface is smooth, I cover the chair with a plastic sheet to prevent it from drying out too quickly.
Once the concrete is poured, smooth the surface right away. I use a sponge or a piece of foam to do this, which helps remove air bubbles and creates a smooth finish. If you wait too long, the concrete will start to set, and it will be much harder to smooth out.
“I remember the first time I laid hands on raw concrete mix for a DIY project — the gritty texture, the smell of wet cement…”— DIY Furniture with Concrete Accents editors
Curing the Concrete
After the concrete has been poured and smoothed, the next step is to let it cure. I've found that allowing the chair to cure for at least 24 hours is essential. During this time, it's important to keep the chair in a dry and stable environment, away from direct sunlight or moisture. I've made the mistake of leaving the chair out in the rain, and it caused some cracking and discoloration.[2]
I’ve used a curing compound on my chairs, which helps speed up the curing process and provides a more even finish. This compound is available at most hardware stores and is easy to apply. I found that it makes the chair look more polished and professional. If you're not using a curing compound, it's still important to let the chair cure completely before moving it.
Once the chair has cured, it's a good idea to let it dry completely before applying any finishes. I've found that waiting an additional 24 hours after the curing process is enough time for the chair to be ready for painting or staining. This step is crucial to avoid any issues with the paint not adhering properly.
Finishing and Painting
Once the chair has fully cured, it's time to prepare it for finishing. I always start by sanding the surface with a fine-grit sandpaper to smooth out any imperfections. I found that this step is essential for achieving a clean and professional finish. If you skip this step, the paint may not adhere properly, leading to peeling or chipping over time.
I’ve used a variety of finishes on my chairs, including paint, stain, and even epoxy. Each option has its own benefits — paint provides a bold and colorful finish, while stain allows the natural texture of the concrete to show through. I’ve found that using a clear sealer after painting helps protect the chair and gives it a glossy finish. This is especially important if the chair will be used outdoors.
I also like to add some personal touches, like carving patterns or adding small decorative elements. This is a great way to make your chair unique and reflect your personal style. I’ve experimented with different textures and finishes, and each one has given the chair a different look and feel. It's always fun to see how your chair turns out after all the work.
Maintaining Your Concrete Chair
Once your chair is complete, it's important to maintain it properly to keep it looking its best. I recommend cleaning it regularly with a mild soap and water solution. This helps remove any dirt or grime that may accumulate over time. I’ve found that using a soft cloth or sponge is the best way to avoid scratching the surface.[3]
If the chair is used outdoors, it's important to protect it from the elements. I’ve used a UV-resistant sealer on my outdoor chairs, which helps prevent fading and cracking. This is especially important if the chair is exposed to direct sunlight for long periods. I’ve noticed that chairs without protection tend to look dull and worn over time.
I also recommend avoiding placing the chair near heat sources or in areas with high humidity. These conditions can cause the concrete to crack or deteriorate. If you’re using the chair in an area with high moisture, like a porch or a patio, it's important to ensure that it's placed on a dry and stable surface. Regular maintenance can make all the difference in how long your chair lasts.
A little care goes a long way — your DIY concrete chair will reward you with years of use and beauty.
Adding a Personal Touch
One of my favorite aspects of building DIY concrete chairs is the opportunity to add unique details that reflect my personal style. I’ve experimented with carving patterns into the surface, adding small decorative elements, and even incorporating color into the design. These details make the chair more than just a piece of furniture — it becomes a personal statement.
I’ve used paint to create bold and colorful designs on my chairs. This is a great way to make a statement and add some personality to your home. I’ve also used stains to create a more subtle, organic look. I found that using a clear sealer after painting or staining helps protect the finish and gives the chair a polished look.
Another way to add a personal touch is by using different textures or finishes. I’ve used sand, pebbles, and even metal accents to create a unique look. These additions can be both decorative and functional, adding visual interest and depth to the chair. It's amazing how a few small details can transform a simple chair into something truly special.
💰 Budget Build
Create a simple, functional chair using affordable materials and basic techniques.
⏰ Weekend Version
Complete a basic chair in one day using pre-mixed concrete and simple molds.
✨ Upgraded Finish
Add a high-quality finish with epoxy or paint to elevate the look of your chair.
🛋️ Small-Space Adaptation
Design a compact, space-saving chair that fits perfectly in small living areas.
🏡 Rental-Safe Option
Build a chair that is easy to disassemble and move, ideal for renters.
| The mistake | Why it happens | The fix |
|---|---|---|
| Using the wrong type of concrete mix. | Using a mix that is too thick or too thin can lead to a weak or unattractive finish. | Always choose a mix designed for DIY furniture projects and follow the manufacturer's instructions carefully. |
| Not allowing the chair to cure properly. | Skipping the curing process can result in a weak and fragile chair that is prone to cracking. | Allow the chair to cure for at least 24 hours and avoid moving it during this time. |
| Skipping the sanding step before painting. | Failing to sand the surface can lead to an uneven or rough finish that doesn’t look professional. | Always sand the surface with fine-grit sandpaper before applying paint or stain. |
| Using the chair too soon after it's made. | Using the chair before it has fully cured can cause it to crack or break. | Wait at least 24 hours after the chair has been made before using it. |
Diy Concrete Chairs
Common Questions
Can I use regular concrete mix for this project?
How long does it take for the chair to fully cure?
Can I paint my chair after it's cured?
What tools do I need for this project?
References
- Sample Construction Specifications - Connection Details for PBES (fhwa.dot.gov)
- Safety Concerns in Mobility-Assistive Products for Older Adults - PMC (pmc.ncbi.nlm.nih.gov)
- CDOT Standard Specifications for Road and Bridge Construction 2023 (codot.gov)
Cite this guide
DIY Furniture with Concrete Accents (2026). Diy Concrete Chairs. https://concreteshape.com/diy-concrete-chairs/
Feel free to cite or share this guide.