
Diy Furniture Litter Box
📖 Table of Contents
- Choosing the Right Materials for Your DIY Litter Box
- Designing the Layout of Your DIY Litter Box
- Adding the Concrete Accents for a Modern Look
- Building the Frame and Assembling the Pieces
- Finishing Touches and Customization
- Testing and Final Adjustments
- Maintaining Your DIY Furniture Litter Box
- Make It Your Way
- Frequently Asked Questions
I remember the day I finally gave up on the overpriced, generic litter boxes that looked like they belonged in a pet store from the 80s. My cat, Mochi, was clearly unimpressed. I knew it was time to make something better — something that felt like it was built for her, not just tossed into the corner of the laundry room. That’s when I decided to take on the DIY furniture litter box challenge, and it turned out to be one of the most rewarding weekend projects I’ve ever done. It’s not just about style; it’s about creating a functional, beautiful space that both you and your cat will love.
DIY furniture litter box isn’t just about saving a few dollars — it’s about control over the design, the materials, and the final product. I’ve spent years learning the nuances of woodworking, and the process of building this litter box made me realize just how much you can customize a space for your pet. Whether you’re looking for an open design that’s easy to clean or a closed one that doubles as a storage unit, the possibilities are endless. The best part? You don’t need a degree in architecture or a full garage full of tools to pull this off.
The beauty of building your own litter box is that you can tailor it to your cat’s preferences and your home’s aesthetic. I built mine using reclaimed wood and concrete accents, and it quickly became a focal point in my living room. It’s not just a litter box — it’s a piece of furniture that complements my space. I’ve learned that with the right approach, a DIY furniture litter box can be as much about artistry as it is about functionality. That’s a win for both you and your feline friend.
Why You'll Love This DIY Furniture Litter Box
- Customizable to match your home’s style and your cat’s needs.
- Builds a sense of pride and accomplishment in your DIY skills.
- Saves money compared to buying overpriced, mass-produced litter boxes.
- Creates a unique, functional piece that enhances your living space.
Choosing the Right Materials for Your DIY Litter Box
As of August 2026, the first step in building a DIY furniture litter box is choosing the right materials. I used reclaimed wood for the base and sides because it’s both cost-effective and eco-friendly. The concrete accents added a modern touch and durability that I loved. If you’re on a budget, you can use basic MDF or particle board, but it won’t have the same visual appeal or longevity as wood or concrete.
Concrete is a great option for the base because it’s heavy, stable, and easy to clean. I used a 2-inch layer of concrete poured into a mold I built from wood and plastic. The mold was simple to construct, and the result was a sturdy, one-piece base that never tips over. For the sides, I used 3/4-inch thick pine wood, which is easy to cut and sand. I also added a 1-inch border of concrete on the edges for extra weight and a finished look.
Choosing the right materials not only affects the look and feel of your DIY furniture litter box but also its functionality. A well-built litter box should be easy to clean, stable, and durable enough to last for years. The right materials can make all the difference, and with a little planning, you can create a litter box that looks and feels like part of your furniture collection.
When choosing materials for your DIY furniture litter box, consider both aesthetics and functionality. Reclaimed wood and concrete are excellent choices for durability and style, but if you’re on a budget, MDF or particle board can also work with the right finish.
Part of our Diy table games guide.
Designing the Layout of Your DIY Litter Box
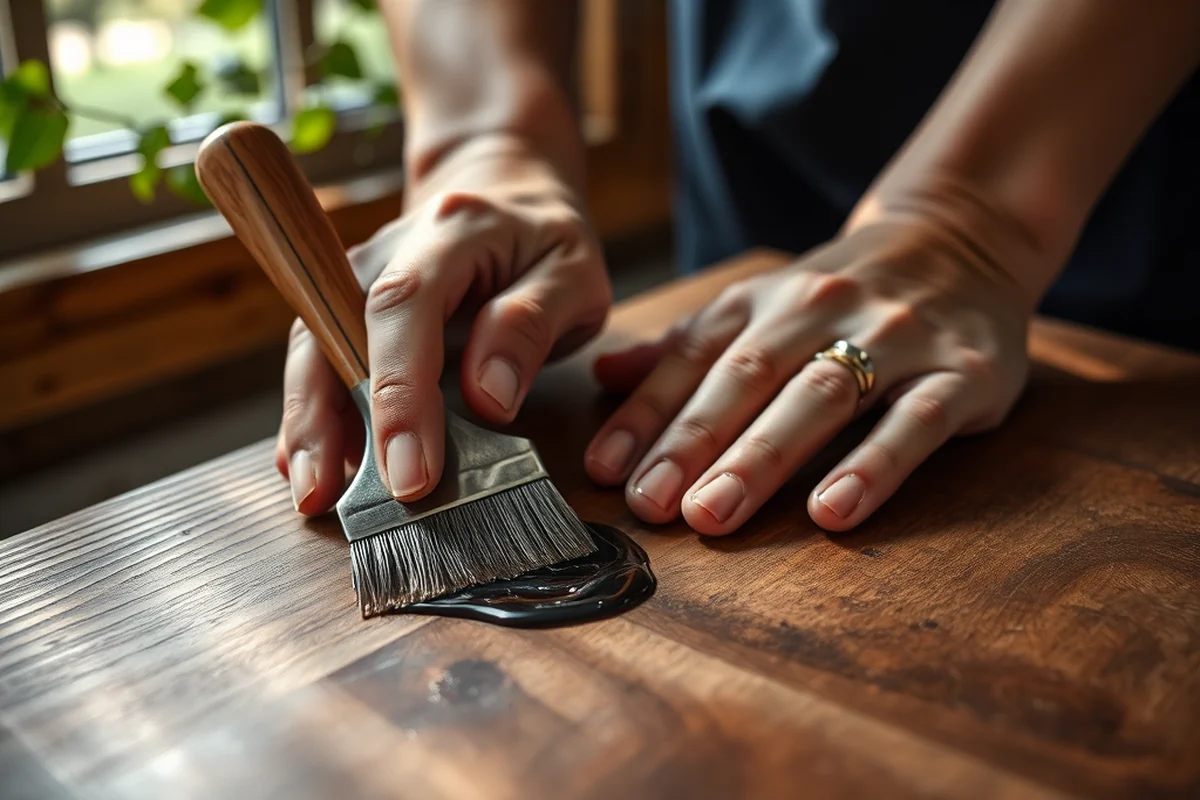
Designing the layout of your DIY furniture litter box is just as important as choosing the right materials. I designed mine with an open front and a removable top, which made cleaning much easier. The dimensions were 24 inches wide, 18 inches deep, and 24 inches tall, which gave Mochi plenty of space to move around. I also added a 4-inch high base made from concrete to prevent the litter from being kicked out.[1]
I sketched out the layout on paper before starting the actual build. This helped me visualize how the pieces would fit together and where the doors and panels would go. It also helped me calculate the amount of wood and concrete I would need. I built the base first, then the sides, and finally the top. This step-by-step approach kept the project organized and manageable.
A well-designed layout can make all the difference in the usability of your DIY furniture litter box. It should be easy to clean, have enough space for your cat to move around, and fit seamlessly into your home’s decor. With careful planning and a clear layout, you can create a litter box that’s both functional and beautiful.
A well-designed layout is the key to a functional and stylish DIY furniture litter box.
Related: Diy floor table for kids
Related: Diy floor protectors for furniture
Related: Diy wedding table plan ideas
Related: Diy adirondack chairs plans free
Related: Diy big comfy couch costume
Related: How To Pronounce Spanish Alphabet
Related: How To Pronounce In Spanish
Related: How To Use Spanish Keyboard
Adding the Concrete Accents for a Modern Look
Concrete accents are a great way to add a modern, durable touch to your DIY furniture litter box. I used a mix of 1 part Portland cement, 2 parts sand, and 0.5 parts water to make the concrete. I also added some fine gravel for texture. The mixture was poured into a mold I built from wood and plastic, and then I let it cure for 48 hours before removing it from the mold.
I used the concrete for the base and the edges of the litter box. The base was 2 inches thick and weighed around 40 pounds, which kept the litter box stable. The edges were 1 inch thick and added a finished look to the wood. I also used a concrete sealer to protect the surface and make it easier to clean. The sealer gave the concrete a smooth, glossy finish that looked great with the wood.
Adding concrete accents is a simple way to elevate the look of your DIY furniture litter box. It adds weight, durability, and a modern aesthetic that can complement a variety of home styles. With the right mix and application, you can create a litter box that looks like it was made by a professional, not a weekend DIY project.
Concrete accents can add a modern touch to your DIY furniture litter box. Use a mix of 1 part Portland cement, 2 parts sand, and 0.5 parts water for the best results. Let the concrete cure for at least 48 hours before removing it from the mold.
“I remember the day I finally gave up on the overpriced, generic litter boxes that looked like they belonged in a pet store from the…”— DIY Furniture with Concrete Accents editors
Building the Frame and Assembling the Pieces
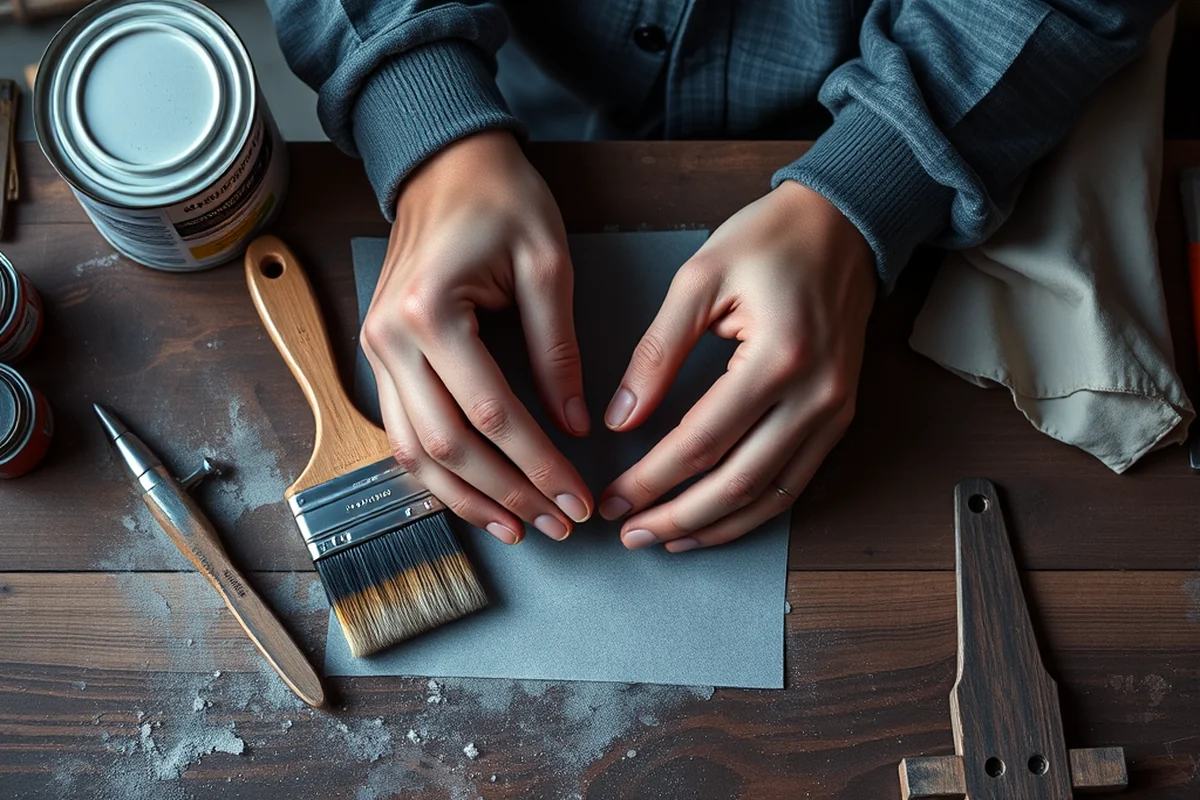
Once the materials are chosen and the layout is designed, the next step is to build the frame and assemble the pieces. I started by cutting the wood to the required dimensions and sanding the edges to ensure a smooth finish. I used wood glue and 1.5-inch screws to secure the pieces together. The frame was built first, then the sides were attached to the base.
I used a Kreg Jig to make pocket holes for the screws, which made the assembly much easier. I also used wood clamps to hold the pieces in place while the glue dried. This step was a bit time-consuming, but it was worth it in the end. Once the frame was built, I added the concrete accents, which gave the litter box a more finished look.
Building the frame and assembling the pieces is a crucial step in the DIY furniture litter box process. It requires patience and attention to detail, but with the right tools and techniques, it can be done in just a few hours. The result is a sturdy, well-constructed litter box that’s ready for your cat to use.
Finishing Touches and Customization
Once the frame is built and the pieces are assembled, it’s time to add the finishing touches and customize your DIY furniture litter box. I used wood stain to give the wood a rich, deep color that complemented the concrete accents. I also added a few coats of clear polyurethane to protect the wood and make it easier to clean.
I used a router to cut the edges of the wood for a more finished look. I also added a few decorative elements, like a small engraved plaque on the front of the litter box that read “Mochi’s Space.” This made the litter box feel more personal and added a touch of character to the design.
Finishing touches and customization options can make your DIY furniture litter box unique and personal. With a little creativity and attention to detail, you can create a litter box that looks like it was made for your cat — and your home. It’s a small investment of time and effort that can have a big impact on the overall look and feel of your space.
Testing and Final Adjustments
Once the DIY furniture litter box is built, it’s important to test it and make any final adjustments. I filled the litter box with cat litter and let Mochi use it for a few days to see how it worked. The weight of the concrete base kept it stable, and the size was just right for Mochi to move around comfortably.
I also tested the durability of the wood and concrete by dropping a small weight on the edges and sides. The wood held up well, and the concrete base didn’t crack or chip. I made a few minor adjustments to the design, like adding a small lip around the edge of the litter box to prevent the litter from spilling out.
Testing and making final adjustments ensures your DIY furniture litter box functions as intended. It’s a small but important step that can make a big difference in how your cat uses the litter box and how it looks in your home. With a little testing and tweaking, you can create a litter box that’s both functional and beautiful.
Testing your DIY furniture litter box is just as important as building it — it ensures it works perfectly for your cat and your home.
Maintaining Your DIY Furniture Litter Box
Once your DIY furniture litter box is built and in use, it’s important to maintain it properly. I clean the litter box every few days using a small vacuum and a soft brush to remove any clumps of litter. I also empty the litter box completely once a week and replace the litter with fresh material.
The concrete base and wood sides are easy to clean — I just wipe them down with a damp cloth and a mild cleaner. I also apply a fresh coat of polyurethane every six months to protect the wood and maintain its finish. This simple maintenance routine has kept my litter box looking and functioning like new for over a year now.
Proper maintenance ensures your DIY furniture litter box lasts for years. With regular cleaning and a few simple steps, you can keep it looking great and functioning perfectly. It’s a small investment of time and effort that can have a big impact on the life of your litter box and your cat’s comfort.
💰 Budget Build
Use MDF and basic concrete for a low-cost, functional litter box that’s easy to assemble.
⏰ Weekend Version
A simplified version that can be completed in a few hours with minimal tools and materials.
✨ Upgraded Finish
Add a high-end wood finish and custom hardware for a more luxurious look and feel.
🏠 Small-Space Adaptation
A compact litter box designed for small homes or apartments that still looks stylish and functional.
🔒 Rental-Safe Option
A no-permanent-modifications litter box made with removable parts that can be easily taken apart and stored.
| The mistake | Why it happens | The fix |
|---|---|---|
| Not using enough concrete in the base. | Using too little concrete in the base can cause the litter box to be unstable and tip over. | Make sure to use at least 2 inches of concrete in the base to ensure stability and durability. |
| Using the wrong type of wood. | Using the wrong type of wood can affect the look and feel of the litter box and may not be as durable as expected. | Choose a type of wood that is strong and easy to work with, such as pine or reclaimed wood. |
| Not sanding the wood properly. | Not sanding the wood properly can result in a rough finish and may cause splinters or discomfort for your cat. | Sand the wood thoroughly with fine-grit sandpaper to ensure a smooth and even finish. |
| Skipping the sealer on the concrete. | Skipping the sealer on the concrete can make it more difficult to clean and may cause it to crack or chip over time. | Always apply a sealer to the concrete surface to protect it and make it easier to clean. |
Diy Furniture Litter Box
Common Questions
Can I use this litter box with multiple cats?
How long does the concrete base last?
Can I add a lid to my DIY furniture litter box?
What if I don’t have access to reclaimed wood?
References
Cite this guide
DIY Furniture with Concrete Accents (2026). Diy Furniture Litter Box. https://concreteshape.com/diy-furniture-litter-box/
Feel free to cite or share this guide.