
Concrete Home Accents
📖 Table of Contents
I remember the first time I mixed concrete in my garage — the sound of the drill, the smell of the cement, the coolness of the mixture as it settled in my hands. It was during a late summer afternoon, and I had just finished sketching out plans for a small concrete planter I wanted to place on my balcony. What began as a simple idea quickly turned into something I couldn’t wait to show off. Concrete home accents, once the domain of architects and industrial designers, now sit proudly in living rooms, kitchens, and even entryways across the country. And it all started with a single project, a weekend of labor, and a few basic tools.
Concrete home accents are more than just a trend; they’re a statement. Whether you’re adding a concrete coffee table to your living room or a minimalist wall shelf to your home office, these pieces bring a sense of groundedness and timeless beauty that few materials can match. I’ve experimented with a variety of concrete projects over the years — from small decor items to larger furniture pieces — and each one has taught me something new. The process is messy, but the results are worth every drop of sweat and every bit of patience.
What makes concrete so appealing is its versatility. It can be molded into intricate shapes, polished to a smooth finish, or left raw for a more industrial look. I’ve found that working with concrete is not only satisfying, but also surprisingly accessible. You don’t need to be an expert to create something beautiful. With the right tools, a bit of planning, and a willingness to get your hands dirty, you can transform your home with concrete accents that are both functional and striking. It’s a journey I wholeheartedly recommend.[1]
Why You'll Love This Project
- Adds a modern, industrial feel to any space
- Customizable to match your home’s aesthetic
- Durable and long-lasting with proper care
- Easy to create with basic tools and materials
Getting Started with Concrete
As of August 2026, before you can create your first concrete accent, you need to gather the right materials. A basic concrete mix typically includes Portland cement, sand, and water. I’ve found that using a pre-mixed concrete compound can save time and reduce the risk of error. The first step is to calculate how much you’ll need based on the size of your project. For a small planter or shelf, a 5-gallon bucket is usually sufficient. I always make sure to measure twice and pour once — a lesson I learned after a few botched attempts.
Molding is another critical step. I’ve used both silicone molds and wooden forms, and each has its pros and cons. Silicone is easy to work with and allows for intricate details, while wood is more affordable but requires more preparation. I recommend using a release agent on wooden molds to prevent the concrete from sticking. This step alone saved me from several failed projects and a lot of frustration.[2]
Once your mold is ready, it’s time to mix the concrete. The consistency should be thick enough to hold its shape but not too dry. I’ve found that a ratio of 1 part cement to 2 parts sand to 0.5 parts water works well for most projects. Mixing takes a bit of time, but it’s worth it for the consistency. I always use a drill with a mixing paddle — it’s faster and ensures an even blend.
Using a drill with a paddle attachment for mixing concrete ensures an even blend and reduces the time needed. I’ve saved hours using this method on multiple projects.
Part of our Easy accents docs guide.
Designing Your Concrete Accent
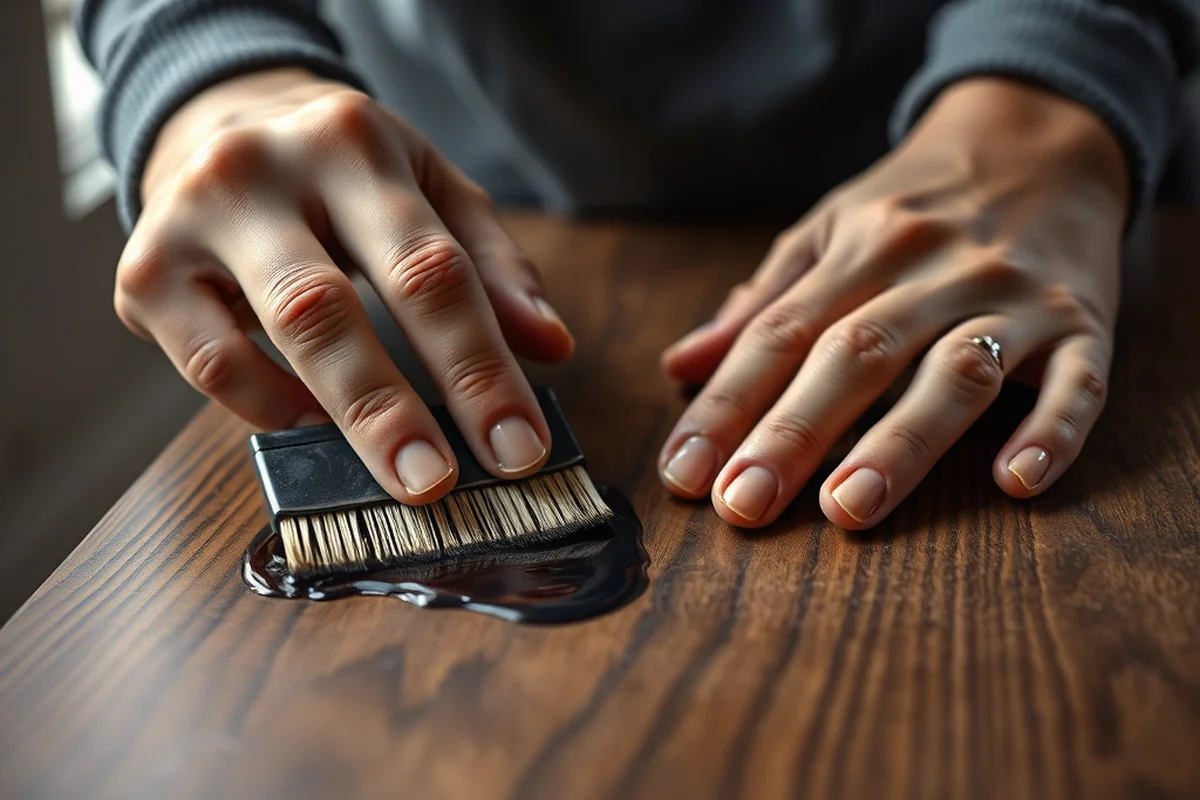
Design is where your personal style comes into play. I’ve created pieces ranging from minimalist shelves to intricate wall art, and each one started with a sketch. I recommend starting with a rough sketch or even a simple drawing to visualize the final piece. This helps you determine the size, shape, and any decorative elements you want to include.
I’ve also found that experimenting with shapes and textures can add a unique touch to your accent. I once added small metal details to a concrete table — it gave it a modern, industrial feel that I loved. Another time, I used a stencil to add a pattern to a wall shelf, which created a subtle yet elegant look. Don’t be afraid to think outside the box and try new things.
Once you have a clear vision, it’s time to finalize your design. I always test my ideas on paper or cardboard before moving on to the actual project. This helps me catch any potential issues early on and avoid wasting materials. It’s a simple step that can save you time and money in the long run.
Design is the bridge between imagination and reality.
Related: Concrete garden accents
Related: Concrete accent cabinet
Related: Concrete accents
Related: Diy wood accent ceiling
Related: Floor accents design center
Related: Home Decor Accents
Related: What Is Home Accents
Related: Wall Decor And Home Accents
Related: How To Type In Accents On Keyboard
Related: How To Use Accents On A Keyboard
Related: Letters With Accents
Pouring and Shaping the Concrete
After mixing the concrete, the next step is pouring it into your mold. I’ve found that pouring slowly and evenly helps prevent air bubbles and ensures a smooth finish. I always pour in layers, allowing each layer to settle before adding the next. This technique helped me achieve a more even surface on several of my projects.
Shaping the concrete is another important step. Once the concrete is in the mold, you can use your hands or a trowel to smooth the surface. I’ve found that using a plastic float is ideal for achieving a smooth finish. It’s also important to avoid overworking the concrete, as this can lead to a rough texture. I’ve learned this the hard way after a few projects where I ended up with uneven surfaces.
Once the concrete is in the mold and shaped to your liking, it’s time to let it cure. The curing process is crucial for the strength and durability of the final piece. I’ve found that allowing the concrete to cure for at least 24 hours in a cool, dry place is ideal. I’ve also used curing compounds in the past, and they helped speed up the process while maintaining the quality of the piece.[3]
Allowing the concrete to cure properly is essential for strength and durability. I always let my pieces cure for at least 24 hours before removing them from the mold.[4]
“I remember the first time I mixed concrete in my garage — the sound of the drill, the smell of the cement, the coolness of…”— DIY Furniture with Concrete Accents editors
Finishing Touches and Surface Treatment
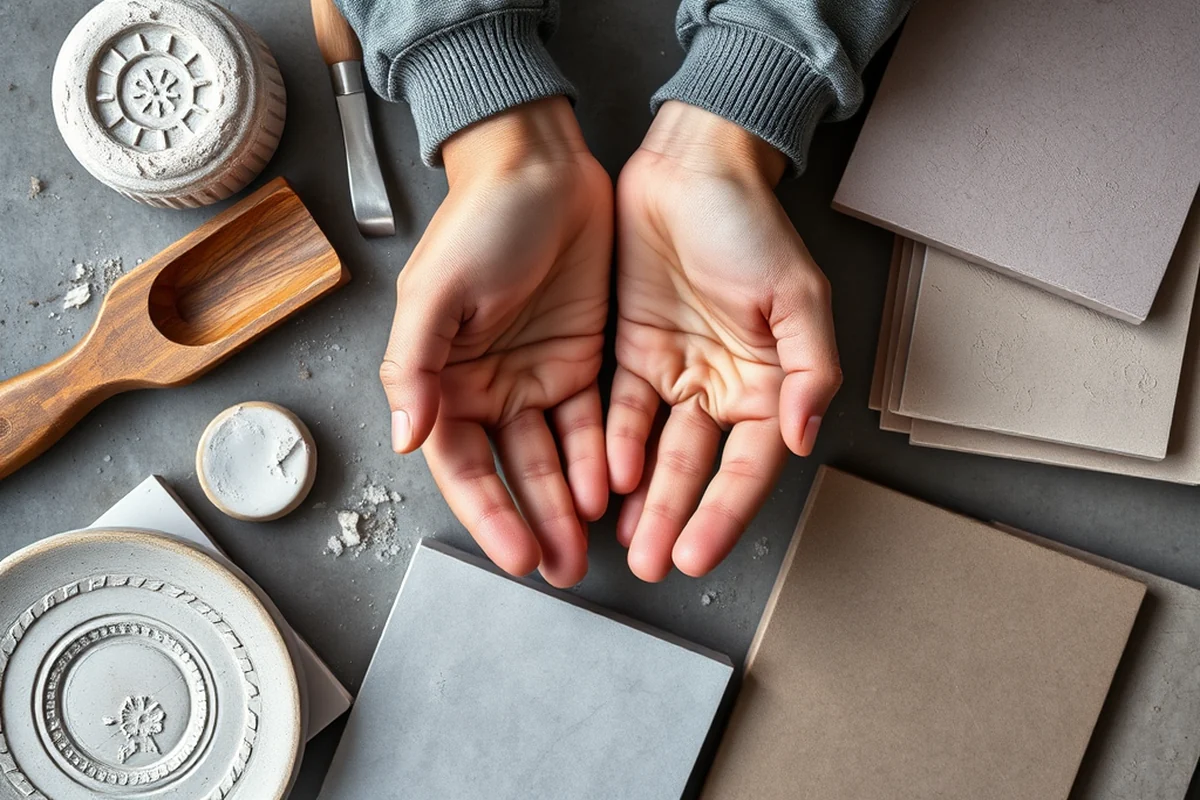
Once the concrete has cured, it’s time to add the finishing touches. I’ve found that sanding the surface is a great way to smooth out any rough edges or imperfections. I use a coarse-grit sandpaper first, then move to a finer grit for a smoother finish. This step has made a huge difference in the overall look of my projects.
Another popular method is using a concrete sealer. I’ve used a clear sealer on several of my projects, and it helped protect the surface from moisture and wear. It also gave the piece a subtle sheen that I really liked. I’ve found that sealing the concrete after sanding is the most effective way to maintain its finish.
I’ve also experimented with staining or painting the surface for added color and texture. I used a concrete stain once, and it gave my piece a rich, deep color that I couldn’t have achieved with paint alone. It’s a great way to personalize your accent and match it with your home’s decor.
Choosing the Right Mold
Choosing the right mold is one of the most important decisions you’ll make. I’ve used both silicone and wooden molds, and each has its advantages. Silicone molds are great for intricate details and are easy to clean, but they can be expensive. Wooden molds are more affordable but require more preparation, like applying a release agent.
I’ve also experimented with using foam molds for simple shapes. They’re lightweight and easy to work with, but they may not hold up as well over time. I’ve found that using a silicone mold for small projects like coasters or candle holders works best, while wooden molds are better for larger items like shelves or tables.
No matter what type of mold you choose, it’s important to prepare it properly. I always apply a release agent before pouring the concrete to ensure it doesn’t stick to the mold. This step alone has saved me from several failed projects and a lot of frustration.
Customizing Your Accent
Customizing your concrete accent is where your personal style really shines. I’ve created pieces with embedded objects like glass, metal, and even fabric. I once embedded small pieces of mirror into a concrete table, which gave it a unique, reflective surface that I loved. Another time, I used colored glass pieces to add a pop of color to a concrete shelf.
I’ve also experimented with using different textures and materials to add depth and interest to my pieces. I used a wire mesh in one project, which created a 3D effect that I really enjoyed. It’s a great way to add visual interest and make your accent stand out.
Customization is all about experimentation. I’ve found that the best way to learn is by trying different ideas and seeing what works. Whether you’re adding decorative elements or changing the texture, the possibilities are endless. Don’t be afraid to get creative and make your accent truly one-of-a-kind.
Customization is the key to making your accent truly unique.
Maintaining and Caring for Your Concrete Accent
Once your concrete accent is complete, it’s important to maintain it properly to ensure it lasts for years. I’ve found that keeping it clean and dry is the best way to prevent any damage or discoloration. I always wipe it down with a soft cloth and mild soap to remove any dirt or grime.
If you notice any cracks or chips, it’s important to address them quickly. I’ve used a concrete patching compound in the past, and it worked well for minor repairs. It’s a simple solution that can help extend the life of your accent and keep it looking new.
I’ve also learned that avoiding direct sunlight and moisture is crucial for maintaining the integrity of your piece. I keep my accents in areas with indirect light and away from sources of moisture to prevent any long-term damage. With proper care, your concrete accent can become a cherished part of your home for years to come.
💰 Budget Build
Create a simple concrete accent using affordable materials and basic tools. Perfect for beginners and those on a tight budget.
⏰ Weekend Version
Complete a small concrete project in one weekend. Ideal for those with limited time but a strong desire to create.
✨ Upgraded Finish
Add a polished or stained finish to your concrete accent for a more refined and elegant look.
📏 Small-Space Adaptation
Design a compact concrete accent that fits perfectly in small apartments or homes with limited space.
🏠 Rental-Safe Option
Create a removable or temporary concrete accent that won’t damage rental property or require permanent installation.
| The mistake | Why it happens | The fix |
|---|---|---|
| Not letting the concrete cure properly. | Concrete that is removed from the mold too soon can be weak and prone to cracking. It’s important to allow it to cure for at least 24 hours before removing it. | Always allow your concrete to cure in a cool, dry place for at least 24 hours before removing it from the mold. |
| Mixing the concrete too dry or too wet. | A mix that’s too dry can be difficult to work with, while a mix that’s too wet can lead to a weak final product. The consistency should be thick enough to hold its shape but not too dry. | Use a ratio of 1 part cement to 2 parts sand to 0.5 parts water for a balanced mix. Mix thoroughly to ensure an even consistency. |
| Not using a release agent on wooden molds. | Concrete can stick to wooden molds, leading to a difficult removal and potential damage to the piece. A release agent helps prevent this. | Always apply a release agent to wooden molds before pouring the concrete. This makes the removal process easier and helps preserve the integrity of the piece. |
| Overworking the surface of the concrete. | Overworking the surface can lead to a rough texture and weaken the final product. It’s important to smooth the surface gently without overworking it. | Use a float or trowel to smooth the surface gently. Avoid overworking the concrete to maintain a smooth and even finish. |
Concrete Home Accents
Common Questions
Can I use a different type of cement for my project?
How long does it take for concrete to fully cure?
What tools do I need to get started?
Can I paint or stain my concrete accent after it’s cured?
References
- School Building - ERIC (files.eric.ed.gov)
- Concrete Masonry Homes: Recommended Practices - HUD User (huduser.gov)
- Emerging trends in sustainable building materials - ScienceDirect.com (sciencedirect.com)
- specifications - Hastings, MI (hastingsmi.gov)
Cite this guide
DIY Furniture with Concrete Accents (2026). Concrete Home Accents. https://concreteshape.com/concrete-home-accents/
Feel free to cite or share this guide.