
Concrete Garden Accents
📖 Table of Contents
- Choosing the Right Mold for Your Concrete Garden Accents
- Mixing the Concrete Properly
- Casting Techniques for Different Garden Accents
- Curing the Concrete Properly
- Finishing and Surface Treatment
- Adding Color and Texture to Your Concrete Accents
- Maintaining Your Concrete Garden Accents
- Make It Your Way
- Frequently Asked Questions
I remember the first time I cast a concrete planter in my backyard — the raw, gritty texture of the mix in my hands, the way the sunlight glinted off the formwork. The quiet satisfaction of watching a simple idea take shape. Concrete garden accents are more than just decoration; they’re a way to bring a piece of your personality into your outdoor space, and they’re surprisingly easy to make. Whether you’re a seasoned DIYer or a complete beginner, this project can be tailored to your skill level and time constraints.[3]
Concrete is tough, durable, and can last for decades if done right. But what makes it truly special is its versatility. You can cast it in any shape you want — from smooth, minimalist planters to intricate, hand-carved garden sculptures. I’ve cast everything from stepping stones to bird baths, and each project taught me something new. The real magic happens when the concrete hardens and you see the final product standing proudly in your yard, a testament to your own craftsmanship.[4]
What I love most about concrete garden accents is that they’re a way to slow down, get hands-on, and create something that will outlast me. It’s a material that’s forgiving in many ways, but it also demands respect — you have to mix it right, pour it right, and let it cure properly. If you’re up for the challenge, I promise it’s worth every minute. And the best part? You can do it all in your own backyard, with just a few tools and a weekend’s worth of time.
Why You'll Love This Project
- Create unique, personalized garden decor that reflects your style.
- Enjoy a rewarding weekend project with minimal cost and effort.
- Add long-lasting durability and visual interest to your outdoor space.
- Customize the shape, texture, and color to match your home’s aesthetic.
Choosing the Right Mold for Your Concrete Garden Accents
As of August 2026, I've used everything from old buckets to custom-built wooden forms, and each has its own pros and cons. For instance, wood molds can be sanded and reused, but they need to be sealed to prevent concrete from sticking. Plastic molds are easier to work with and can be bought in a variety of shapes, but they might not hold up as well over time if not properly maintained.
If you're making a planter or a stepping stone, consider the size and shape that will work best with your garden's layout. For more intricate designs, like decorative garden sculptures, you can create your own mold from scratch using foam or cardboard, and then line it with a plastic sheet.
One thing I learned the hard way is that the mold needs to be perfectly level and stable. I once cast a planter on uneven ground and ended up with a lopsided result. So, always make sure the mold is placed on a flat, firm surface before pouring the concrete.
Apply a release agent like mineral oil or a commercial mold release to the inside of your mold to ensure the concrete doesn't stick. This step is crucial for removing the finished piece without damaging it.
Part of our Easy accents docs guide.
Mixing the Concrete Properly
I mix concrete using a ratio of 1 part cement to 2 parts sand to 3 parts gravel, plus water. This gives it a good balance of strength and workability. However, the exact mix can vary depending on the type of project and the desired texture.
When I first started, I made the mistake of adding too much water, which made the concrete too runny and resulted in a weak final product. The key is to add water gradually and mix until you get a uniform consistency that's not too dry or too wet.
I've found that using a concrete mixer is the easiest way to ensure the mix is well-blended and free of lumps. But if you're working with small batches, a hand drill with a mixing attachment can also work well.
Concrete is a forgiving material, but only if you respect the mix.
Related: Diy accent ceiling
Related: Concrete home accents
Related: Diy home accents
Related: Diy wood accent ceiling
Related: Accents Outlook
Related: Resume With Accents
Related: How To Type Accents In Spanish On Keyboard
Related: Special Characters Keyboard
Related: How To Type In Accents On Keyboard
Related: How To Use Accents On A Keyboard
Casting Techniques for Different Garden Accents
For a basic planter, I simply pour the concrete into the mold and smooth it out with a trowel. However, for more complex shapes, I use a technique called 'slip casting,' where I pour the concrete into a mold and let it set before removing it and adding more layers.
I’ve also used a technique called 'stucco casting,' which involves applying a thin layer of concrete over a mold to create a smooth, polished finish. This works well for decorative accents like garden sculptures and stepping stones.
Regardless of the technique, I always make sure to remove any air bubbles from the mix by poking the surface with a stick or trowel. This helps prevent cracks and ensures a smooth, even finish.
If you're working on a large or complex project, consider using a concrete vibrator to remove air bubbles and ensure a smooth surface. This can make a big difference in the final appearance of your garden accent.
“I remember the first time I cast a concrete planter in my backyard — the raw, gritty texture of the mix in my hands, the…”— DIY Furniture with Concrete Accents editors
Curing the Concrete Properly

I learned the hard way that rushing the curing process can lead to weak, brittle concrete. The ideal curing time is about 7 days, but I’ve found that covering the piece with a plastic sheet and keeping it moist for the first 24 hours significantly improves the strength.[1]
During the curing process, it's important to keep the concrete at a stable temperature and protect it from extreme weather conditions. I’ve had to cover my pieces with a tarp or bring them indoors during unexpected rain or freezing temperatures.
After the initial 24-hour period, I continue to mist the concrete with water every few hours to keep it moist. This helps prevent cracking and ensures a smooth, even finish.[2]
Finishing and Surface Treatment
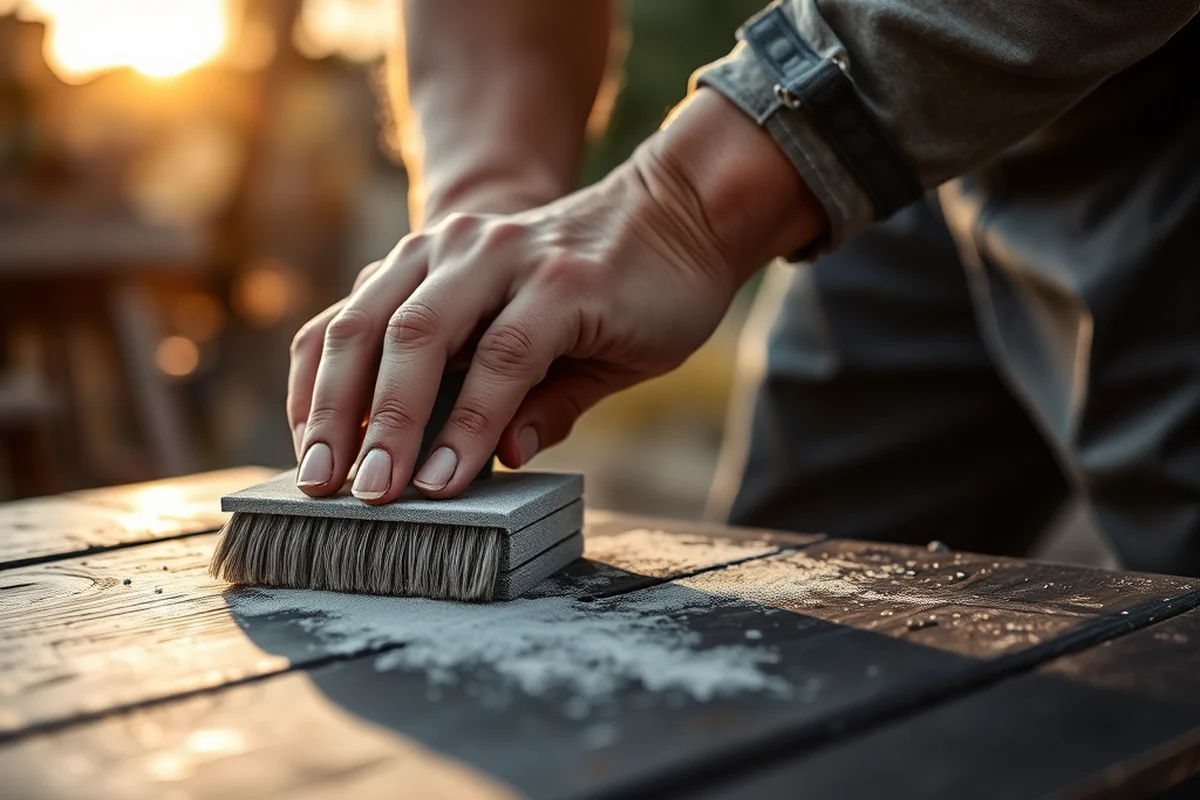
I always sand the surface of my concrete pieces with a coarse grit sandpaper before moving on to finer grits. This helps remove any rough spots and prepares the surface for sealing. I've found that sanding is especially important for pieces that will be placed on the ground or used as stepping stones.
After sanding, I apply a concrete sealer to protect the surface and give it a smooth, even finish. I've used both clear and colored sealers, and each has its own benefits. Clear sealers are great for preserving the natural look of the concrete, while colored sealers can add a pop of color or texture.
For a more textured look, I've experimented with adding things like pebbles, stones, or even colored pigments to the concrete mix before pouring. This not only adds visual interest but can also help with drainage and stability in planters.
Adding Color and Texture to Your Concrete Accents
I've used both liquid and powdered concrete pigments to add color to my garden accents. Liquid pigments are easier to mix into the concrete, while powdered pigments can be added directly to the mix. I've found that using a small amount of pigment can give the concrete a subtle, natural look, while larger amounts can create bold, eye-catching accents.
For texture, I've experimented with adding things like sand, gravel, or even pieces of broken pottery to the mix. This not only adds visual interest but can also help with drainage in planters and stepping stones. I’ve also used molds with intricate patterns to create decorative accents.
One of my favorite techniques is using a concrete stamp to add texture to the surface after the initial pour. This is a quick and easy way to add a decorative element without changing the overall shape or function of the piece.
Color and texture can turn a simple concrete piece into a work of art.
Maintaining Your Concrete Garden Accents
I've found that the best way to clean concrete garden accents is with a mild soap and water solution. I avoid using harsh chemicals or abrasive cleaners, as these can damage the surface. I also make sure to rinse the piece thoroughly after cleaning to remove any residue.
Sealing your concrete accents every few years helps protect them from weather damage and prolongs their lifespan. I've used both water-based and oil-based sealers, and each has its own benefits. Water-based sealers are easier to apply and clean up, while oil-based sealers provide a deeper, richer finish.
One of the most important things I've learned is to avoid placing concrete accents in direct sunlight for long periods of time. This can cause the surface to fade and crack over time. I've found that placing them in shaded areas or using a UV-resistant sealer can help prevent this.
💰 Budget Build
Create stunning garden accents using affordable materials and simple techniques that don’t require advanced tools.
⏰ Weekend Version
Complete a project in one weekend with minimal effort, ideal for beginners and time-crunched DIYers.
✨ Upgraded Finish
Add a touch of luxury with high-end pigments, custom molds, and professional-grade tools for a polished look.
📏 Small-Space Adaptation
Design compact, functional accents that are perfect for small gardens, patios, or balconies.
🏠 Rental-Safe Option
Make temporary or removable accents that are easy to take down and store, ideal for renters or temporary spaces.
| The mistake | Why it happens | The fix |
|---|---|---|
| Using the wrong type of sand or gravel in the mix | This can affect the strength and workability of the concrete, leading to a weaker final product. | Use a consistent mix of sand and gravel with a fine to medium grain size for the best results. |
| Pouring the concrete too quickly into the mold | This can cause air bubbles to form, which can lead to cracks and a weak structure. | Pour the concrete slowly and evenly, and use a stick or trowel to remove air bubbles. |
| Ignoring the curing process | Rushing the curing process can result in a brittle, weak piece that doesn’t last long. | Keep the concrete moist for the first 24 hours and avoid placing it in direct sunlight or extreme temperatures. |
| Not using a release agent on the mold | This can cause the concrete to stick to the mold, making it difficult to remove and potentially damaging the piece. | Always apply a release agent like mineral oil or a commercial mold release to the inside of the mold before pouring the concrete. |
Concrete Garden Accents
Common Questions
What type of concrete should I use for garden accents?
How long does it take for the concrete to cure?
Can I paint my concrete garden accents after they’ve cured?
What tools do I need to get started?
References
- Design Consideration for Water Gardens - Aggie Horticulture (aggie-horticulture.tamu.edu)
- Gabion Glass Accent Hedge, 2015 (arb.umn.edu)
- Concrete Stamps Near Me for Unique Landscaping Design Ideas (cms.ncwc.edu)
- 19. Landscape Design | NC State Extension Publications (content.ces.ncsu.edu)
Cite this guide
DIY Furniture with Concrete Accents (2026). Concrete Garden Accents. https://concreteshape.com/concrete-garden-accents/
Feel free to cite or share this guide.