
Concrete Accent Lamp
📖 Table of Contents
I remember the first time I saw a concrete accent lamp in a friend’s living room — it was like a piece of the earth had been sculpted into something functional. The texture was raw, the weight was solid, and the way it caught the light made the room feel grounded. I knew I had to try making one myself. That's how my journey with concrete in DIY furniture began, and now I’m here to walk you through how to make your own concrete accent lamp.
Concrete is one of the most versatile materials I've worked with, especially with furniture. It’s not just about the look — it's about the experience. Pouring concrete into a mold is like casting a memory, and the result is a piece that feels uniquely yours. My first lamp was a learning curve, but with the right tools and techniques, you can achieve a professional finish in just a weekend.
This guide is for anyone who wants to add a unique, handcrafted touch to their space. Whether you're a first-time DIYer or a seasoned builder, the concrete accent lamp is a project that’s both rewarding and achievable. I'll walk you through every step, from preparing the mold to finishing the surface, so you can create a piece that’s as practical as it is beautiful.
Why You'll Love This Concrete Accent Lamp
- A one-of-a-kind, handcrafted piece that adds character and depth to any room.
- Durable and long-lasting, with a matte or polished surface that can be customized to suit your style.
- A weekend project that only requires basic tools and materials you can easily source.
- Versatile enough to complement modern, rustic, or industrial interiors.
Choosing the Right Mold and Base
As of August 2026, I used a 6-inch wide, 12-inch tall plastic cylinder from a craft store — it was affordable and had smooth edges, which made finishing the lamp easier. The base should be sturdy, so I used a 2-inch thick piece of MDF, which I sanded and sealed with wood glue to avoid any absorption from the concrete.
If you can't find a cylinder mold, you can use a hollowed-out piece of wood, but be sure to line it with plastic sheeting to prevent the concrete from sticking. I also added a small wooden rod through the center of the mold to help with the pouring process and to keep the lamp upright once cured.
The mold and base will determine the final look and stability of your lamp, so take the time to choose the right materials. I found that a smooth, non-porous surface on the mold helped achieve a cleaner finish, while the MDF base gave the lamp a solid, grounded feel.
A 6-inch wide, 12-inch tall plastic cylinder is ideal for a basic lamp. It’s easy to find, affordable, and gives a clean, uniform shape.
Mixing the Concrete
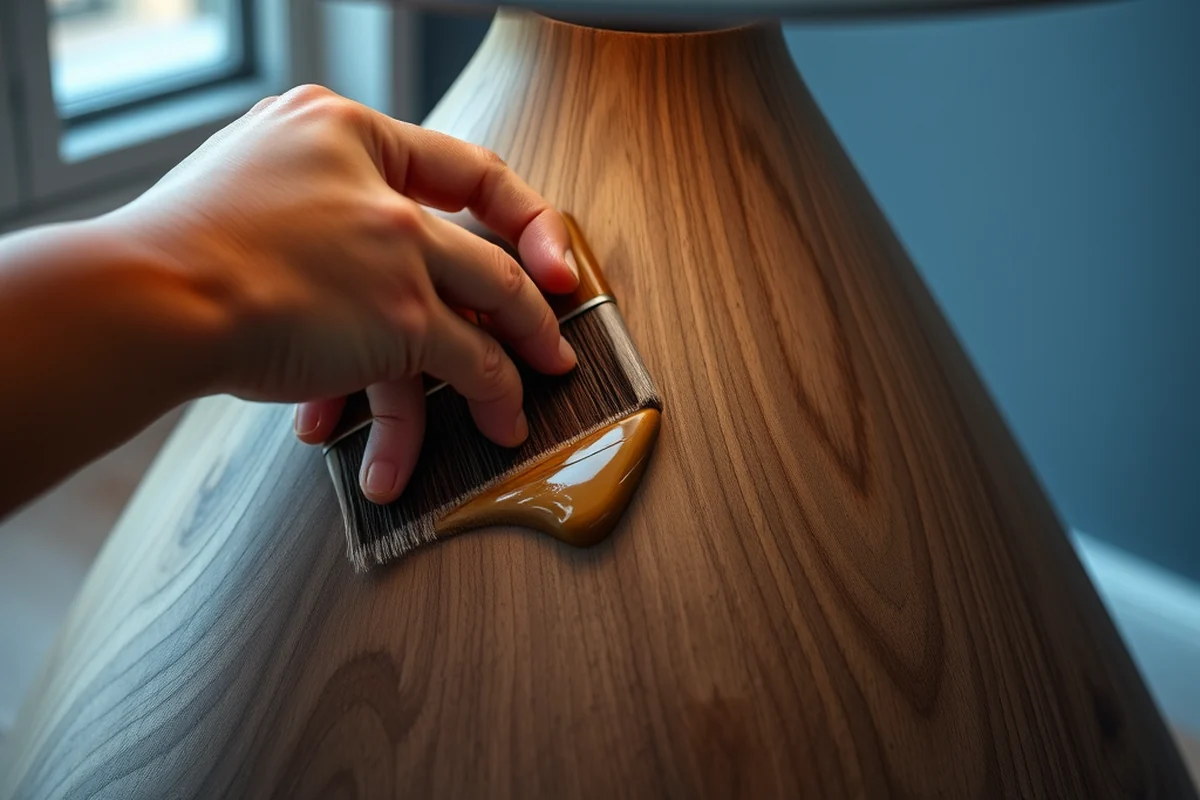
The mix I used was 1 part Portland cement, 2 parts sand, and 0.3 parts water. I added a teaspoon of acrylic paint to give it a subtle color — it wasn’t enough to fully tint the concrete, but it added depth and character.
I mixed the ingredients in a large plastic bucket, using a drill with a mixing attachment to ensure it was thoroughly combined. It took about 5 minutes of mixing to get the right consistency — thick but pourable. If it was too dry, I added a little more water, but I was careful not to make it too runny.
After mixing, I let the concrete rest for 5 minutes so the ingredients could settle. This step made the concrete easier to work with and helped avoid air bubbles when I poured it into the mold.
Mixing concrete is an art — get it right, and your lamp will be strong and smooth.
Related: Example of accent lighting
Related: Diy outdoor accent lighting
Related: Nashley Concrete Accent Lamp
Related: Small floor accent light
Related: Concrete Accent Lights
Related: What Is Accent Pieces
Related: How To Do The N With Accent On Keyboard
Related: I With Accent
Related: How To Type Accent On A Keyboard
Related: U With Accent
Related: U Accent Mark
Pouring the Concrete
I poured the concrete into the mold in three layers, each time tapping the sides of the mold with a rubber mallet to remove air bubbles. This helped prevent cracks later on. The first layer was about 1/3 of the mold’s height, and I let it rest for 10 minutes before adding the next.[1]
I used a small piece of scrap wood to level the concrete as I filled it, ensuring the surface was even. This made the lamp look more professional and uniform. I also used a small tool to smooth the top of the concrete once it was filled.
After pouring the final layer, I covered the mold with a plastic sheet and let it sit for 24 hours. During this time, the concrete began to harden, and I was careful not to disturb it. Once it was set, I removed it from the mold and let it cure for another 48 hours.
Tap the sides of the mold with a rubber mallet after each layer to remove air bubbles and ensure a dense, crack-free finish.
“I remember the first time I saw a concrete accent lamp in a friend’s living room — it was like a piece of the earth…”— DIY Furniture with Concrete Accents editors
Related: What Is Accent Tiles
Adding the Light Source

I attached a small, 3-inch diameter glass shade to the base of the lamp using a metal bracket. The bracket was drilled to fit the base and secured with screws. The glass shade was chosen for its clarity and ability to diffuse the light evenly.
I used a 60-watt equivalent LED bulb, which is energy-efficient and doesn’t produce too much heat. The bulb was inserted into the shade, and the wiring was carefully routed through the base to keep it hidden and safe.
I made sure the bulb was centered within the shade, and I used a small piece of cardboard to test the fit before securing everything in place. This helped me avoid any mistakes during the final installation.
Finishing the Surface
After the lamp had fully cured, I used a fine-grit sandpaper to smooth out any rough spots on the surface. I worked in circular motions, being careful not to sand too aggressively and remove too much material.
Once the surface was smooth, I applied a coat of concrete sealer. This helped protect the lamp from moisture and made the surface more durable. I let the sealer dry completely before applying a second coat.
I also added a few drops of acrylic paint to the surface for a subtle color variation. This gave the lamp a unique, handcrafted look that made it feel more personal and one-of-a-kind.
Mounting the Lamp
I attached a small, 2-inch wide metal bracket to the bottom of the lamp using epoxy. The bracket was chosen for its strength and ability to hold the weight of the lamp.
I used a level to make sure the bracket was perfectly aligned with the base. Once the epoxy had set, I placed the lamp on top of the bracket, and it sat securely without any wobbling.
I checked the stability of the lamp by gently pushing it from the sides and making sure it didn’t move. This step was crucial to ensure the lamp was safe and ready to use.
A well-mounted lamp is the final touch that brings your project to life.
Curing and Final Touches
I let the lamp cure for an additional 48 hours after the initial 24-hour period. This gave the concrete time to harden fully and prevented any unexpected cracking or shifting.
Once the lamp was fully cured, I used a small brush to apply a final coat of sealer. This helped protect the surface from dust and made it easier to clean in the future.
I also used a small piece of felt to wrap around the bottom of the lamp, which helped protect the floor from scratches. This was a small but thoughtful detail that made the lamp more functional and safe to use.
💰 Budget Build
Use a 12-inch tall plastic cylinder and a simple MDF base with a felt pad for a low-cost, beginner-friendly option.
⏰ Weekend Version
A simplified version that can be completed in a single day using quick-setting concrete and a pre-made mold.
✨ Upgraded Finish
Use a polished concrete finish and a brass or copper base for a more luxurious look that stands out in any room.
🏠 Small-Space Adaptation
Create a smaller, 6-inch wide lamp with a narrow MDF base for a compact, space-saving design.
🔒 Rental-Safe Option
Use removable adhesive and a lightweight base to ensure the lamp can be easily taken down and moved without damaging the rental unit.
| The mistake | Why it happens | The fix |
|---|---|---|
| Using too much water in the concrete mix. | Too much water can cause the concrete to be weak and prone to cracking after curing. | Use the correct ratio of water to cement and sand (1:2:0.3) to ensure a strong and durable mix. |
| Not removing air bubbles during pouring. | Air bubbles can cause weak spots in the concrete and make the lamp less stable. | Tap the mold with a rubber mallet after each layer to remove air bubbles and ensure a smooth finish. |
| Not letting the lamp cure properly. | If the lamp is used too soon after pouring, it can crack or break due to the concrete not being fully hardened. | Let the lamp cure for at least 72 hours in a dry, cool place before using it. |
| Using a mold that is too rough or uneven. | A rough or uneven mold can cause the lamp to have an uneven or rough surface after curing. | Use a smooth, non-porous mold and line it with plastic sheeting to ensure a clean, even finish. |
Concrete Accent Lamp
Common Questions
Can I use a different type of cement for the lamp?
How long does the lamp need to cure before it’s ready to use?
What type of sealer should I use on the lamp?
Can I add color to the lamp without using paint?
References
- CITY OF APPLETON STANDARD SPECIFICATIONS FOR ... (appletonwi.gov)
Cite this guide
DIY Furniture with Concrete Accents (2026). Concrete Accent Lamp. https://concreteshape.com/concrete-accent-lamp/
Feel free to cite or share this guide.