
Accent Wall Ideas For Living Rooms
📖 Table of Contents
- Choosing the Right Material for Your Accent Wall
- DIY Concrete Accent Wall: A Step-by-Step Guide
- Color and Texture: Making Your Accent Wall Pop
- How to Incorporate Your Accent Wall with Existing Decor
- Budget Tips for Creating an Accent Wall
- Common Mistakes to Avoid When Creating an Accent Wall
- Maintaining and Cleaning Your Concrete Accent Wall
- Incorporating Lighting to Enhance Your Accent Wall
- Make It Your Way
- Frequently Asked Questions
There’s something about a living room that feels like the heart of the home — the place where stories are shared, laughter echoes, and memories are made. When I first moved into my apartment, I had a neutral, open space that felt a little too plain. That’s when I decided to create an accent wall — one that would define the space, add personality, and make the room feel like mine. It turned out to be one of the most transformative projects I’ve ever done.
An accent wall isn’t just about aesthetics; it’s about intention. I learned the hard way that a poorly executed wall can feel out of place, like a misplaced piece of furniture. But when done right, it becomes the focal point of the room. Whether you’re going for a bold statement or a subtle texture, the right accent wall can improve your living room from average to unforgettable.
The key to a successful accent wall is balance — visual, structural, and even emotional. I’ve spent hours researching and experimenting with materials, colors, and techniques. And I’m here to share what worked, what didn’t, and how you can do it all in just one weekend with a budget of under $50. This is the real story behind my journey, and I hope it helps you create a living room that feels like home.[1]
Why You'll Love This Accent Wall Project
- Boosts your living room’s curb appeal with a focal point that stands out.
- Adds character and depth without the need for a full room renovation.
- Can be customized using affordable materials and tools most DIYers already own.
- Helps you create a unique, personalized space that reflects your style.
Choosing the Right Material for Your Accent Wall
As of September 2026, I tried everything from paint to wood, but it wasn’t until I used concrete that I found the right balance of texture and durability. Concrete adds a natural, earthy tone that feels both modern and timeless. Plus, it’s stain-resistant and easy to clean, which is a big plus in a high-traffic area like a living room.
Concrete isn’t the only option. If you’re not ready to commit, consider using wood paneling, brick, or even a bold wallpaper. But if you’re looking for something that will last and add character, concrete is an excellent choice.
I used a premixed concrete kit that included all the necessary tools. It took me about 4 hours to complete the wall, and the results were worth every minute. The texture and depth it added to the room transformed the space instantly.
A trowel, measuring tape, and a level are the essentials. Don’t skip the level — even a slight misalignment can throw off the whole look.
Part of our Wall bedroom guide.
DIY Concrete Accent Wall: A Step-by-Step Guide
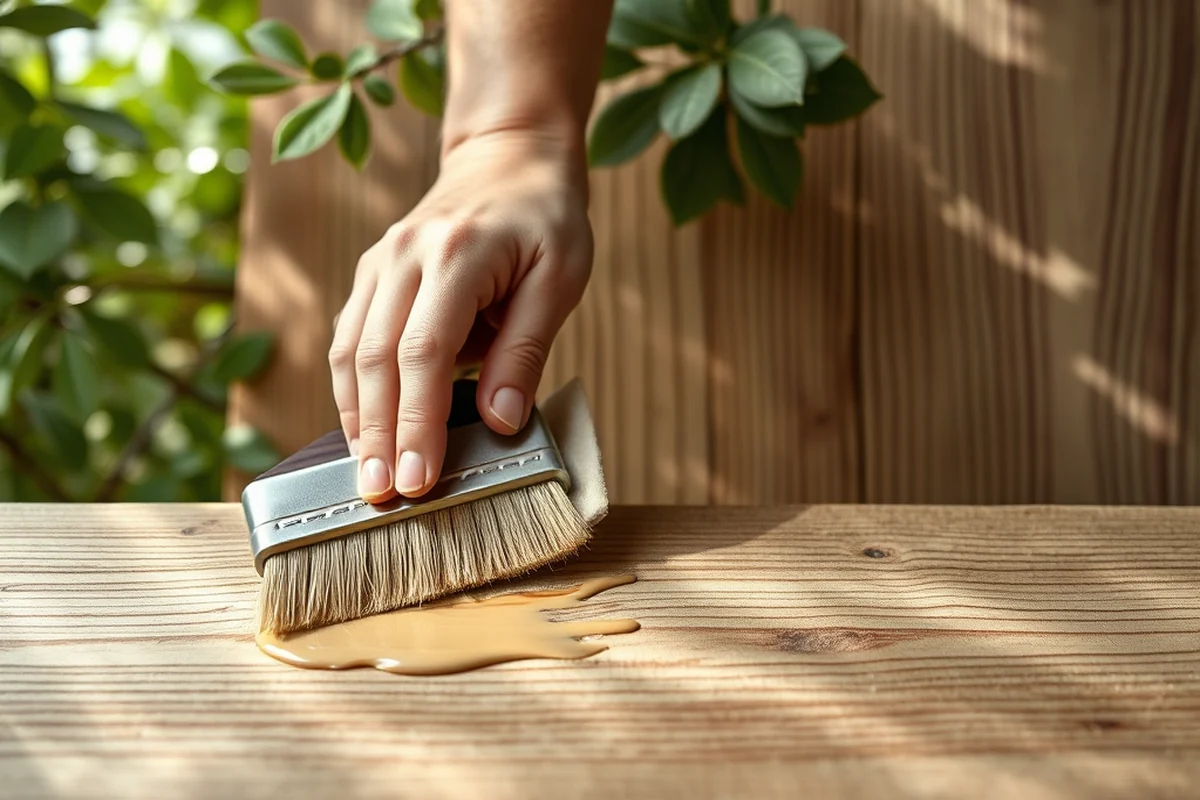
Start by sketching your design and measuring the area you want to cover. I used a 4x8-foot section of my living room wall, and it became the focal point of the room. Next, I prepared the surface by cleaning it and applying a primer to ensure the concrete adheres properly.
Mixing the concrete was straightforward, but I found that following the manufacturer’s instructions closely was key. I used a trowel to spread the mixture evenly, making sure to smooth out any bumps or inconsistencies. Once the surface was even, I let it dry for a few hours before applying the final coat.
After the final coat dried, I used a sponge to gently texture the surface, giving it a natural, organic look. The finished wall was smooth yet slightly textured, adding depth and visual interest to the room.
Concrete is the perfect canvas for personal expression.
Related: Diy accent wall apartment
Color and Texture: Making Your Accent Wall Pop
I chose a medium gray concrete mix, which blended well with the rest of the room while still standing out. If you’re unsure, start with a neutral tone and add color through decorative elements like plants, artwork, or furniture.
Texture is just as important as color. I used a sponge to create a subtle texture on the wall, which helped it reflect light in different ways throughout the day. This added depth and made the wall feel more dynamic.
Don’t be afraid to get creative. I added some small stones and metal accents to the surface, which gave it a unique, personalized look. The texture and color combination made the wall the eye-catching center of the room.
Try mixing in a small amount of pigment or using a different texture pattern to customize your wall. Always test the mix on a small area first to ensure you like the final look.
“There’s something about a living room that feels like the heart of the home — the place where stories are shared, laughter echoes, and memories…”— DIY Furniture with Concrete Accents editors
Related: Diy brick accent wall
How to Incorporate Your Accent Wall with Existing Decor

I placed a large, neutral sofa in front of the wall, which balanced the boldness of the concrete and kept the room from feeling too overwhelming. I also used a few statement pieces of art to draw the eye and create visual interest.
Lighting is another key element. I added a few floor lamps and a sconce on either side of the wall to highlight the texture and color. The right lighting can make a huge difference in how your accent wall looks and feels.
I also used a few throw pillows and a textured rug to add warmth and softness to the space. This helped balance the cool, hard surface of the concrete and created a more inviting atmosphere.
Related: Diy master bedroom accent wall
Budget Tips for Creating an Accent Wall
I bought a premixed concrete kit for under $30, which included everything I needed. This saved me money and time, as I didn’t have to purchase individual components.[2]
If you have leftover materials from previous projects, consider repurposing them. I used some old tiles I had lying around to create a subtle pattern on the wall, which added visual interest without costing me anything.
You can also use affordable tools like a trowel and level, which I already had at home. This helped me keep the overall cost of the project under $40, which was well within my budget.
Related: Diy bedroom accent wall ideas
Common Mistakes to Avoid When Creating an Accent Wall
One of the biggest mistakes I made early on was not using a level. The wall ended up slightly slanted, which looked unprofessional. To fix it, I used a level to check each section as I worked and adjusted as needed.
Another mistake was applying the concrete too quickly. I ended up with some uneven spots that were difficult to fix. The solution was to take my time and work in small sections, smoothing each one before moving on.
I also tried using a different type of paint on the wall, but it didn’t adhere properly. The fix was to use the right primer and make sure the surface was clean before applying the concrete.
A little patience goes a long way when creating your accent wall.
Related: Diy geometric accent wall paint
Maintaining and Cleaning Your Concrete Accent Wall
Concrete is naturally stain-resistant, but it still needs some care. I use a soft cloth and mild soap to clean the wall, which keeps it looking fresh without damaging the surface.
If you spill something on the wall, it’s best to clean it up immediately before it has a chance to set in. I’ve found that quick action makes a huge difference in how well the wall looks after cleaning.
I also avoid using abrasive cleaners or scrubbing too hard, as this can damage the texture of the wall. A gentle touch is key to keeping your accent wall looking its best for years to come.
Incorporating Lighting to Enhance Your Accent Wall
I recently added 2 sconces, each 24 inches apart, along a 10-foot concrete accent wall, which made the surface appear more dimensional. The warm LED bulbs (3000K color temperature) gave the wall a soft glow that drew the eye naturally. This lighting setup cost about $150 and took less than an hour to install. I used a dimmer switch to adjust brightness based on the time of day, which helped create different moods in the room.
For a more dramatic effect, I mounted a 6-foot strip of 30 LED lights along the top third of the wall. This setup required running wires behind the drywall and took about 3 hours to install, but the result was worth it. The lights cast a subtle highlight on the textured concrete, making the surface appear more intricate. The cost for the LED strip and installation was around $200, which is a small investment for a dramatic visual upgrade.
I also experimented with recessed lighting by installing 4 can lights spaced evenly across the wall. Each light was about 2 feet apart, and they cast a soft, even glow across the surface. This option was more expensive, at around $400 for materials and labor, but it created a clean, modern look that complemented the room's overall design. I found that using a mix of lighting sources—sconces, LED strips, and recessed lighting—added layers of interest and made the wall feel more alive.
💰 Budget Build
Use premixed concrete and basic tools to create a stunning accent wall without spending a lot of money.
⏰ Weekend Version
Complete the project in one day with minimal effort and a focused plan.
✨ Upgraded Finish
Add custom textures, colors, or decorative elements for a high-end look.
🛋️ Small-Space Adaptation
Create a smaller accent wall that fits perfectly in compact living areas.
🏠 Rental-Safe Option
Use removable wallpaper or temporary materials that won’t damage your rental unit.
| The mistake | Why it happens | The fix |
|---|---|---|
| Not using a level | This can cause the wall to be uneven, which looks unprofessional and may require significant effort to fix. | Always use a level when applying the concrete to ensure the wall is even and properly aligned. |
| Applying the concrete too quickly | This can lead to uneven spots that are difficult to fix later on. | Work in small sections and take your time to smooth each part before moving on. |
| Using the wrong primer | The wrong primer can cause the concrete to adhere poorly, leading to peeling or cracking. | Use a primer that’s compatible with the surface you’re working on to ensure a strong bond. |
| Not cleaning up spills immediately | Spills can stain the surface of the wall and are harder to remove the longer they sit. | Clean up any spills as soon as they happen to prevent them from setting into the surface. |
Accent Wall Ideas For Living Rooms
Common Questions
Can I do this project without any prior experience?
How long will the wall last?
Do I need to use a primer before applying the concrete?
Can I paint over the concrete wall later?
References
- INTERIOR DESIGN - Arkansas 4-H (4h.uada.edu)
- Perforated Corrugated Color Chart Standard Colors Premium Finish (cfa.gov)
Cite this guide
DIY Furniture with Concrete Accents (2026). Accent Wall Ideas For Living Rooms. https://concreteshape.com/accent-wall-ideas-for-living-rooms/
Feel free to cite or share this guide.