
Diy Brick Accent Wall
📖 Table of Contents
I remember the first time I stood in front of a blank wall, staring at it like it was a blank canvas waiting for my creativity to take over. I had always loved the rustic charm of brick, but I never thought I'd have the chance to bring it into my own home. That changed when I decided to create a DIY brick accent wall in my living room. What started as a weekend project turned into a conversation piece for all my guests, and the way the sunlight hit those bricks made me feel like I had just stepped into a gallery.
Building a brick accent wall was a challenge, but the satisfaction of transforming a space with my own hands was worth every moment. I didn't have a lot of experience with masonry, but I found that with the right tools and some patience, even a beginner could pull it off. I learned that bricks aren't just for the outside of houses—they can be a stunning focal point inside, adding texture, warmth, and a unique character to any room.[1]
The DIY brick accent wall became more than just a project; it was a lesson in perseverance, resourcefulness, and the power of DIY. I filled my basement with bricks I found at a local salvage yard, and I used a masonry saw to cut them to fit the space. It took time, but the result was worth it. This wall isn't just a visual statement—it's a testament to what you can create when you take the time to plan and execute a project with care.
Why You'll Love This DIY Brick Accent Wall
- Adds instant character and depth to any room
- Can be customized to match your home’s style
- Uses affordable, easily sourced materials
- A great way to upcycle old bricks or leftover materials
Choosing the Right Bricks and Materials
As of August 2026, I found my bricks at a local salvage yard and a few online marketplaces. It’s important to choose bricks that are not only visually appealing but also strong enough to hold up in a home environment. I ended up picking a mix of red and gray bricks to give the wall a subtle contrast and a more dynamic look.
Bricks can vary greatly in weight and texture, so it's worth testing a few before making a full purchase. I bought a sample pack from a local supplier to see how they would look in my living room. I also made sure the bricks were free of cracks or chips that could compromise the integrity of the wall.
In addition to the bricks, I used a mortar mix, a trowel, and a level to ensure the wall was even and stable. I found a high-quality, premixed mortar that was easy to work with and didn’t require any special mixing skills.
Always buy a few extra bricks than you think you’ll need. It’s easy to miscalculate the number, and having extras on hand ensures you don’t run out mid-project.
Part of our Wall bedroom guide.
Measuring and Preparing the Wall Space
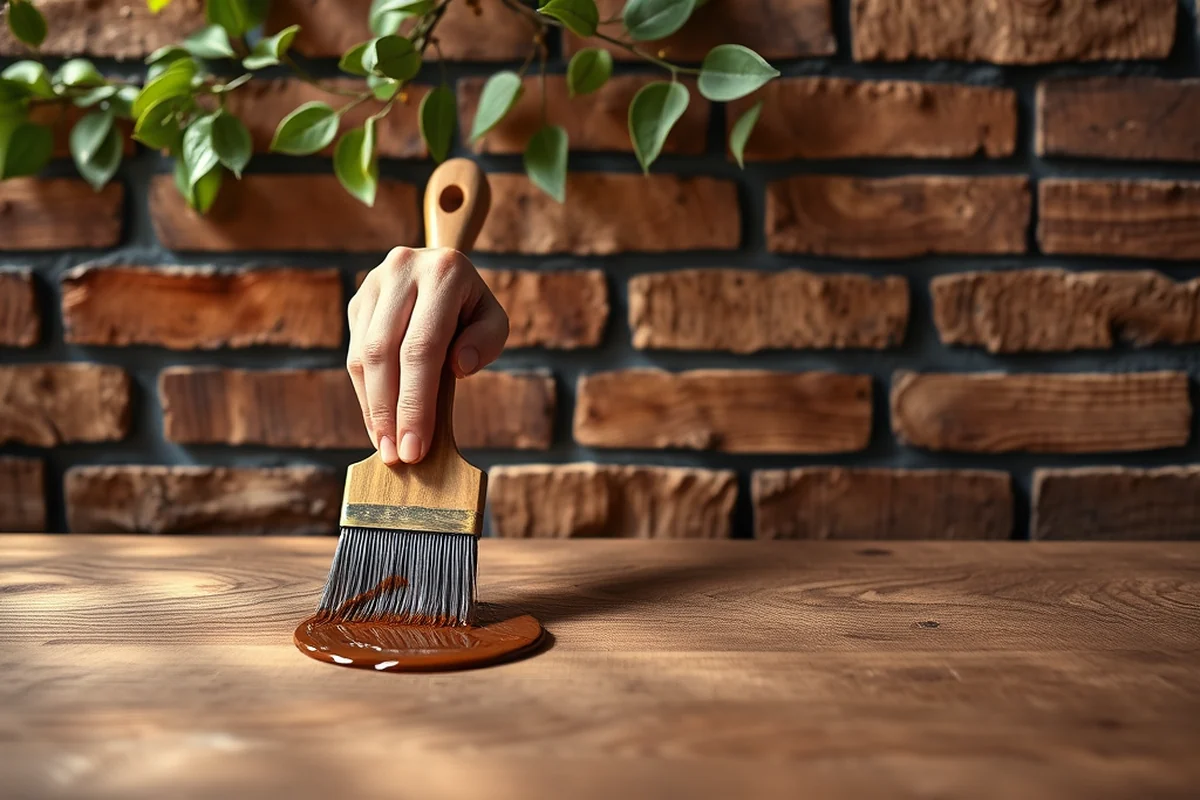
I used a tape measure to determine the exact dimensions of the wall space I wanted to cover. I also measured the height and width of the bricks to calculate how many I would need. I found that the number of bricks required was directly proportional to the size of the wall, so I made sure to be precise.
Before I started laying the bricks, I marked the wall with a level and pencil to indicate where the first row of bricks would be. This helped me ensure the wall would be straight and even once I started laying the bricks. I also used a stud finder to locate the wall studs so I could anchor the base of the wall properly.
I used a laser level to ensure all the bricks were aligned, and I marked the wall every few inches to keep everything even. This step alone saved me from having to redo a whole section later on.
Measure twice, lay once—this is the mantra I lived by while building my brick accent wall.
Related: Diy easy accent wall ideas
Related: Diy small accent wall
Related: Diy master bedroom accent wall
Related: Diy Diamond Accent Wall
Related: Diy Home Accent Wall
Related: What Is Accent Tiles
Related: Diy Geometric Accent Wall
Related: What'S A Accent Wall
Related: How To Get Accent On A On Keyboard
Related: How To Do The N With Accent On Keyboard
Related: I With Accent
Related: Accent Wall With Panels
Related: How To Do A With Accent On Keyboard
Related: Spanish Accent Marks
Laying the First Row of Bricks
I started by mixing the mortar according to the instructions on the package. I used a trowel to spread a layer of mortar across the first row of the wall space. I made sure the mortar was evenly distributed and thick enough to hold the bricks in place.
I placed the first brick in the corner of the wall space, making sure it was aligned with my level marks. I then added mortar to the top of the brick and slid the next brick into place, pressing it gently into the mortar. I repeated this process across the entire first row.
I used a level to check that each brick was even with the others, and I adjusted as needed. I found that it was easier to make small adjustments early on rather than trying to fix major misalignments later.
Using a level frequently throughout the process will save you time and frustration. I made it a habit to check each brick with the level before moving on to the next.
“I remember the first time I stood in front of a blank wall, staring at it like it was a blank canvas waiting for my…”— DIY Furniture with Concrete Accents editors
Related: How To Add Accent From Keyboard
Building the Wall Layer by Layer
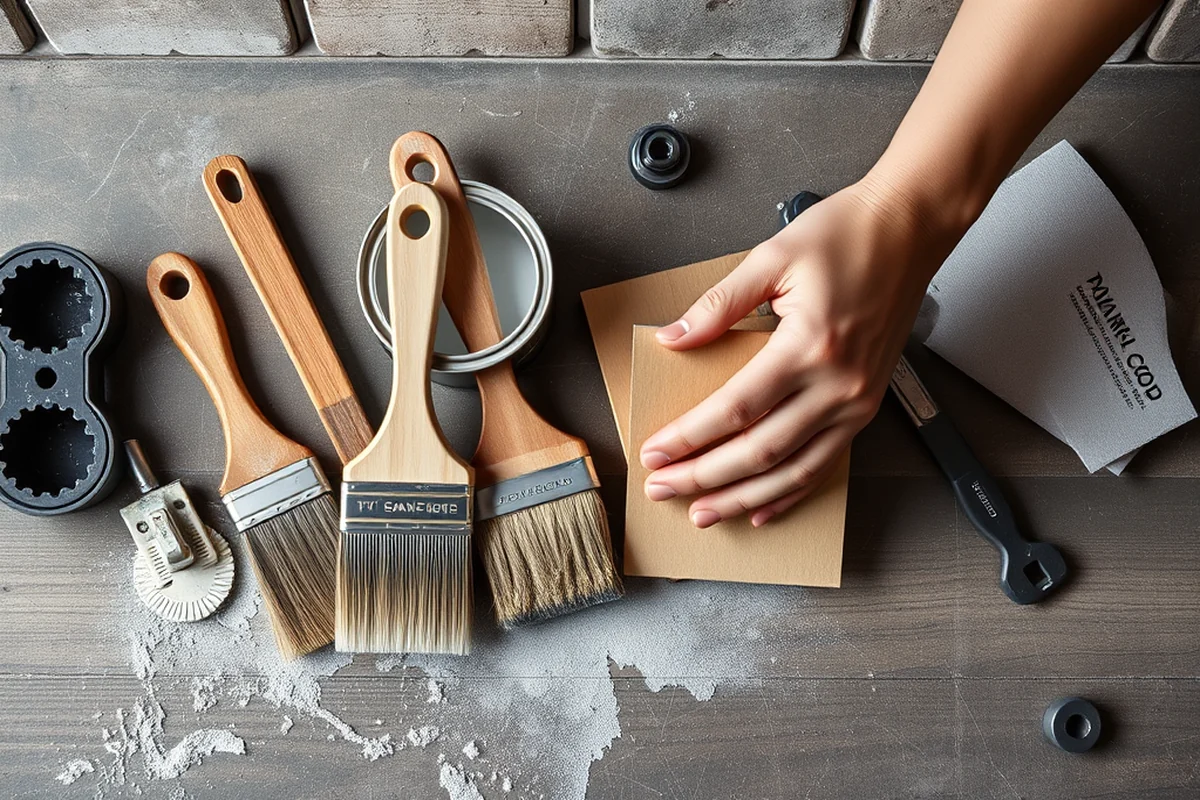
I used a trowel to apply mortar to the top of the first row before placing the second row of bricks. I made sure the bricks in the second row were offset from the ones below, which helped create a stronger bond and a more visually appealing pattern.
I repeated this process for each row, making sure to keep the mortar even and the bricks aligned. I also used a level after every few rows to ensure the wall remained straight and even. This step was critical to maintaining the structure of the wall.
I found that working slowly and methodically was the key to success. Rushing the process led to misalignments and uneven rows, which I had to fix later. Taking the time to lay each row carefully made the final result much more satisfying.
Finishing Touches and Sealing the Wall
After the mortar had fully dried for a few days, I used a soft brush to remove any excess mortar that had spilled over the edges of the bricks. This helped create a cleaner, more polished look. I also used a damp cloth to wipe down the bricks and remove any dust or debris.
Next, I applied a brick sealer to the wall. I chose a clear sealer that would protect the bricks from moisture and stains without altering their natural color. I applied it with a brush and let it dry completely before adding a second coat.
The sealer not only enhanced the look of the bricks but also made them easier to clean in the future. I found that the sealed wall was much more resistant to dust and grime, which made maintenance much simpler.
Adding a Frame or Border
I used a wooden frame to create a border around the wall. I painted the frame in a color that complemented the bricks and the rest of the room. The frame helped frame the brick wall and made it stand out as a focal point.
I also considered adding a metal or stone border to the wall for a more modern or rustic look. I found that the right border could add an extra layer of texture and interest to the wall without overwhelming the space.
Whether you choose a wooden, metal, or stone border, it’s important to ensure it complements the overall design of the room. I made sure the border was proportionate to the size of the wall and that the color and material matched the rest of the space.
A simple wooden frame can transform a basic brick wall into a stunning design statement.
Maintenance and Long-Term Care
I made it a habit to dust the wall weekly to prevent the buildup of dust and grime. I used a soft cloth or a feather duster to gently remove any particles without damaging the bricks.
If the wall ever got dirty, I used a mild soap and water solution to clean it. I made sure to avoid using harsh chemicals or abrasive cleaners that could damage the bricks or the sealer I had applied earlier.
I also checked the wall periodically for any cracks or signs of wear. If I noticed any issues, I used a brick repair compound to fix them before they became more serious. This proactive approach helped keep the wall looking fresh and well-maintained.
💰 Budget Build
Use leftover bricks or repurposed materials to create a unique, cost-effective brick accent wall.
⏳ Weekend Version
A smaller wall that can be completed in a single weekend with minimal materials and effort.
✨ Upgraded Finish
Add a metal or stone border and a high-quality sealer for a polished, professional look.
🏠 Small-Space Adaptation
Create a compact brick feature wall that fits perfectly in a small room or hallway.
🛡️ Rental-Safe Option
Use removable adhesive bricks or temporary wall clings to create a brick accent wall without damaging the rental property.
| The mistake | Why it happens | The fix |
|---|---|---|
| Not using a level regularly during the process | This can lead to an uneven wall that looks messy and unprofessional. | Check your level frequently and make adjustments as needed to keep the wall straight. |
| Using bricks that are not uniform in size or shape | This can create an inconsistent look and weaken the structural integrity of the wall. | Select bricks that are as uniform as possible or plan for intentional variation in your design. |
| Skipping the sealer step | The bricks will be more susceptible to moisture, stains, and damage over time. | Apply a high-quality brick sealer to protect the wall and enhance its appearance. |
| Trying to complete the project in one day | This can lead to rushed work, mistakes, and an uneven final result. | Take your time and work on the project over a few days, allowing the mortar to dry properly. |
Diy Brick Accent Wall
Common Questions
Can I build a brick accent wall on a drywall surface?
How long does the mortar take to dry?
Can I paint the bricks after the wall is built?
What if I make a mistake while laying the bricks?
References
- WA-HAG-168 Surrey School - Maryland.gov (apps.mht.maryland.gov)
Cite this guide
DIY Furniture with Concrete Accents (2026). Diy Brick Accent Wall. https://concreteshape.com/diy-brick-accent-wall/
Feel free to cite or share this guide.