
Diy Wood Wall Accents
📖 Table of Contents
- Choosing the Right Wood for Your Wall Accent
- Measuring and Preparing Your Wall
- Cutting and Shaping the Wood
- Staining and Painting Your Wood Accents
- Mounting Your Wood Accents on the Wall
- Adding a Finishing Touch with Polyurethane
- Customizing Your Wood Accents for Different Spaces
- Make It Your Way
- Frequently Asked Questions
There’s something about the way wood interacts with light, the way it warms a room with its natural grain and texture. I remember the first time I made a simple wood wall accent — it was just a few strips of reclaimed oak, some sandpaper, and a coat of polyurethane. That weekend project transformed my living room from a generic space into something uniquely mine. DIY wood wall accents have a quiet magic: they’re personal, they’re timeless, and they bring a warmth that no mass-produced decor can match.
I’ve spent years experimenting with different kinds of wood, finishes, and styles, and what I’ve learned is that wood wall accents are incredibly versatile. You can go rustic with pine and a distressed finish, or sleek and modern with walnut and a high-gloss coat. The beauty is that they’re not just decorative — they’re functional too, adding depth and texture to any wall without the need for heavy furniture.
The best part? You don’t need to be a professional to pull this off. I’ve walked readers through projects from start to finish, and even beginners can create stunning wall accents with the right tools and a little patience. Whether you’re looking to add a focal point to your entryway or give your bedroom a fresh, organic look, DIY wood wall accents are a smart, satisfying way to make your space feel like home.
Why You'll Love This DIY Project
- Personalized decor that reflects your style and craftsmanship
- Cost-effective way to upgrade your space without breaking the bank
- Flexible design options to suit any room or aesthetic
- Easy to make with beginner-friendly materials and techniques
Choosing the Right Wood for Your Wall Accent
As of August 2026, when I first started making wood accents, I used leftover pieces from a kitchen table project. The grain was irregular, but that gave the final piece a rustic charm. For a more polished look, solid wood like walnut or maple is a good bet — they’re smooth and take finishes well.[1]
Reclaimed wood is a fantastic choice if you’re looking for a unique, story-rich piece. You can find it at salvage yards, or even repurpose old pallets. Just be sure to check for any nails or splinters before you begin.
I’ve made some of my best wall accents using pine — it’s affordable, easy to work with, and takes paint or stain beautifully. If you’re unsure where to start, pick a few different wood samples and see which one speaks to you the most.
Cut small pieces from different woods and test stains or paints on them. This helps you see how each type reacts before committing to a full project.
Part of our Wood accent guide.
Measuring and Preparing Your Wall
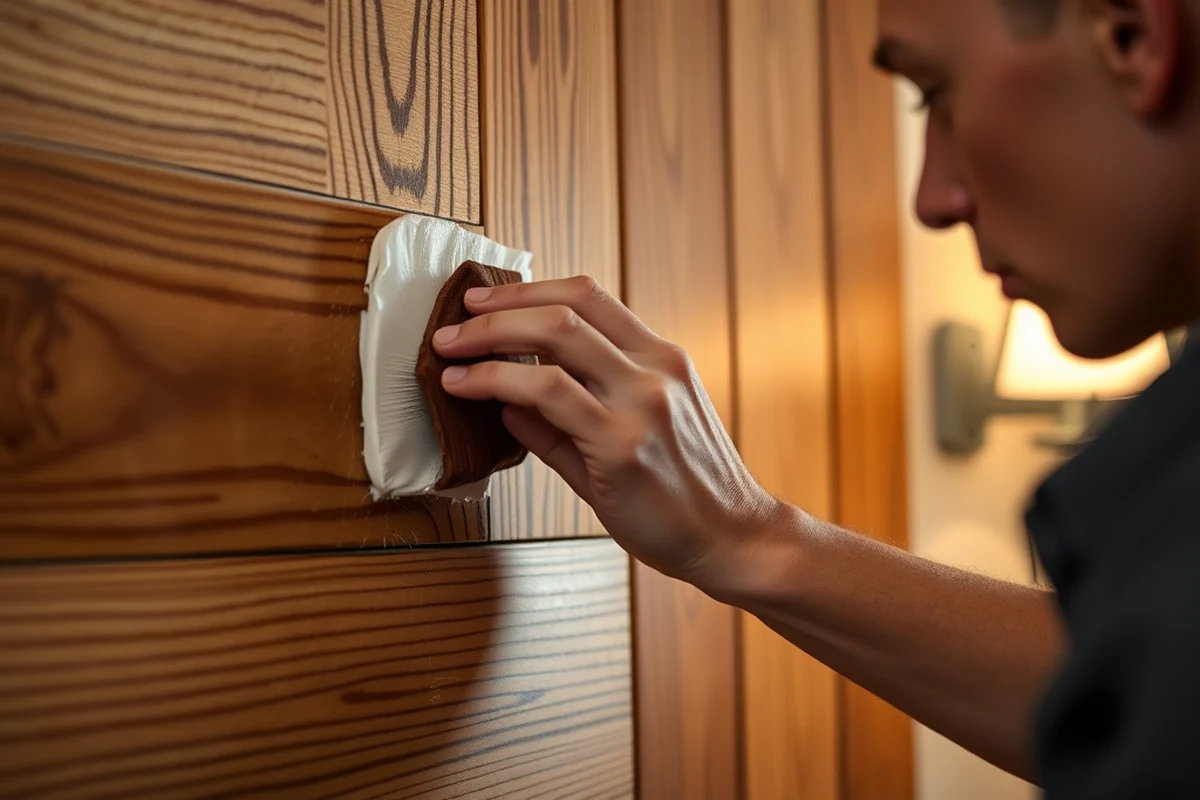
I always use a tape measure and a level to ensure my pieces will fit perfectly. For example, the last time I made a vertical accent panel, I measured the height of the wall and then divided it into three equal sections. That gave me a balanced, symmetrical look.
It’s also important to consider the spacing between the pieces. For a clean, modern look, I like to leave about 1/2 inch between each wood panel. For a more rustic feel, you can space them further apart or even overlap them slightly.
Before attaching anything to the wall, I always mark the spots where I’ll be drilling. This helps me avoid mistakes and makes the process smoother. I’ve had to remove a few marks on my walls before — a small price to pay for a mistake I caught early.
Measure twice, cut once — and mark three times before you drill.
Related: Diy accent wall ideas wood
Related: Diy accent wall with wood
Related: Diy accent wall ideas with paint
Related: Diy easy accent wall
Related: Diy Door Accents
Related: Floor Accents Reviews
Related: What Is Decorative Accents
Related: Wall Decor And Home Accents
Cutting and Shaping the Wood
I use a miter saw for straight cuts and a jigsaw for curved or angled shapes. Always make sure your blade is sharp — a dull blade can tear the wood and leave rough edges that are hard to sand later.
For a more organic look, I sometimes use a router to shape the edges. It’s a bit more advanced, but the results are worth it. If you don’t have a router, a simple hand sander can also help you achieve a smooth finish.
After cutting, I always run the pieces through a sanding machine or use hand sandpaper. This removes any rough spots and prepares the wood for staining or painting. I’ve found that sanding in the direction of the grain gives the smoothest results.
Attach a straight edge or a guide to your saw to ensure all your cuts are perfectly aligned. This is especially useful when making multiple pieces of the same size.
“There’s something about the way wood interacts with light, the way it warms a room with its natural grain and texture.”— DIY Furniture with Concrete Accents editors
Staining and Painting Your Wood Accents
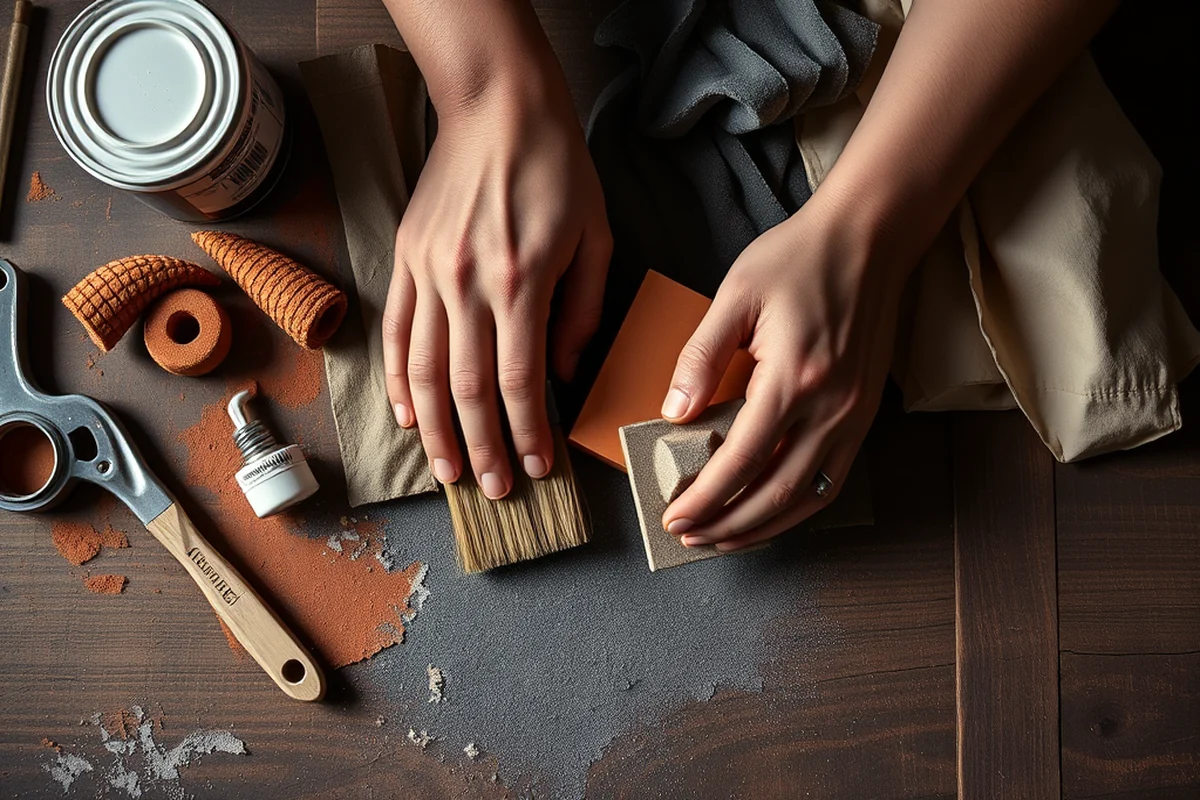
I always start with a light coat of stain, then let it dry completely before applying a second coat. If you want a darker finish, you can use a gel stain or apply multiple layers. Just be sure to sand lightly between coats for a smooth result.
For a painted look, I use a primer first to help the paint adhere better. I’ve found that using a high-quality primer and paint can make a huge difference in the final finish. I often use a brush for a more textured look, but a sprayer is faster for large pieces.
I’ve made some of my favorite accents using a combination of stain and paint. For example, I’ve painted the edges of a wood panel in a bold color while leaving the center unstained — it adds a nice contrast and visual interest.
Mounting Your Wood Accents on the Wall
I always use wall anchors and screws to ensure the pieces are attached properly. For lightweight accents, a few strong adhesive strips can work too, but I prefer the extra security of screws.
I’ve used D-rings and picture hanging hardware for some of my larger pieces. This allows me to easily remove or reposition them if needed, which is great for seasonal changes.
Before mounting, I always test the weight and balance of the piece to make sure it’s secure. I’ve had a few small accents fall off before — a lesson learned the hard way.
Adding a Finishing Touch with Polyurethane
I always apply two to three coats of polyurethane, letting each coat dry completely before applying the next. This creates a strong, glossy finish that enhances the wood’s natural color and grain.
I’ve used both water-based and oil-based polyurethane, but I’ve found that water-based options dry faster and are easier to clean up. Oil-based gives a richer look but takes longer to dry.
After the final coat dries, I always wipe the surface with a clean cloth to remove any dust or fingerprints. This helps ensure the finish is smooth and even.
A few coats of polyurethane can turn a good project into a great one.
Customizing Your Wood Accents for Different Spaces
In the kitchen, I often use moisture-resistant wood like cedar or teak for accents. These woods are naturally resistant to humidity and won’t warp as easily.
For the bathroom, I’ve used sealed wood panels with a waterproof polyurethane finish. This helps protect the wood from steam and water exposure.
In a bedroom, I’ve used softer woods like maple or birch for a more relaxed, cozy feel. These woods are easier to work with and take stain and paint beautifully.
💰 Budget Build
Create a rustic look using reclaimed pallet wood and a simple stain. This is perfect for beginners and costs under $30.
⏰ Weekend Version
Make a simple horizontal accent panel in one day using pre-cut wood and a quick stain finish. Ideal for quick transformations.
✨ Upgraded Finish
Add a high-gloss polyurethane finish and use a router to shape the edges for a sleek, modern look. Great for formal spaces.
🏠 Small-Space Adaptation
Create a vertical accent panel with narrow wood strips for a space-saving design that adds depth to small rooms.
🛡️ Rental-Safe Option
Use removable adhesive hooks and lightweight wood for a temporary accent that won’t damage walls or leave marks.
| The mistake | Why it happens | The fix |
|---|---|---|
| Skipping the sanding step | Sanding is essential for a smooth finish and proper paint or stain adhesion. Skipping it can lead to a rough, uneven look. | Always sand your wood before applying any finish. Use fine-grit sandpaper for the best results. |
| Using the wrong type of wood | Some woods are more prone to warping or cracking, especially in humid environments. Choosing the wrong wood can compromise the look and longevity of your accent. | Select a wood that’s suitable for the room where you’ll be installing the accent. Cedar and teak are good for high-moisture areas. |
| Over-staining or over-painting | Applying too much stain or paint can make the finish look uneven and can lead to peeling or flaking over time. | Always apply thin, even coats and let each layer dry completely before applying the next one. |
| Mounting the accents too close to the wall | Mounting the pieces too tightly against the wall can cause them to warp or crack over time due to humidity and temperature changes. | Leave a small gap between the wood and the wall to allow for expansion and contraction. |
Diy Wood Wall Accents
Common Questions
What kind of wood is best for beginners?
How do I attach the wood to the wall securely?
Can I paint my wood accents instead of staining them?
What is the best way to sand the wood?
References
- School Building - ERIC (files.eric.ed.gov)
Cite this guide
DIY Furniture with Concrete Accents (2026). Diy Wood Wall Accents. https://concreteshape.com/diy-wood-wall-accents/
Feel free to cite or share this guide.