
Diy Wall Accents
📖 Table of Contents
- Choosing the Right Materials for Your Wall Accent
- Designing Your Wall Accent: Planning and Layout
- Adding Texture and Color with Paint and Stains
- Mounting Your Wall Accent Safely and Securely
- Adding Lighting to Highlight Your Wall Accent
- Maintaining and Caring for Your Wall Accent
- Customizing Your Wall Accent for Different Spaces
- Make It Your Way
- Frequently Asked Questions
I remember the first time I hung a DIY wall accent in my living room — it felt like I'd unlocked a secret room in my home. It wasn't just about decoration; it was about creating a space that felt truly mine. That first project was a simple concrete slab, and while I messed up the measurements a bit, the final result became a focal point that drew compliments from every guest. DIY wall accents are an accessible, personal way to infuse your space with character without breaking the bank.[1]
Over the years, I've experimented with everything from mosaic tiles to repurposed barn wood, each project teaching me something new about material behavior, design balance, and the patience required for a good finish. One of my favorites involved using old wine bottles to create a mosaic pattern along a hallway wall — it took about a weekend, cost around $40. Now that wall is a conversation piece every time we host. These projects aren't just about looks; they're about the process, the small victories, and the joy of seeing something you built become part of your home.
If you're looking for a way to make your space feel more personal, more alive, DIY wall accents are a perfect starting point. They’re flexible in terms of style, budget, and skill level, and they offer a tangible way to express your creativity. Whether you're a seasoned DIYer or a beginner with a few tools and a lot of imagination, there's something here for you. The key is to start small, experiment, and let your personality guide the way.[2]
Why You'll Love This DIY Wall Accent Project
- It's a low-cost way to add unique, personalized design to your space.
- It allows for creative experimentation with materials, colors, and textures.
- It’s a skill-building project that can be done in a weekend with minimal tools.
- It’s a versatile project that can be adapted to any room or style.
Choosing the Right Materials for Your Wall Accent
As of August 2026, Concrete is a popular choice for wall accents because it's durable, customizable, and can be shaped to fit almost any design. For a simple project, I used a concrete mix and a mold from a hardware store. It took about 30 minutes to mix the concrete and another hour to cure, but the result was a strong, long-lasting accent.[3]
Wood is another great option, especially if you're going for a more rustic or natural look. I once built a wooden panel using repurposed pallet wood, sanded it down, and sealed it with a clear varnish. This project took about a day, but the result was a warm, textured wall feature that added character to the room.
Metal and glass can also be used for wall accents, though they require more specialized tools. I once created a small metal wall art piece using leftover scrap metal and a welder. The process was a bit more involved, but the final product was striking and unique.
Concrete molds are a great way to create consistent, clean shapes for wall accents. They can be purchased from hardware stores or made from materials like cardboard and duct tape. I found that using a mold significantly reduced the time and effort required to shape the concrete.
Part of our Wood accent guide.
Designing Your Wall Accent: Planning and Layout
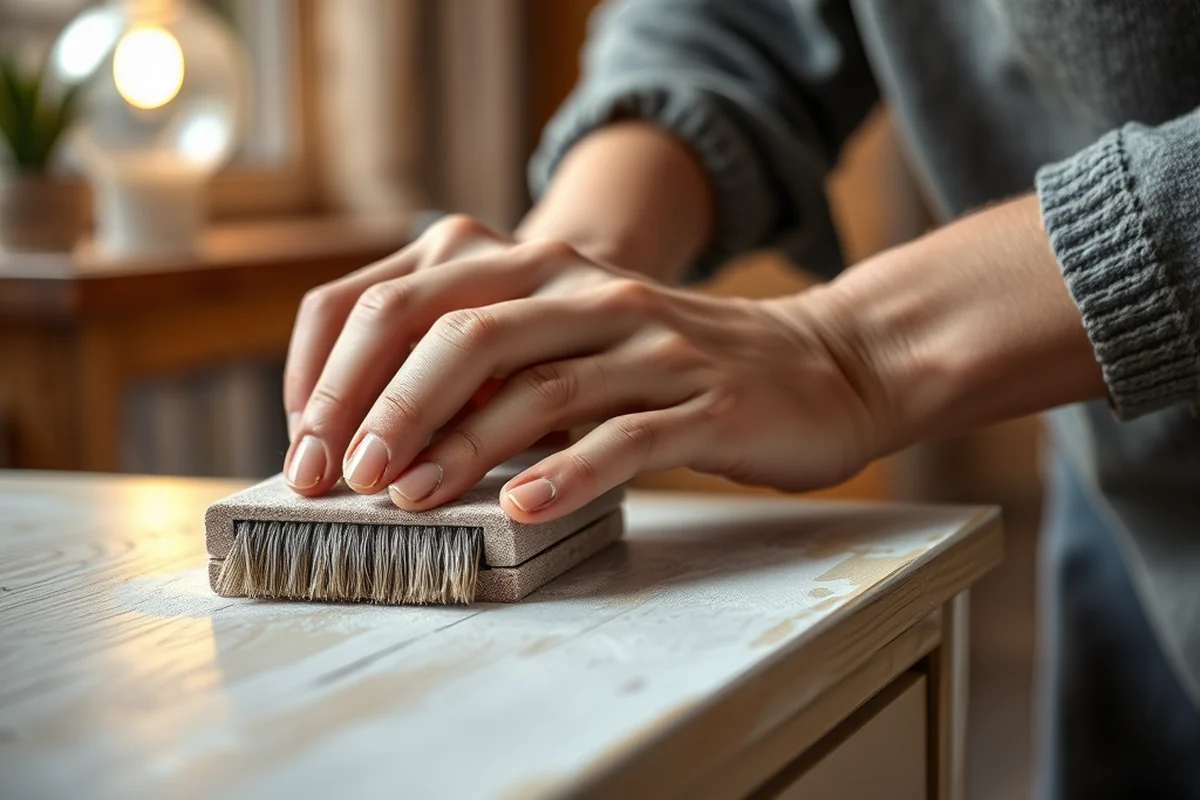
I always start by sketching out the design on paper or using a digital tool. This helps me visualize how the accent will look in the space and where it should be placed. I've found that measuring the wall and considering the placement of other furniture and lighting helps avoid any awkward spacing or visual imbalance.
Another step I take is considering the scale of the wall accent. If it's too small, it might get lost on a large wall, but if it's too large, it could overwhelm the space. I've learned that a good rule of thumb is to make the accent about one-third the height of the wall it's going on.
I also like to consider the overall color scheme of the room. If the room has a lot of neutral tones, a bold, colorful wall accent can become a focal point. On the other hand, if the room is already colorful, a more subdued accent might be better.
Designing your wall accent is like painting a picture — it's all about balance and intention.
Related: Diy accent wall decor
Related: Diy bathroom accent wall
Related: Diy accent wall ideas wood
Related: Diy Wood Wall Accents
Related: Diy accent wall with wood
Related: Resume With Accents
Related: Diy Door Accents
Related: Wall Decor And Home Accents
Related: How To Add Accents On A Keyboard
Adding Texture and Color with Paint and Stains
I've used both acrylic paints and wood stains to add color to my wall accents. For a more natural look, I've used wood stains on wooden panels, which give a warm, organic feel. I've also used acrylic paints for a more vibrant, modern look, especially on concrete accents.
When painting, I always make sure the surface is clean and dry. I've found that using a primer first helps the paint adhere better and lasts longer. I've tried different brush techniques, like using a sponge or a small brush for intricate details, and each technique creates a different texture.
I've also experimented with adding metallic paints or using stencils for intricate patterns. This adds a level of detail that can make the accent stand out even more. I once used a stencil to create a geometric pattern on a concrete accent, and it turned out really well.
Using a primer before painting or staining your wall accent ensures better adhesion and a longer-lasting finish. I've noticed that the paint doesn't chip or fade as quickly when I use a primer first.
“I remember the first time I hung a DIY wall accent in my living room — it felt like I'd unlocked a secret room in…”— DIY Furniture with Concrete Accents editors
Mounting Your Wall Accent Safely and Securely

I've found that using the right mounting hardware is essential for a safe and secure installation. For lightweight accents, I've used simple picture hooks or adhesive strips, which are easy to apply and remove without damaging the wall.
For heavier accents, like those made from concrete or wood, I've used screws and wall anchors. I've learned that using the right size anchor is important — if it's too small, it might not hold the weight, and if it's too large, it could damage the wall.
I've also used a level to make sure the accent is mounted straight and even. This helps ensure that the accent looks professional and doesn't wobble or lean over time.
Adding Lighting to Highlight Your Wall Accent
I've experimented with different types of lighting, like wall sconces, LED strips, and spotlights, to highlight my wall accents. Each type of lighting creates a different effect — for example, wall sconces create a soft, ambient glow, while spotlights create a more dramatic, focused light.
I've found that using dimmer switches can be a great way to control the intensity of the lighting and create a more flexible atmosphere. This is especially useful if the wall accent is in a room that's used for different purposes, like a living room or bedroom.
I've also used LED strips behind or along the edge of the wall accent to create a subtle glow that accentuates the texture and color. This method is especially effective for wooden or metallic accents.
Maintaining and Caring for Your Wall Accent
For wooden accents, I've found that regular cleaning with a soft cloth and mild soap helps keep the surface looking fresh. I've also used a wood polish or wax periodically to protect the surface and enhance the natural grain.
For concrete accents, I've used a mild soap and water to clean them, and I've avoided using harsh chemicals that could damage the surface. I've also made sure to avoid placing any heavy objects on top of the accent that could cause cracks or damage.
For metallic accents, I've used a microfiber cloth and a gentle metal polish to keep them looking shiny and new. I've also avoided using any abrasive cleaners, which could scratch the surface.
A well-maintained wall accent can last for years and continue to enhance your space.
Customizing Your Wall Accent for Different Spaces
In a living room, I've used larger, more decorative accents to make a bold statement. These can be made from a variety of materials, like wood or metal, and can be designed to match the room's overall style.
In a bedroom, I've used smaller, more subtle accents, like floating shelves or small decorative panels. These help add visual interest without overwhelming the space.
In a kitchen or bathroom, I've used more functional accents, like floating shelves or towel racks. These not only add style but also serve a practical purpose.
🎨 Budget Build: Painted Wood Panels
Use leftover wood and paint to create simple, colorful wall panels that add style without breaking the bank.
🧱 Weekend Version: Concrete Slabs
Mix up concrete in a mold and let it cure over the weekend — a quick and satisfying DIY project.
✨ Upgraded Finish: Metallic Accents
Use scrap metal and a welder to create a bold, modern wall accent with a metallic sheen.
🪞 Small-Space Adaptation: Floating Shelves
Install floating shelves to add storage and visual interest in tight spaces like hallways or bathrooms.
🧩 Rental-Safe Option: Adhesive Mosaic Tiles
Use adhesive mosaic tiles to create a temporary, removable wall accent that won't damage rental walls.
| The mistake | Why it happens | The fix |
|---|---|---|
| Choosing the wrong size for the wall accent. | If the wall accent is too small, it might get lost on a large wall, and if it's too large, it could overwhelm the space. | Measure the wall and consider the scale of the room before choosing the size of the wall accent. |
| Using the wrong type of paint or stain. | Using the wrong type of paint or stain can lead to peeling, fading, or an unattractive finish. | Choose the right paint or stain for the material you're working with and always use a primer for better adhesion. |
| Mounting the wall accent without proper support. | If the wall accent is not mounted properly, it could fall or damage the wall. | Use the right mounting hardware for the weight and material of the wall accent, and always use a level to ensure it's mounted straight. |
| Ignoring maintenance and care. | Neglecting to maintain your wall accent can lead to damage, fading, or a dull appearance over time. | Follow proper care and maintenance steps for the material of your wall accent to keep it looking its best for years. |
Diy Wall Accents
Common Questions
What tools do I need to make a DIY wall accent?
How long does it take to complete a DIY wall accent?
Can I make a DIY wall accent without any experience?
What is the best way to hang a heavy wall accent?
References
- A Museum-Based Qualitative Study of Adult Art Specialist ... - ERIC (files.eric.ed.gov)
- Accent Walls 2018: 50+ Trendy Designs to Transform Your Space (phdns.latahcountyid.gov)
- Guidelines for Detection, Analysis, and Treatment of Materials ... (highways.dot.gov)
Cite this guide
DIY Furniture with Concrete Accents (2026). Diy Wall Accents. https://concreteshape.com/diy-wall-accents/
Feel free to cite or share this guide.