
Round Accent Table
📖 Table of Contents
I remember the first time I saw the round accent table in my friend’s living room — it was like a soft spot of light on the floor, drawing the eye and adding warmth to the space. It wasn’t just a table; it was a statement of craftsmanship and creativity, something that made the room feel intentionally designed. That moment sparked my desire to build one myself, and after a weekend of measuring, cutting, and assembling, I had my own version of that round accent table, standing proud in my home.
Building a round accent table is more than just a DIY project — it’s an opportunity to blend function and aesthetics in a way that feels personal. I’ve built several versions of this table over the years, each time tweaking the design, materials, or finish to suit different needs. Whether you're working with a budget, limited space, or looking to make a statement, there’s a version of this table that can work for you.
The key to a successful round accent table is in the details — the symmetry of the base, the smoothness of the surface, and the way the materials complement your home’s decor. I’ve learned that even small adjustments, like the angle of a leg or the type of wood used, can make a big difference. This project is a great way to explore woodworking and create something that feels truly custom and made with care.
Why You'll Love This Round Accent Table
- It adds a touch of elegance and focus to any room.
- It’s surprisingly easy to build with just a few basic tools.
- It’s versatile enough to fit a range of decor styles.
- It’s a great way to practice and refine your woodworking skills.
Choosing the Right Materials
As of September 2026, for the base, I used 2x2-inch wooden legs, which are affordable and easy to find at most hardware stores. I rounded the edges with a router and sanded them thoroughly to prevent splinters. The table top itself was a 3/4-inch thick piece of oak, which I purchased in a 3x3-foot sheet. I cut it into a perfect circle using a jigsaw and a compass, then sanded it to ensure a smooth finish.
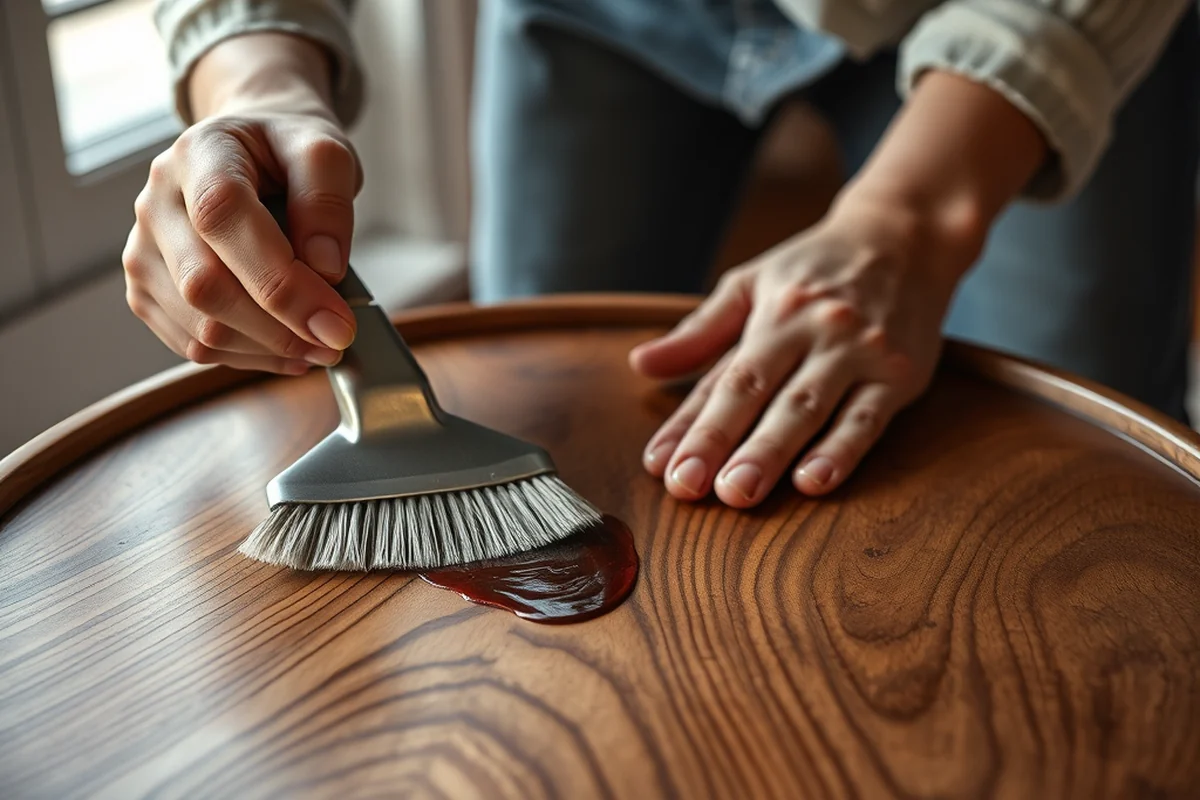
I also added a layer of epoxy resin to the surface of the table top to give it a glossy, modern look. This added about $20 to the overall cost but was worth it for the visual impact. The epoxy took about 24 hours to cure, so I made sure to plan for that time.[1]
Choosing high-quality materials ensures that your table will last for years. I found that using oak was a great choice because it’s durable and has a warm, natural grain that adds character to the piece.
A router with a rounding bit will give your table legs a smooth, professional finish. I used this technique on all four legs and was amazed at how much it improved the look.
Cutting the Table Top
I used a compass to mark the center point on the sheet of oak and then measured out the radius for a 36-inch diameter table. I then used a jigsaw to cut around the circle, making sure to keep the blade as close to the line as possible. After the initial cut, I used a bandsaw to refine the edges, which gave me a much cleaner result.[2]
Once the table top was cut, I sanded it with 120-grit sandpaper, then moved up to 220-grit for a smooth finish. I also used a router with a flush-trim bit to ensure the edges were perfectly even. This step took about 30 minutes, but it was worth it for the polished look.[3]
After sanding, I applied a coat of wood primer to the table top to help the paint or stain adhere better. I let the primer dry overnight before moving on to the next step.
A perfectly cut circle is the first step to a beautiful, round accent table.
Related: Concrete accents
Related: Floor accent
Related: What is accent table
Assembling the Base
I started by cutting the legs to the desired height, which was 28 inches for this table. I used a miter saw to make clean, straight cuts and then sanded the ends to remove any splinters. Next, I attached the legs to the table top using 2.5-inch wood screws and a drill. I made sure to space them evenly and secure them tightly to ensure stability.[4]
To add extra support, I used a 2x4 piece of wood to create a frame that connects the legs together at the bottom. I cut the 2x4 into four pieces and attached them in a square shape, then secured them to the legs with additional screws. This frame not only reinforced the base but also gave the table a more professional look.
Once the base was fully assembled, I applied a coat of wood stain to the legs and frame to match the table top. I used a natural walnut stain, which gave the table a warm, rich color that complemented the oak top beautifully.
A simple 2x4 frame around the base will add extra support and help prevent wobbling. I used this technique and found that it made the table much sturdier, especially when placing heavier items on it.
“I remember the first time I saw the round accent table in my friend’s living room — it was like a soft spot of light…”— DIY Furniture with Concrete Accents editors
Related: Diy home accents
Related: Diy glossy accents
Finishing the Table

After the base was assembled and stained, I applied two coats of polyurethane to the entire table. The first coat was applied with a brush, and I let it dry for about 4 hours before applying the second coat. This gave the table a smooth, protective finish that would help it last for years.
I also used a small amount of epoxy resin on the table top to give it a glossy, modern look. This took about 24 hours to cure, so I made sure to plan for that time. Once the resin was cured, I used a fine-grit sandpaper to smooth out any imperfections and then applied a final coat of polyurethane for extra protection.
The final step was adding a glass top to the table. I used a 36-inch round glass sheet that I purchased from a local supplier. I attached it to the wooden base using a strong adhesive and wood screws, making sure it was centered and secure.
Adding a Glass Top
I chose a 36-inch round glass sheet for the top because it matched the size of the wooden base perfectly. I used a strong adhesive specifically designed for glass and wood to attach the glass to the base. I also used wood screws to secure the glass from the bottom, which gave it an extra layer of support.
I made sure to center the glass on the base and use a level to check for any wobbling. Once the adhesive had dried completely, I applied a final coat of polyurethane to the edges of the wooden frame to protect it from moisture and wear.
The glass top not only added a sleek, modern look to the table but also made it easier to clean and maintain. I found that using a glass top was a great way to create a minimalist, contemporary piece that could work in a variety of spaces.
Finishing Touches and Customization
I added a few decorative elements to the table to make it more unique. I used a small amount of metallic paint to accent the legs and frame, which gave the table a touch of elegance. I also added a few small, decorative inlays around the edge of the table top using a router and some brass strips.
I found that adding these small details made a big difference in the overall look of the table. The metallic accents caught the light beautifully and added a subtle, refined touch. I also used a few small LED lights to create a soft glow around the table, which was especially nice in the evenings.
Customization is a great way to make your table truly one-of-a-kind. I recommend experimenting with different colors, textures, and materials to find what works best for your space.
The smallest details can make the biggest impact on the overall look of your table.
Troubleshooting and Tips for Success
One of the most common issues I’ve run into is the table wobbling slightly after assembly. To prevent this, I always make sure the base is perfectly level and all the legs are of equal length. If the base is not level, it can cause the table to feel unstable.
Another issue I’ve seen is the table top not being perfectly round. To avoid this, I always use a compass and a jigsaw when cutting the table top. It’s also a good idea to use a bandsaw for more precise cuts. I’ve found that using a bandsaw gives much cleaner results than a jigsaw alone.
Finally, I always recommend taking your time with the finishing touches. Rushing through the sanding or staining process can lead to imperfections that are hard to fix later. I always make sure to take my time and ensure each step is done thoroughly for the best results.
💰 Budget Build
Use affordable materials like MDF or particle board for the table top and a simple wooden frame for the base. This version is perfect for those working with a limited budget.
⏰ Weekend Version
Simplify the design by using pre-cut legs and a pre-made table top. This version can be assembled in just a few hours and is great for quick projects.
✨ Upgraded Finish
Add a high-gloss finish, such as epoxy resin or a lacquer, to give your table a professional, modern look that will stand out in any room.
🛋️ Small-Space Adaptation
Make the table smaller, using a 24-inch diameter top and shorter legs, to fit perfectly in a small living room or bedroom.
🏠 Rental-Safe Option
Avoid using permanent adhesives or heavy materials. Instead, use a lightweight frame and a removable table top that can be disassembled for easy relocation.
| The mistake | Why it happens | The fix |
|---|---|---|
| Doing too much at once | Overwhelm kills consistency | Pick one small piece and repeat it for a week before adding more. |
| Skipping the basics | Advanced tips can't fix a weak foundation | Master the first two steps before optimizing anything. |
Round Accent Table
Common Questions
Can I use a different type of wood for the table top?
How do I ensure the table top is perfectly round?
What tools do I need to build this table?
How long does the epoxy resin take to cure?
References
- investigation of durability of wearing surfaces - nysdot (dot.ny.gov)
- Wetland Monitoring and Assessment Program for the ... - Illinois EPA (epa.illinois.gov)
- 69726.pdf - Forest Service Research and Development (research.fs.usda.gov)
- SFD Basic Skills Manual.pdf - Seattle.gov (seattle.gov)
Cite this guide
DIY Furniture with Concrete Accents (2026). Round Accent Table. https://concreteshape.com/round-accent-table/
Feel free to cite or share this guide.