
How To Diy An Accent Wall
📖 Table of Contents
- Choosing the Right Location for Your Accent Wall
- Deciding on Your Accent Wall Style
- Gathering the Right Materials and Tools
- Prepping the Wall for Painting or Texturing
- Applying Paint or Texture
- Adding the Final Touches and Letting It Dry
- Maintaining Your Accent Wall
- Make It Your Way
- Frequently Asked Questions
I remember the first time I created an accent wall in my living room. It was a Sunday afternoon, and I had decided that my lifeless white walls needed a little more personality. With just a few tools and a can of paint, I transformed an ordinary corner into a focal point that made the space feel alive. The experience was simple but deeply satisfying. I realized that an accent wall is one of the easiest ways to infuse character into a room without breaking the bank or spending days on a project.[1]
Creating an accent wall isn’t just about aesthetics — it’s about making a statement. Whether you’re going for a bold color, a unique texture, or a clever pattern, this project allows you to personalize your space without the need for major renovations. I’ve tried everything from using peel-and-stick wallpaper to painting with a sponge to create a faux concrete look. Each time, I learned something new about how materials behave on walls and how small choices can lead to big impacts.
The key to a successful accent wall is preparation. I’ve made mistakes — like not measuring correctly or rushing through the painting process — but after a few rounds of trial and error, I found a rhythm that worked. Now, I can walk you through the steps with confidence, sharing the exact tools I used, the paint I chose, and the time it took. If you’re ready to give your space a little more flair, here’s how to DIY an accent wall.
Why You'll Love This DIY Accent Wall Project
- It’s one of the easiest ways to refresh a room without major renovations.
- You can customize it with paint, wallpaper, or materials that match your style.
- It’s a cost-effective way to add visual interest and personality to your home.
- It can be completed in less than a weekend, even for beginners.
Choosing the Right Location for Your Accent Wall
As of August 2026, the best walls for an accent wall are those that are already in a high-traffic area or near windows and doors. This way, the wall becomes the natural center of attention in the room. I once painted a wall behind my TV, and it instantly made the space feel more cohesive and intentional.
If you’re in a small room, consider using an accent wall to create the illusion of depth. For example, painting the back wall a darker color than the other walls can make the room feel more defined and roomier. It’s a trick I’ve used in my own home with great success.
I recommend avoiding walls that are too narrow or too close to furniture, unless you’re planning to add shelving or other decor. The goal is to create a statement, not a cluttered space. Always measure the wall first to ensure your materials will cover it properly.[2]
Before you buy any materials, measure your wall carefully. Use a tape measure and write down the height and width of the wall. This will help you calculate how much paint or wallpaper you need and avoid shortages.
Part of our Wall bedroom guide.
Deciding on Your Accent Wall Style
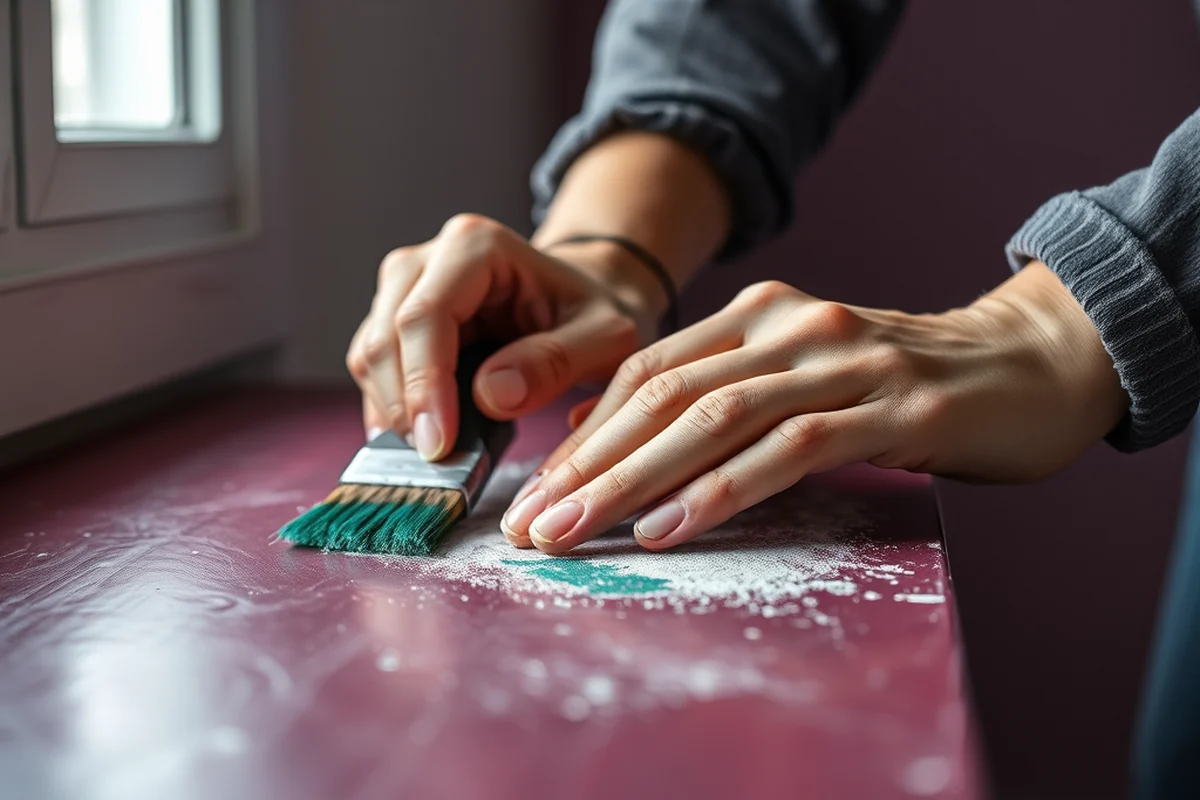
If you’re not sure where to start, think about what you already love in your space. Do you have a favorite color or texture? Are there any pieces of art or furniture that stand out? Your accent wall should complement these elements, not compete with them.
I’ve found that bold colors — like deep emerald green or rich navy blue — make a strong visual impact and can anchor a room. On the other hand, neutral tones are great if you want to keep things subtle but still add some depth. I once used a soft gray with a subtle texture to create a modern, minimalist look in my home office.
Don’t be afraid to mix textures. I’ve used a combination of painted panels and wooden slats to create a unique, layered look on my accent wall. It’s a great way to add interest without going overboard.
The right style for your accent wall can make or break the whole look.
Related: Diy flower accent wall
Related: Easy diy accent wall bedroom
Related: Diy accent wall cheap
Related: Diy accent wall ideas living room
Related: Diy Entryway Accent Wall
Related: How To Put Accent On E With Keyboard
Related: Concrete Accent Wall Cost
Related: What Is Accent Color
Related: Accent Wall With Panels
Related: What Is An Accent Wall
Related: How To Do The N With Accent On Keyboard
Related: O With Accent Mark
Gathering the Right Materials and Tools
For a basic paint-based accent wall, you’ll need painter’s tape, a roller, a brush, and a few cans of paint. If you’re going for a texture or a wallpaper look, you’ll need additional items like a sponge, a sponge roller, or the right type of wallpaper.
I always recommend using high-quality materials for your accent wall, even if you’re on a budget. Cheap paint or low-quality wallpaper can chip or peel quickly, which can ruin the look of your wall. I’ve learned this the hard way — my first attempt with low-end paint didn’t last a month.[3]
I’ve found that a few simple tools — like a level, a ladder, and a sponge — can make the job faster and more efficient. If you’re working with wallpaper, you’ll also need a smoothing tool and some water for the paste. Always make sure your tools are in good condition before you start.
Invest in quality materials for your accent wall, even if it means spending a little more. High-quality paint and tools can make a big difference in the final result, and they’ll last longer.
“I remember the first time I created an accent wall in my living room.”— DIY Furniture with Concrete Accents editors
Prepping the Wall for Painting or Texturing
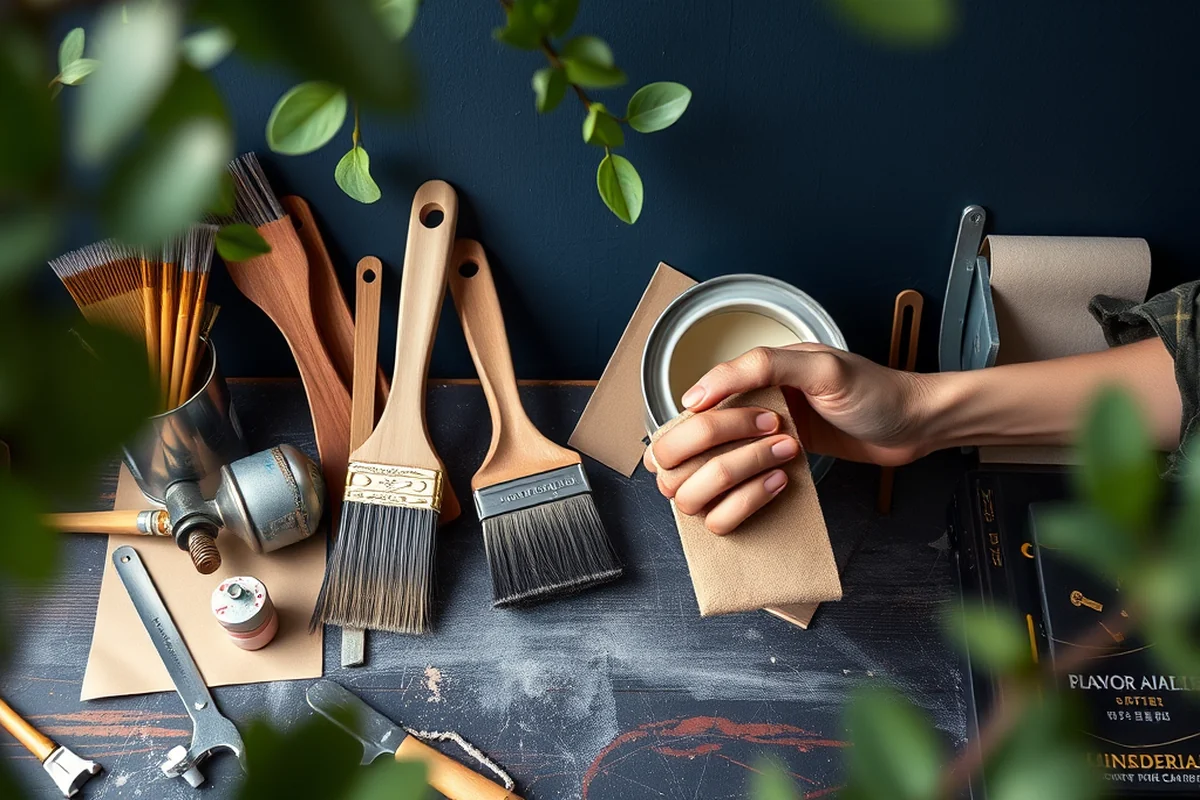
The first thing I do is clean the wall thoroughly with a damp cloth to remove any dust or grease. This ensures that the paint or wallpaper adheres properly and doesn’t peel later on.
I then use painter’s tape to mask off the areas I don’t want to paint or texture. This is especially important if you’re working with a bold color or a pattern. I always take my time with this step — rushing can lead to mistakes that are hard to fix later.
If the wall has any imperfections, like cracks or holes, I’ll patch them with spackle and sand them down until they’re smooth. This step is crucial for achieving a professional-looking finish, even if you’re a beginner.
Applying Paint or Texture
I usually start with a primer, especially if I’m using a bold color or a texture that might not adhere well. This helps the paint or texture stick better and makes the final result more vibrant.
For a simple painted accent wall, I use a roller to apply the first coat and let it dry completely before applying a second coat. I’ve found that two coats give the best coverage and make the color more even.
If I’m going for a texture, like a faux concrete look, I use a sponge and a sponge roller to create the right effect. It takes practice, but I’ve found that the key is to work in small sections and press the sponge gently against the wall for a more realistic finish.
Adding the Final Touches and Letting It Dry
I always wait at least 24 hours before moving furniture or hanging anything on the wall. This gives the paint or texture time to set properly and reduces the risk of smudging or peeling.
I’ve found that adding a clear coat or sealant can help protect the surface and make it more durable, especially if you’re using a texture. This is especially important in high-traffic areas like a living room or hallway.
Once everything is dry, I step back and admire the results. It’s always a rewarding feeling to see the transformation — and it’s even better when the end result looks exactly like I envisioned.
The final touches can make all the difference in the look and durability of your accent wall.
Maintaining Your Accent Wall
I’ve learned that cleaning your accent wall regularly is key to keeping it looking fresh. For painted walls, I use a soft cloth and mild soap to wipe away any dirt or fingerprints. For textured walls, I use a dry cloth to avoid damaging the surface.
If the wall ever starts to look dull or faded, I can usually refresh it with a light sanding and a new coat of paint. This is much easier than repainting the entire wall from scratch, and it can give your space a whole new look.
With the right care, your accent wall can last for years without losing its charm. I’ve had mine for almost two years now, and it still looks just as vibrant as the day I finished it.
💰 Budget Build
Create a striking accent wall using affordable materials like paint or peel-and-stick wallpaper. Perfect for those who want to make a statement without spending too much.
⏰ Weekend Version
Finish your accent wall in a single day with simple tools and a quick paint job. Ideal for those with limited time but a strong design vision.
✨ Upgraded Finish
Use high-quality materials like designer wallpaper or hand-painted textures to create a more refined and professional look.
📏 Small-Space Adaptation
Create a focal point in a small room by using a vertical accent wall or a narrow strip of bold color to add depth and interest without overwhelming the space.
🚪 Rental-Safe Option
Use removable wallpaper or washable paint to create an accent wall that can be easily removed or cleaned when it’s time to move out.
| The mistake | Why it happens | The fix |
|---|---|---|
| Skipping wall prep | If you skip cleaning or patching the wall, the paint or wallpaper may not adhere properly and could peel or chip over time. | Always clean the wall and patch any holes or imperfections before starting. This ensures a smooth and lasting finish. |
| Using low-quality materials | Low-quality paint or wallpaper may not last and could fade or peel quickly, ruining the look of your accent wall. | Invest in quality materials, even if it means spending a bit more. High-quality products will last longer and look better in the long run. |
| Rushing through the process | Rushing can lead to mistakes like uneven paint or improper application of wallpaper, which can be hard to fix later. | Take your time and work in small sections. This ensures a more even and professional-looking result. |
| Not letting the paint or texture dry properly | If you move furniture or hang items too soon, the paint or texture may smudge or peel, which can ruin the finish. | Always wait at least 24 hours before moving anything on or near the wall. This gives the paint or texture time to set properly. |
How To Diy An Accent Wall
Common Questions
Can I create an accent wall in a small room?
What kind of paint should I use for an accent wall?
Do I need any special tools for an accent wall?
Can I use wallpaper for my accent wall?
References
- Workplace Design Guidelines - DC DGS (dgs.dc.gov)
- Astoria Public Library: Building Project Information (astoria.gov)
- Design Guidelines - City of Florence, SC (cityofflorencesc.gov)
Cite this guide
DIY Furniture with Concrete Accents (2026). How To Diy An Accent Wall. https://concreteshape.com/how-to-diy-an-accent-wall/
Feel free to cite or share this guide.