
Diy Concrete Console Table
📖 Table of Contents
I remember the first time I saw a concrete console table in a friend’s living room — it was like a piece of art fused with function. I was struck by how effortlessly it blended modern minimalism with the raw, tactile feel of concrete. That day, I decided to try my hand at making my own, and it turned out to be one of the most satisfying DIY projects I’ve ever done. If you're looking to build a diy concrete console table that feels both personal and polished, this guide is for you.
Concrete is a material that's as versatile as it is durable, and when I started this project, I didn’t know much about working with it. But I quickly learned that the key to success was taking the time to prepare the mold correctly and choosing the right mix. Over the course of a weekend, I went from a nervous beginner to someone who could confidently say I had built a console table that felt like it had always belonged in my home.
Building a diy concrete console table taught me that sometimes the best projects are the ones that seem the most intimidating at first. I had no prior experience with concrete, but by following a few simple steps and learning from my own trial and error, I ended up with a table that was both strong and beautiful. It was a reminder that even the most complex-looking DIY projects can be tackled with patience and the right tools.
Why You'll Love This diy concrete console table
- It adds a striking, modern edge to any room with its raw, tactile surface.
- It's customizable — you can shape, color, and finish it to suit your home.
- It's surprisingly easy to make with just a few basic tools and materials.
- It's built to last — concrete is one of the most durable materials you can work with.
Choosing the Right Mold and Base
As of August 2026, I used a wooden base frame covered in painter’s tape to define the edges of the table top. The base was made from 2x4s, which I cut to size and assembled with wood screws. I then wrapped the frame in duct tape to prevent the concrete from sticking. This step is critical — if the mold isn’t sealed properly, the concrete can seep through and create a messy, uneven surface.
I also used a piece of MDF for the top of the base, which I later sealed with a concrete release agent. I found that using a release agent significantly reduced cleanup time and made it much easier to remove the table top once the concrete had cured.
For the mold, I used a combination of wood and cardboard to create a simple, flat surface. The mold was then lined with plastic sheeting to prevent the concrete from sticking. I found that using multiple layers of plastic helped to achieve a smoother finish and reduced the risk of air bubbles forming in the concrete.
A release agent is a must-have when working with concrete. I applied a thin layer of release agent to the mold before pouring the concrete, which made the removal process much easier and prevented the concrete from sticking to the mold.
Mixing the Concrete
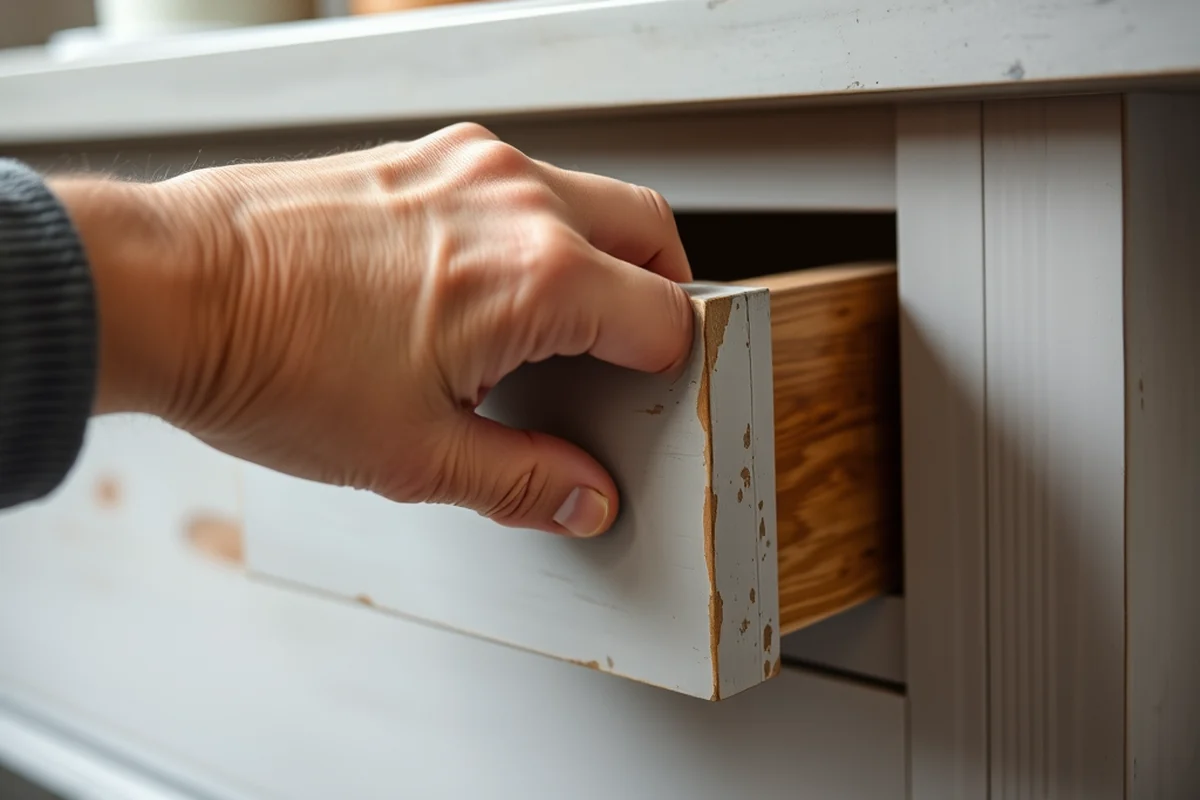
I used a premixed concrete mix specifically designed for casting. I read the package instructions carefully and followed the ratio of water to mix exactly. I found that using a little less water than the recommended amount resulted in a denser, stronger concrete. However, I also learned that adding too little water can make the mix too dry and difficult to work with.[1]
I mixed the concrete in a large plastic bucket using a hand mixer. I mixed for about 3 minutes, stopping occasionally to scrape down the sides of the bucket. I made sure to mix until the concrete was uniform and free of lumps. I found that mixing for longer than 5 minutes made the concrete too hot and caused it to start setting prematurely.
I used a concrete consistency that was slightly thicker than pancake batter. This made it easier to pour and spread without sagging or collapsing. If the mix was too runny, I had to add more cement powder to adjust the consistency.
A well-mixed concrete is the backbone of a strong, beautiful diy concrete console table.
Related: Diy concrete block patio furniture
Related: Diy concrete chairs
Related: Diy concrete end table
Related: Diy Concrete Coffee Table Outdoor
Related: Diy cinder block patio furniture
Related: Round Accent Table
Related: How To Emoji Outlook Email
Related: How To Use Spanish Keyboard
Related: How To Type The N In Spanish
Related: How To Voice Type
Pouring the Concrete
I poured the concrete into the mold slowly and carefully, making sure to avoid pouring too quickly. I found that pouring too fast can cause air bubbles to form, which can create a rough, uneven surface. I used a long wooden stick to gently tap the sides of the mold, which helped to release any trapped air bubbles.
I also used a float to smooth the surface of the concrete. I floated it in one direction and then the other, creating a flat, even surface. I made sure to press the float into the concrete enough to remove any high spots, but not so hard that I created ripples or depressions.
I poured the concrete in layers, about 1 inch thick at a time. After each layer, I used the float to smooth the surface and tapped the sides of the mold to release air bubbles. This technique helped to ensure that the concrete was evenly distributed and that the final surface was smooth and even.
After pouring each layer of concrete, I used a wooden stick to gently tap the sides of the mold. This helped to release air bubbles and ensured a smoother, more even surface. I found that this step was especially important when working with a thicker concrete mix.
“I remember the first time I saw a concrete console table in a friend’s living room — it was like a piece of art fused…”— DIY Furniture with Concrete Accents editors
Curing the Concrete
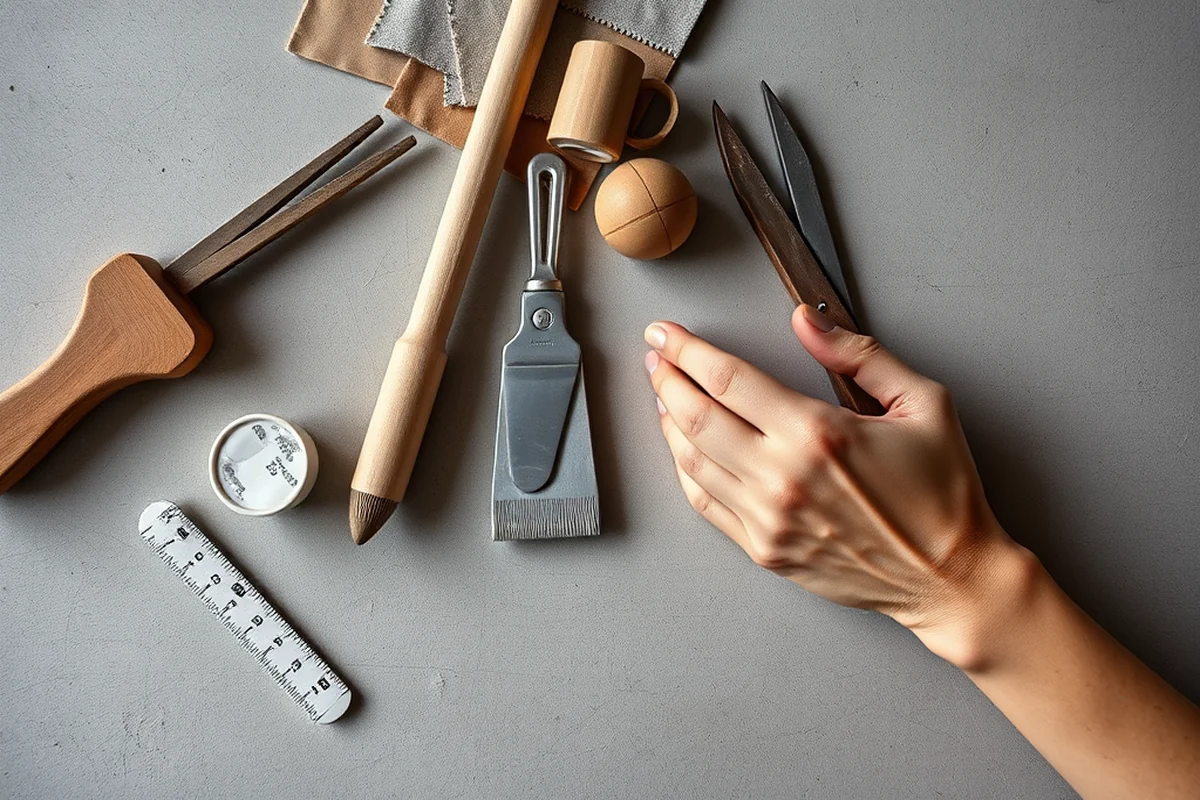
After pouring the concrete, I covered the mold with a plastic sheet to keep it moist. I found that keeping the concrete moist during the initial curing phase helped it to develop a stronger, more uniform structure. I also placed the mold in a cool, dry place, away from direct sunlight and heat sources.
I let the concrete cure for at least 24 hours before removing it from the mold. During this time, I checked the surface regularly and kept it moist by misting it with water. I found that keeping the concrete moist helped to prevent cracking and ensured a smoother, more even surface.[2]
After 24 hours, I carefully removed the mold and placed the table top in a well-ventilated area to cure for an additional 48 hours. I made sure to avoid moving it or placing any weight on it during this time. I found that allowing the concrete to cure fully was essential for achieving the strength and durability I wanted.[3]
Finishing the Surface
Once the concrete was fully cured, I used a coarse grit sandpaper (around 80 grit) to sand the surface. I worked in a well-ventilated area and wore a mask to protect myself from the dust. I found that sanding in a circular motion helped to remove any rough spots and create a smooth, even surface.[4]
After sanding, I used a finer grit sandpaper (around 220 grit) to achieve a smoother finish. I made sure to sand in the same direction each time to avoid creating scratches or uneven spots. I also used a damp cloth to wipe away any dust after each pass.
I finished by using a concrete sealer to protect the surface and enhance its appearance. I applied the sealer in a thin, even layer and let it dry completely. I found that using a sealer not only protected the surface from moisture and stains but also gave it a more polished, professional look.
Adding a Personal Touch
One of the best parts of building a diy concrete console table was the opportunity to add my own personal touches. I used a stencil to create a simple geometric pattern on the surface, which I then painted with a concrete paint. I found that using a stencil made it easy to create a custom design that matched the rest of my home.
I also used colored concrete pigments to add a pop of color to the table. I mixed the pigments into the concrete before pouring it into the mold, which gave the surface a more vibrant look. I found that using a small amount of pigment was enough to create a subtle, elegant effect.
I also added a few small decorative elements to the table, such as a metal inlay and a few small metal accents. These elements not only added visual interest but also helped to reinforce the table’s structure. I found that these details made the table feel more like a piece of furniture and less like a raw concrete slab.
A little bit of personalization can turn a diy concrete console table into a statement piece in your home.
Assembling the Table
After the surface of the table top was smooth and sealed, I attached the base to the table top. I used wood screws to secure the base to the table top, making sure to align the screws with the pre-drilled holes. I found that using a level was essential to ensure that the table was perfectly balanced and didn’t wobble.
I also added a few extra supports to the base to make the table more stable. I used small wooden blocks to reinforce the corners and prevent the table from tipping over. I found that these supports made the table feel much more solid and sturdy.
Once the table was assembled, I placed it in the room and stepped back to admire my work. I was amazed at how quickly I had transformed a simple idea into a beautiful, functional piece of furniture. I found that the final result was exactly what I had hoped for — a unique, modern console table that felt like it belonged in my home.
💰 Budget Build
Use basic materials and skip the pigments and decorative elements to save money while still creating a beautiful diy concrete console table.
⏰ Weekend Version
Simplify the process by using a pre-made mold and skipping some of the more time-consuming steps to complete the project in a single weekend.
✨ Upgraded Finish
Add a polished look by using a higher-quality sealer and incorporating custom designs or inlays into the surface of the table.
🏠 Small-Space Adaptation
Create a smaller, more compact version of the table that’s perfect for a narrow entryway or a small living room.
🔒 Rental-Safe Option
Build a temporary, removable console table using a mold that can be easily disassembled and stored when you move out.
| The mistake | Why it happens | The fix |
|---|---|---|
| Pouring the concrete too quickly | Pouring too quickly can cause air bubbles to form, resulting in a rough and uneven surface. | Pour the concrete slowly and use a wooden stick to tap the sides of the mold to release air bubbles. |
| Not using a release agent | Without a release agent, the concrete can stick to the mold and be difficult to remove. | Always use a release agent before pouring the concrete to ensure an easy removal and a smooth surface. |
| Skipping the curing process | Skipping the curing process can result in a weak and brittle table that is not durable. | Allow the concrete to cure for at least 24 hours and keep it moist during the initial curing phase. |
| Using too much water in the mix | Using too much water can make the concrete too runny and weak, resulting in a sagging or collapsing surface. | Follow the package instructions carefully and adjust the water amount as needed to achieve the right consistency. |
Diy Concrete Console Table
Common Questions
What is the best type of concrete to use for a diy concrete console table?
How long does it take for the concrete to cure?
Can I customize the color of the table top?
What tools are needed for this project?
References
- ITEM 360 CONCRETE PAVEMENT 360.1 Description ... - Deer Park (deerparktx.gov)
- Guide to Concrete Repair - Bureau of Reclamation (usbr.gov)
- EVALUATION OF IN-PLACE CONCRETE STRENGTH BY CORE ... (eng.auburn.edu)
- Internal Curing of Concrete Using Lightweight Aggregate (connect.ncdot.gov)
Cite this guide
DIY Furniture with Concrete Accents (2026). Diy Concrete Console Table. https://concreteshape.com/diy-concrete-console-table/
Feel free to cite or share this guide.