
Concrete Diy Table
📖 Table of Contents
The first time I poured concrete for a DIY table, I was halfway through the mixing bowl and already regretting the decision. But that same day, as the rough, gray surface began to harden into a smooth, matte finish, I knew I had stumbled onto something special. Concrete is not just for sidewalks and countertops — it can be the soul of a handmade table, combining raw strength with a modern, industrial edge. I’ve since built three different concrete tables, each with unique textures and finishes, and each one has become a centerpiece in my home.
What started as a curiosity quickly became an obsession. I found that concrete tables are incredibly customizable — you can embed metal, glass, or even wood into the mix, and the results are both practical and striking. The first table I built was for my living room, and I used a simple mix of Portland cement, sand, and water. It took me the weekend, cost about $40, and now sits in my living room like a piece of art. The second table was smaller, with a poured edge and a polished surface — it took extra time and effort, but the end result was worth it.[1]
Now, I build concrete tables as a way to express creativity and utility in equal measure. There’s something deeply satisfying about watching a raw material transform into a functional object with your own hands. Whether you're a first-time DIYer or someone who’s been building for years, this project is accessible, affordable, and deeply rewarding. The process isn’t without its challenges, but the final product is worth every drop of sweat and every spilled mix.
Why You'll Love This Concrete DIY Table
- Uniquely customizable with embedded textures and materials
- Durable and long-lasting with proper care
- Affordable for a high-quality, handmade finish
- Adds a modern, industrial aesthetic to any room
Choosing the Right Mold and Materials
As of August 2026, I used a 2x3-foot wooden frame for my first table, but after a few attempts, I realized that the best results come from a mold with a smooth interior surface. If you're using wood, apply a release agent to prevent the concrete from sticking. I recommend using a silicone mold release spray — it’s affordable and works wonders.[2]
For the concrete mix, I used a 1:2:3 ratio of cement to sand to aggregate (gravel or crushed stone). This ratio ensures a strong, compact mix that won’t crack easily. I also added a small amount of water-reducing agent to help the mix flow better without compromising strength.
The most important part of the preparation is ensuring that the mold is level and stable. I laid out a 4x8 sheet of plywood on the floor, used clamps to secure the frame, and even added some small bricks underneath to raise the mold slightly and allow for even drainage.
A silicone mold release spray is a game-changer. It prevents the concrete from sticking to the mold and makes the cleanup process much easier.
Mixing and Pouring Concrete
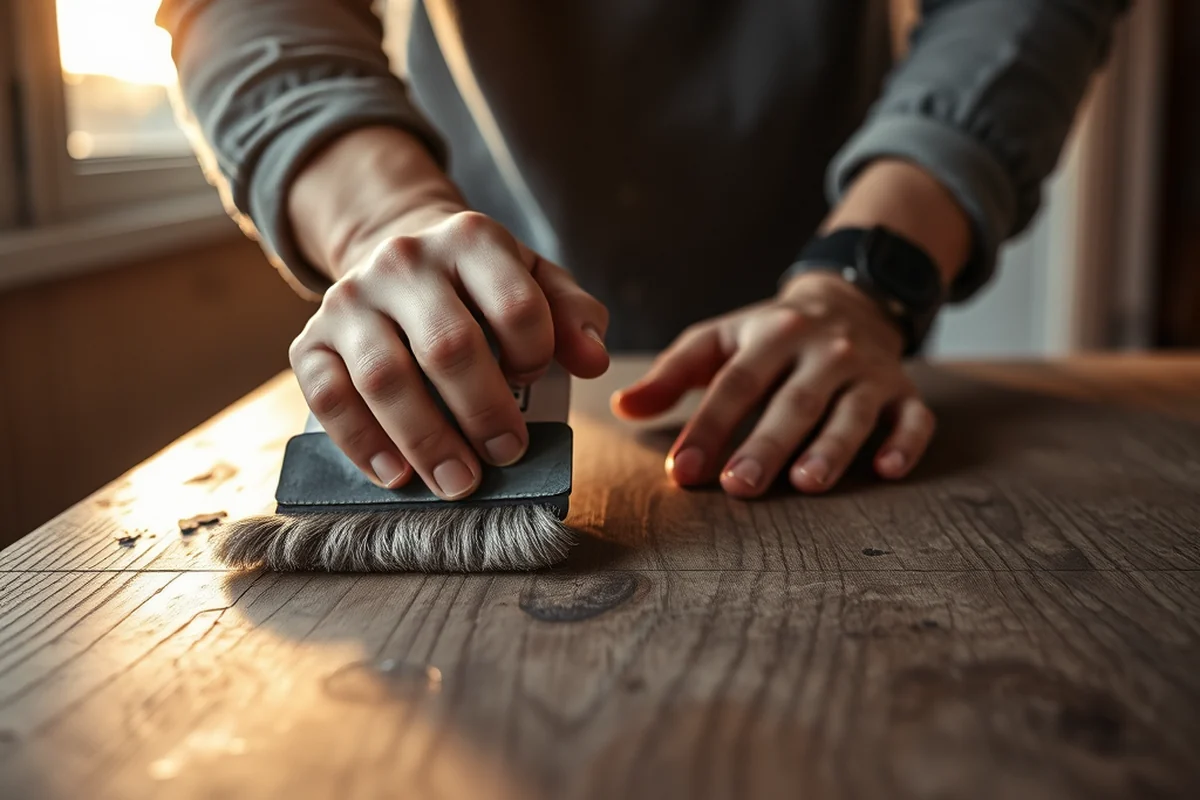
I always start by mixing the dry ingredients in a large bucket — cement, sand, and aggregate. I add the water gradually, stirring until the mix is smooth and free of lumps. It took me about 15 minutes to get the right consistency, which should be thick enough to hold its shape but still fluid enough to pour.[3]
Once the mix is ready, I poured it into the mold in layers, using a trowel to smooth the surface. I made sure to avoid air pockets by tapping the sides of the mold with a rubber mallet. This step is crucial — air pockets can cause weak spots in the concrete.
After pouring the mix, I used a float to smooth the top and remove any excess. I left it to cure for at least 24 hours, covered with a plastic sheet to keep it moist. The curing time is essential — rushing this step can result in a weaker final product.[4]
Curing is the key to a strong, durable table.
Related: Diy concrete chairs
Related: Diy furniture sliders for concrete
Related: How to make lightweight concrete table top
Related: How To English To Hindi Typing
Related: Voice And Type
Related: How To Use Spanish Keyboard
Finishing and Surface Treatment
I used a float to smooth the surface and then a trowel to bring it up to the desired finish. For a smoother look, I applied a fine layer of sand and water, working it into the surface with the trowel. This technique, called 'floating,' helps create a denser, more even surface.
After the initial curing, I used a diamond grinder to polish the surface. This gave it a smooth, matte finish that’s both elegant and functional. I also applied a concrete sealer to protect the surface from moisture and stains.
The final step was sealing the table with a clear, water-based sealer. I applied two coats, allowing each to dry completely before applying the next. The sealer not only protected the surface but also enhanced the color and texture of the concrete.
A good sealer adds a layer of protection that makes the surface easier to clean and more resistant to moisture. It also helps preserve the color and texture of the concrete.
“The first time I poured concrete for a DIY table, I was halfway through the mixing bowl and already regretting the decision.”— DIY Furniture with Concrete Accents editors
Adding Decorative Elements
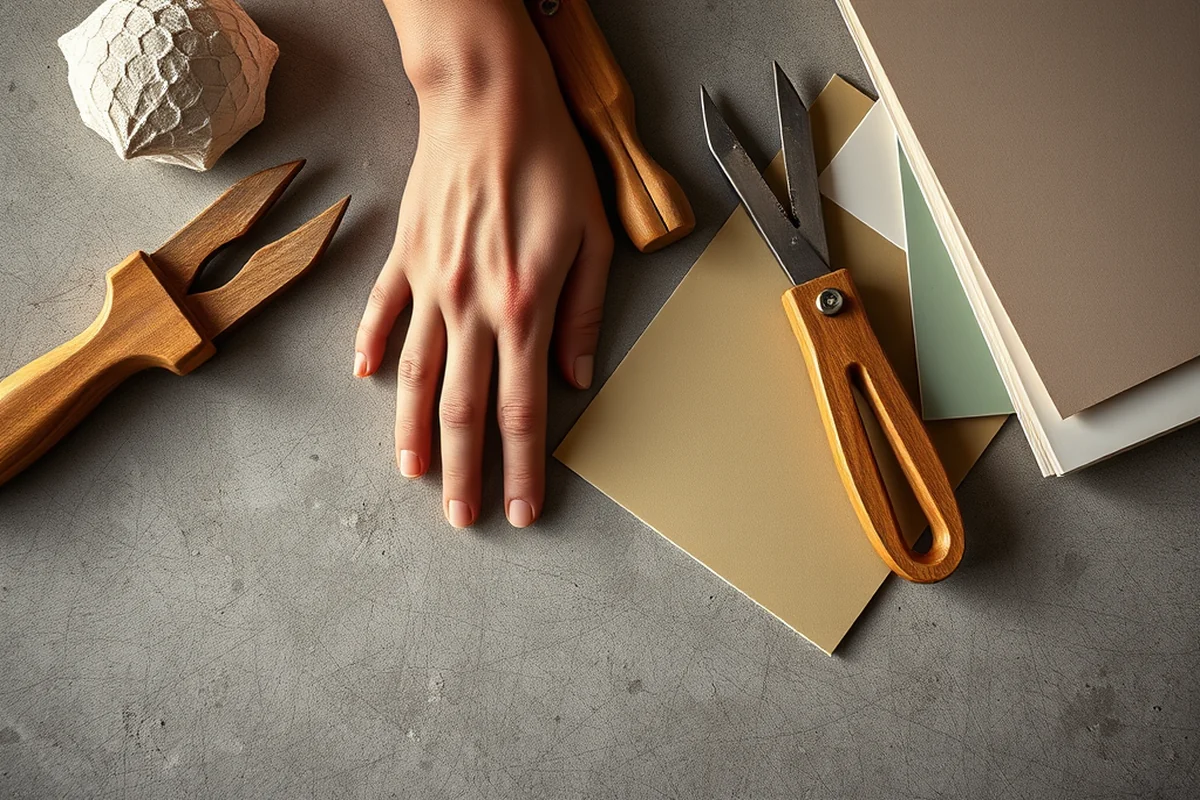
For my second table, I embedded a piece of reclaimed wood into the center of the surface. I placed it in the mold before pouring the concrete, ensuring it was positioned correctly and secured with wire. This technique allowed the wood to be fully integrated into the table without any visible seams.
I also used metal inlays on a third table — I cut the metal into shapes and placed them in the mold before pouring the concrete. This method required careful placement to ensure the metal didn’t float to the top during the curing process.
Another option is to embed glass or stone into the mix. I found that using a small amount of clear epoxy helped secure these elements in place. This technique not only added visual interest but also provided a more finished, polished look to the table.
Curing and Drying Process
After pouring and finishing the surface, I covered the table with a plastic sheet to keep it moist. This helps the concrete cure slowly and evenly, which is essential for maximum strength. I kept it covered for the first two days, allowing the surface to harden without exposure to air or elements.
The first 24 hours are crucial — the concrete needs to be kept in a cool, dry place with minimal vibration. I placed the table in a corner of my garage, away from any direct sunlight or heat sources. This environment helped it cure evenly and without cracking.
After the initial 24 hours, I removed the plastic sheet and let the table air dry for another 48 hours. By the end of that time, the surface was fully dry and ready to be sanded or sealed. This process took about 72 hours in total, but the result was worth the wait.
Sanding and Polishing Techniques
After the table had fully cured, I used a 40-grit sanding pad to rough up the surface. This helped remove any imperfections and prepare it for finer sanding. I worked in circular motions, ensuring even coverage across the entire surface.
Next, I moved to a 120-grit sanding pad to smooth out the surface further. This step took the most time — I spent about an hour sanding the entire surface, making sure there were no bumps or rough spots.
Finally, I used a diamond grinder with a fine grit pad to polish the surface until it was smooth and even. This step gave the table a professional finish that looked like it had been made in a factory, not in my garage.
Polishing brings out the true character of the concrete.
Tips for Longevity and Maintenance
I use a microfiber cloth and a mild soap solution to clean the surface regularly. This helps prevent stains and keeps the table looking clean. I avoid using harsh chemicals or abrasive cleaners, as they can damage the sealer or the surface itself.
To protect the table from moisture, I make sure it’s always placed on a dry, level surface. I also avoid placing hot items directly on the surface — I always use a trivet or coaster to protect it from heat damage.
If the sealer ever starts to wear off, I reapply it with a clear, water-based sealer. This step is simple and effective, helping to maintain the table’s appearance and durability over time.
💰 Budget Build
Use a simple mix of cement, sand, and water, and avoid expensive finishes or tools. Focus on a smooth, matte surface with no added embellishments.
⏳ Weekend Version
Use a pre-made concrete mix and a basic mold. Skip the sanding and polishing steps for a quicker build, with the option to add a sealer for protection.
✨ Upgraded Finish
Invest in a high-quality sealer and use a diamond grinder for a polished, professional finish. Add embedded elements like wood or metal for a unique touch.
🛋️ Small-Space Adaptation
Build a smaller table using a compact mold and a thinner concrete mix. Ideal for entryways, kitchens, or small living areas.
🏡 Rental-Safe Option
Use a removable mold and avoid permanent finishes. Keep the surface simple and avoid any embedded elements that could be difficult to remove.
| The mistake | Why it happens | The fix |
|---|---|---|
| Not using a release agent on the mold | If the mold isn’t properly coated with a release agent, the concrete may stick to it, making it difficult to remove and potentially damaging the surface. | Always apply a silicone or oil-based release agent to the mold before pouring the concrete. This ensures a smooth release and prevents sticking. |
| Adding too much water to the mix | Too much water can weaken the concrete and lead to a brittle, porous surface that is prone to cracking. | Use the recommended water-to-cement ratio and add water gradually while mixing. The mix should be thick enough to hold its shape but still fluid enough to pour. |
| Skipping the curing process | Curing is essential for the strength and durability of the concrete. Skipping it can result in a weak, fragile table that is more prone to cracking. | Always cover the table with a plastic sheet and keep it in a cool, dry place for at least 24 hours after pouring. Avoid exposing it to direct sunlight or heat sources. |
| Not allowing the table to dry completely before sealing | If the table isn’t fully dry before applying a sealer, the sealer may not adhere properly and could peel or flake over time. | Allow the table to air dry completely for at least 48 hours before applying any sealer. This ensures the sealer bonds properly to the surface. |
Concrete Diy Table
Common Questions
Can I use a different type of cement for this project?
How long should I wait before using the table?
Can I use a different type of mold instead of wood?
What should I do if the concrete cracks during the curing process?
References
- 2026 10 Under 10 | Lehigh Alumni (alumni.lehigh.edu)
- WAC 51-51-0403: - WA.gov (app.leg.wa.gov)
- CONCRETE PAVING | DOT.SD.gov. (dot.sd.gov)
- Control of Cracking in Mass Concrete Structures (usbr.gov)
Cite this guide
DIY Furniture with Concrete Accents (2026). Concrete Diy Table. https://concreteshape.com/concrete-diy-table/
Feel free to cite or share this guide.