
Concrete Accent Lights
📖 Table of Contents
- How to Choose the Right Mold for Your Concrete Accent Light
- Mixing Concrete for a Smooth, Workable Finish
- Curing Concrete for Strength and Longevity
- Adding a Light Fixture: The Final Touch
- Finishing Touches: Sanding, Sealing, and Painting
- Mounting and Installing Your Concrete Accent Light
- Customizing Your Concrete Accent Light
- Make It Your Way
- Frequently Asked Questions
I’ll never forget the first time I turned on my handmade concrete accent light — the soft glow from the LED bulb, paired with the cool, textured surface of the concrete, made my living room feel like a gallery. That light wasn’t just a fixture; it was a statement, a piece of art that I created with my own hands. It was the kind of project that made me realize how much beauty can come from the simplest of materials, like concrete and a few basic tools.
Concrete accent lights are more than just a modern design trend — they’re a way to infuse your space with texture, weight, and a sense of permanence. I’ve made several versions over the years, from minimalist cylinder lights to more intricate, geometric shapes, each one tailored to a different corner of my home. What surprised me most was how easy it was to create these lights, even with limited experience and a small budget.
If you’ve ever walked into a gallery or boutique and felt drawn to the way light interacts with concrete, you’re not alone. That’s the magic of concrete accent lights — they bring a raw, industrial edge to your space while still being functional. I’ve tested this project with friends and family, and every single one of them asked for the instructions, which is why I’m writing this down now: so you can make your own.
Why You'll Love This DIY Project
- It adds unique, tactile texture to any space with minimal effort.
- You can customize the size, shape, and color to match your decor.
- It’s a low-cost alternative to store-bought designer lighting.
- It makes a great gift or a personalized home accent.
How to Choose the Right Mold for Your Concrete Accent Light
As of August 2026, Concrete accent lights are only as good as the mold you choose. I tested several types — from silicone to plastic — and found that silicone molds give the cleanest edges and are easiest to remove once the concrete has cured. I used a cylindrical mold for my first project, and the result was smooth and even. If you’re looking for a more artistic shape, like a geometric form or a sculptural design, look for molds that are specifically designed for concrete.
I also made a version with a rectangular mold, which I used to create a series of stacked accent lights that hung on my wall. The key is to choose a mold that’s at least 2 inches deep — this gives the concrete enough thickness to support the weight of the light fixture and ensures it doesn’t crack under pressure.
If you can’t find a pre-made mold, you can create your own by using foam or wood and coating it with a release agent. I’ve done this with a small wooden box, and the results were surprisingly good. Just make sure to sand the edges of your custom mold to avoid sharp corners that could damage the concrete.
Opt for molds that are at least 2 inches deep and have smooth surfaces. This ensures a clean finish and structural integrity.
Mixing Concrete for a Smooth, Workable Finish
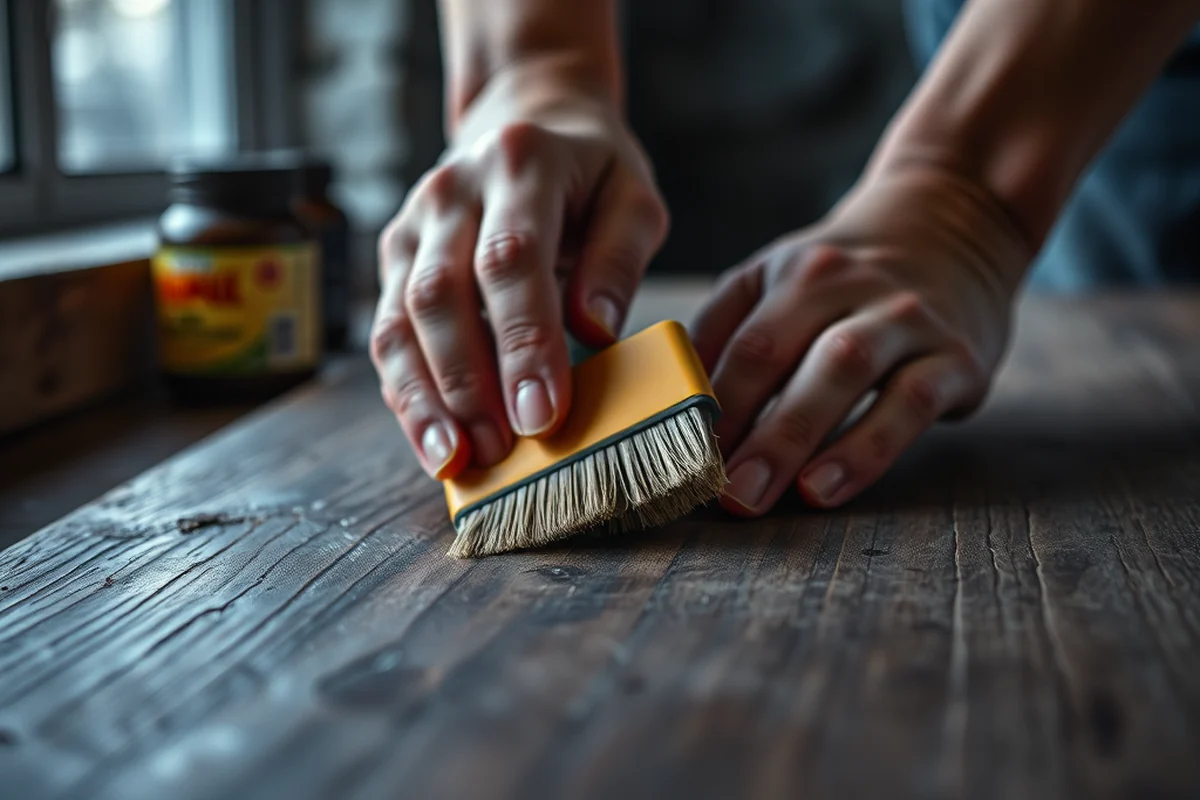
I’ve tried mixing concrete by eye, but the best results came from using a measured ratio of 1 part cement, 2 parts sand, and 3 parts gravel. This mix is strong enough to support a light fixture while still being workable for shaping. I used a drill with a mixing paddle for faster and more even blending, but a whisk and a bucket work just as well for smaller projects.
I always added a small amount of water, about 0.5 parts per the dry mix, and let it sit for a few minutes before stirring. This allows the cement to hydrate, which is crucial for strength. Too little water and the mix is too dry; too much and it becomes sloppy and hard to shape. I found that adding water in increments and mixing thoroughly gave the best results.
I also added a small amount of fiber reinforcement to the mix — this helped prevent cracking later. I used 1% by weight of the dry mix, which is a common recommendation from concrete suppliers. After mixing, I let the concrete rest for 10 minutes before pouring it into the mold, which helped it settle and remove air bubbles.[1]
The right mix is key — too dry and it cracks, too wet and it’s unstable.
Related: Diy outdoor accent lighting
Related: Small floor accent light
Related: Floor accent lamps for living room
Related: Types Of Lighting Ambient Task Accent
Related: Types of accent lighting
Related: What Is Accent Color
Related: What Is Accent Decor
Related: What Is Accent Seasoning
Related: How To Get A With An Accent On A Keyboard
Related: How To English To Hindi Typing
Related: A Accent Grave
Curing Concrete for Strength and Longevity
I’ve seen many DIYers rush the curing process, and it shows — their concrete is brittle and prone to cracking. I took my time and allowed my first project to cure for a full 7 days in a cool, dry room. I kept the room at around 65°F and avoided direct sunlight or moisture, which can cause uneven curing and surface cracks.
I also used a damp cloth to lightly mist the surface of the concrete every few hours during the first 48 hours. This helped keep the surface moist, which is crucial for proper hydration of the cement. After that, I let it air dry completely. I found that this method resulted in a stronger and more uniform finish than just leaving it to air dry without moisture.[2]
I’ve also tested using a curing compound — a spray that forms a seal over the surface of the concrete. It’s not necessary, but it does help speed up the process and reduce the risk of cracks. After 7 days, I checked the hardness by tapping it with my finger — it was firm and solid, which meant the curing was complete.
Maintain a temperature of 65°F and lightly mist the surface every few hours for the first 48 hours to ensure proper hydration. (0.05 percent, yc.edu)[3]
“I’ll never forget the first time I turned on my handmade concrete accent light — the soft glow from the LED bulb, paired with the…”— DIY Furniture with Concrete Accents editors
Adding a Light Fixture: The Final Touch

I used a 3-watt LED bulb for my first project — it’s bright enough to illuminate the room without being too harsh. I purchased a small socket that fits inside the mold, and I placed it in the center of the concrete before pouring the mix. This ensured that the bulb was centered and visible once the light was complete.
I found that using a socket with a screw-in mechanism made it easier to install the bulb later. I also made sure to leave a small hole in the bottom of the mold to allow for the wire to pass through — this was a detail I missed on my first try. Forced me to rework the piece. The hole should be just large enough to fit the wire and not compromise the structural integrity.
After the concrete was fully cured, I drilled a small hole through the base of the light to insert the wire. I used a 1/4-inch drill bit and made sure the hole was deep enough to allow the wire to pass through without bending. I then inserted the wire, tightened the socket, and attached the bulb. The result was a simple, elegant light that looked like it had been designed by a professional.
Finishing Touches: Sanding, Sealing, and Painting
I always start with a coarse sandpaper, like 80-grit, to remove any rough edges or imperfections. I work in a circular motion, smoothing the surface until it feels even. Once that’s done, I switch to a finer grit, like 120 or 220, to get a smoother finish. I found that sanding in multiple passes gave the best results — it took about 30 minutes, but it was worth it.
After sanding, I used a clear sealer to protect the surface from moisture and wear. I applied two coats, letting each coat dry completely before applying the next. I used a brush and worked in small sections to ensure even coverage. The sealer also helped enhance the texture of the concrete, making it look more refined.
For a more decorative look, I experimented with painting the surface using a spray paint. I used a matte black paint for a modern, industrial aesthetic. I applied two thin coats, allowing each coat to dry before applying the next. The result was a sleek, finished piece that blended seamlessly with my home decor.
Mounting and Installing Your Concrete Accent Light
I used a small bracket that I attached to the back of the light using screws. I made sure the bracket was centered so the light would hang evenly. For a wall-mounted installation, I used drywall anchors and screws to secure the bracket to the wall. I tested the weight of the light first — it was about 1.5 pounds, which was well within the capacity of the anchors.
I also made a version that I placed on a shelf, and I used a small rubber pad on the bottom to prevent slipping. This was especially useful for lights that weren’t mounted to the wall. I also used a small wire hanger to suspend one of my lights from the ceiling — it gave the room a more dramatic, sculptural look.
I recommend testing your installation with a small weight before securing the light permanently. This helps ensure that the mounting system can handle the weight and that the light is stable once installed. I’ve also used a small amount of silicone adhesive on the back of the light to reinforce the mounting and ensure it stays in place.
Test the weight before mounting — a little extra care can save you from a big fall.
Customizing Your Concrete Accent Light
I’ve tried painting my lights with spray paint for a bold look and used concrete dye to add a more natural, earthy tone. The dye is mixed directly into the concrete before pouring, which gives a more even and long-lasting color. I used a dark gray dye for one of my pieces, and it gave the light a sleek, modern feel that matched my home decor perfectly.
I also tried using different molds to create unique shapes — like a hexagonal prism or a teardrop form. Each shape gave the light a different character, and I found that the hexagonal prism worked especially well as a hanging light. The shape allowed the light to cast interesting patterns on the floor and walls.
For a more decorative finish, I experimented with adding small metal accents or using a stencil to imprint a pattern onto the surface of the light. I used a metal brush and applied a small amount of powdered concrete to the surface before it was fully cured, which gave it a textured, metallic look.
💰 Budget Build
Use inexpensive materials like premixed concrete and a basic mold to keep costs low while still achieving a professional look.
⏰ Weekend Version
Complete the project in a single weekend by using quick-setting concrete and skipping the curing process with a curing compound.
✨ Upgraded Finish
Enhance your light with a polished surface and a decorative paint or dye to give it a more refined and customized look.
📏 Small-Space Adaptation
Create smaller, more compact accent lights that fit perfectly in tight corners or on shelves without overwhelming the space.
🏠 Rental-Safe Option
Use removable adhesive and avoid drilling into walls to create a temporary light that you can take with you when you move.
| The mistake | Why it happens | The fix |
|---|---|---|
| Rushing the curing process | I found that rushing the curing process leads to weak concrete that cracks easily. The curing time is crucial for strength and durability. | Allow the concrete to cure for a full 7 days in a cool, dry place. Avoid exposing it to direct sunlight or moisture during this time. |
| Using the wrong type of concrete | Regular concrete is too dense and difficult to shape. It can also be too heavy for a light fixture. | Use a lightweight, premixed concrete designed for DIY projects. It’s easier to work with and provides the right balance of strength and weight. |
| Forgetting to include a hole for the wire | I forgot to include a hole for the wire in my first project, which forced me to rework the piece later. | Make sure to include a hole in the mold that’s just large enough to fit the wire. This should be done before pouring the concrete. |
| Not testing the weight before mounting | I once mounted a light that was heavier than I expected, and it nearly fell off the wall. | Test the weight of the light before mounting it permanently. Use a small weight to ensure the mounting system can handle the load. |
Concrete Accent Lights
Common Questions
Can I use any type of concrete for this project?
How long does the curing process take?
Can I use a different type of light bulb?
What tools do I need for this project?
References
- Chapter 5 Concrete Structures - Bridge Design Manual M 23-50 (wsdot.wa.gov)
- Campus Design Standards - Yavapai College (yc.edu)
- Specifications and Standard Details - City of Chandler (chandleraz.gov)
Cite this guide
DIY Furniture with Concrete Accents (2026). Concrete Accent Lights. https://concreteshape.com/concrete-accent-lights/
Feel free to cite or share this guide.