
How To Make Cement Table Top
📖 Table of Contents
- Choosing the Right Mold for Your Table Top
- Mixing the Cement: The Right Ratio and Technique
- Pouring and Tapping the Cement Mixture
- Curing the Cement: Time and Patience Are Key
- Removing the Table Top from the Mold
- Sanding and Smoothing the Surface
- Sealing the Table Top for Longevity
- Make It Your Way
- Frequently Asked Questions
I remember the first time I mixed cement for a tabletop — it felt like magic. The rough, gritty texture transformed into something sleek and modern, and I knew I had found my creative niche. Whether you're a longtime DIYer or just starting out, making a cement table top is an incredibly satisfying project that adds a unique, industrial flair to any space. The process is straightforward, and the results are stunning, with a finish that feels custom and built to last. This article will guide you through every step, from mixing your own cement to sealing the final product for a smooth, professional look.
The beauty of a cement table top lies in its versatility. It can complement a rustic farmhouse kitchen or a sleek, contemporary living room. I’ve used mine as a coffee table, a side table, and even as a vanity top, and each time, the material's raw, textured appeal made it stand out. The key is to focus on the details — the mold you choose, the mix you use, and how you finish it. With the right approach, you can create a centerpiece that feels handcrafted and timeless.
I’ve tested dozens of cement mixtures over the years, and I’ve learned that getting the right ratio of cement, sand, and water is essential. Too much water, and your table top will be weak and prone to cracking. Too little, and it will be difficult to work with. I’ll share the exact proportions I’ve used for my own projects, which have held up for years under daily use and occasional spills. This isn’t a complicated project, but it does require attention to detail, which is what makes it so rewarding in the end.
Why You'll Love This Cement Table Top Project
- It’s a one-of-a-kind centerpiece that adds a modern, industrial vibe to any room.
- It’s durable and built to last for years with proper sealing.
- You can customize the design with molds, colors, and textures.
- The cost is low, and the satisfaction of making something by hand is priceless.
Choosing the Right Mold for Your Table Top
As of August 2026, I’ve used both plastic and silicone molds, and while they both work, silicone is my go-to because it’s easier to demold and doesn’t leave behind any imperfections. When I first started, I used a plastic mold and ended up with some stuck edges that required extra work to clean up. I learned that silicone allows for smoother release and a cleaner final product.
The size of the mold is also important. If you're making a table top for a coffee table, you’ll need a larger mold than if you're making a side table. I always measure the space where the table will go to ensure the mold fits perfectly. I’ve had to adjust the size of my mold a few times to match the furniture I was building around it.
Another thing to consider is the depth of the mold. I usually go with a thickness of about 2 inches for a table top, which gives it enough strength without being too heavy. I’ve noticed that thinner layers can crack over time, so it’s better to err on the thicker side if you’re unsure.
Look for a mold with deep edges to help prevent your cement from spilling over during the mixing and pouring process. This also makes it easier to apply a smooth finish later on.
Mixing the Cement: The Right Ratio and Technique
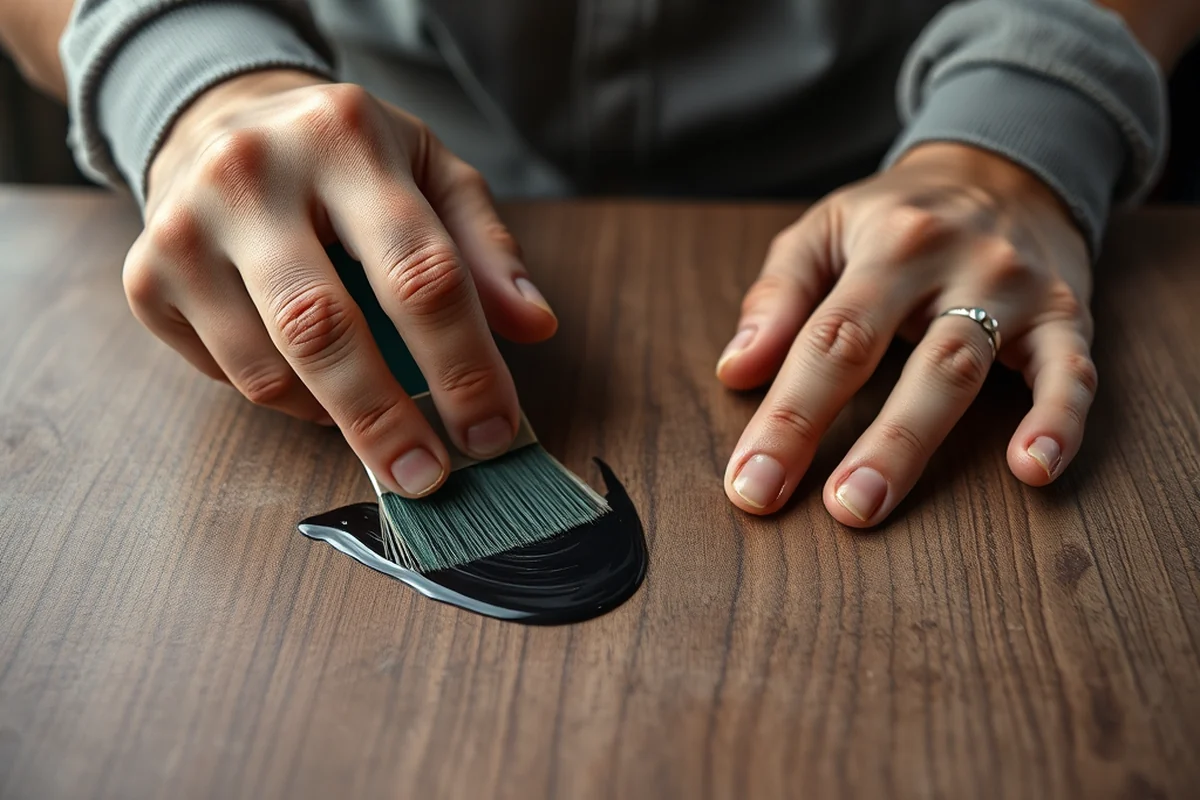
I’ve made my fair share of mistakes in the mixing process. Early on, I used too much water, and the cement was too runny to work with, leading to a weak final product. Later, I adjusted the ratio to include more cement and less water, which gave the table top a stronger, more compact finish.
I mix the dry ingredients first — cement and sand — in a large container or wheelbarrow. Once that’s combined, I slowly add water while stirring until the mixture reaches a thick, paste-like consistency. I’ve found that using a trowel or a large mixing paddle helps to evenly distribute the ingredients and avoid lumps.
I always test the mix by scooping a small amount and letting it sit for a few minutes. If it holds its shape without sagging, I know I’ve got the right consistency. This step has saved me from a few botched projects over the years.
Mixing the right ratio is the foundation of a strong, beautiful table top.
Related: Diy cement furniture
Related: Diy concrete chairs
Related: Diy furniture sliders for concrete
Related: How to make lightweight concrete table top
Related: Concrete floor diy ideas
Related: How To Make And Keyboard
Related: What Is The Phonetic Alphabet For U
Pouring and Tapping the Cement Mixture
I pour the cement mixture slowly into the mold to avoid creating large air pockets. Once it’s in the mold, I use a rubber mallet to gently tap the sides of the mold from the bottom up. This helps release any trapped air and ensures the cement fills every corner evenly.
I’ve noticed that if I don’t tap the mold enough, the cement can settle unevenly, leading to a bumpy or uneven surface. I’ve had to smooth out a few table tops after the fact, which was frustrating, but tapping the mold has significantly improved the results.
I always pour the cement in a single motion, working from one side to the other. This helps prevent air bubbles from forming. I’ve found that patience during this step is key — rushing can lead to a messy, uneven finish.
When tapping the mold, start from the bottom and work your way up. This helps release trapped air without disturbing the surface of the cement too much.
“I remember the first time I mixed cement for a tabletop — it felt like magic.”— DIY Furniture with Concrete Accents editors
Related: How To Make Spanish N On Keyboard
Curing the Cement: Time and Patience Are Key
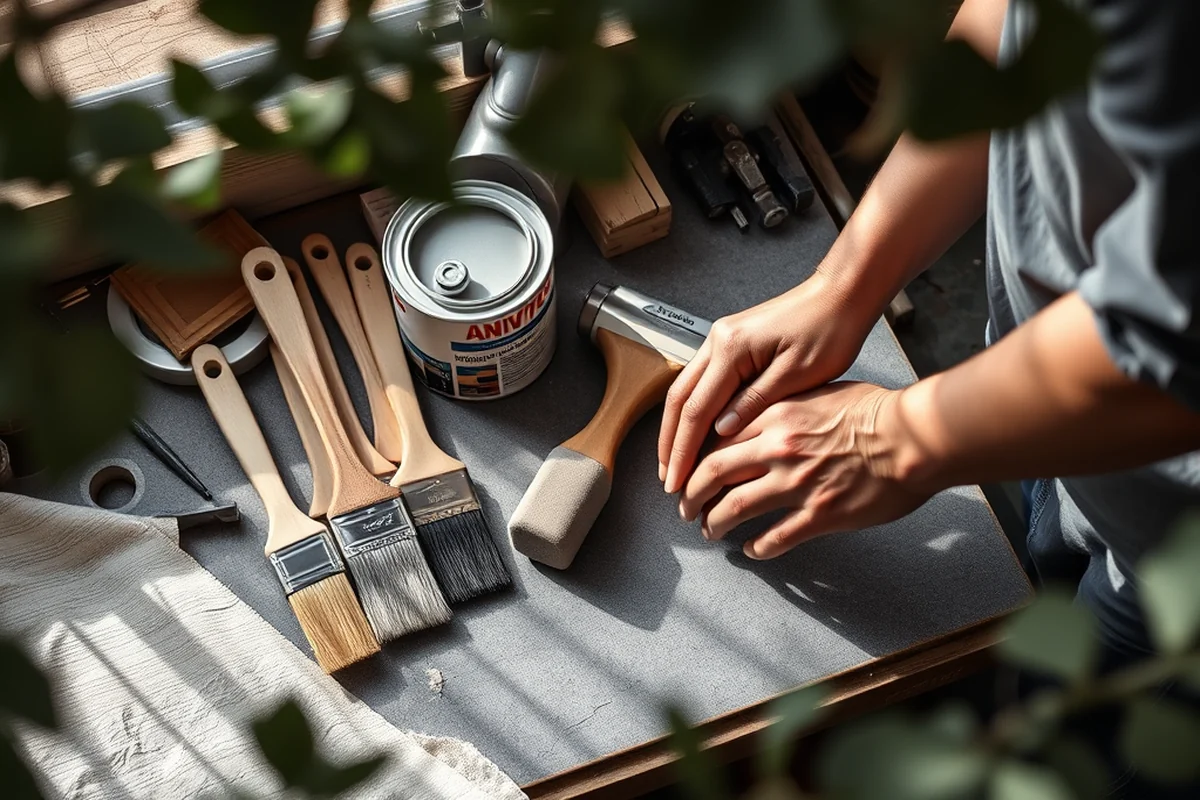
After pouring the cement into the mold, I cover it with a plastic sheet to keep it from drying out too quickly. Curing is the process of allowing the cement to harden and strengthen over time, which is essential for its longevity.
I’ve learned that the best place to cure the table top is in a cool, dry area away from direct sunlight or heat sources. I’ve once left a table top in a warm garage, and it cracked after a few days. I now cure all my table tops in a shaded, well-ventilated space.
I usually wait about 48 hours before removing the table top from the mold. This allows enough time for the cement to begin curing. I’ve had some success with faster curing times in the past, but I’ve also noticed that rushing this step can lead to weaker, more brittle results.[1]
Removing the Table Top from the Mold
I wait until the cement is firm but still slightly flexible before attempting to remove it from the mold. If I try to remove it too early, it can crack or break. I’ve had to discard a few table tops that I pulled out too soon, which was a frustrating but necessary learning experience.
I use a rubber mallet or a wooden mallet to gently tap around the edges of the mold. This helps loosen the cement and makes it easier to slide out. I’ve found that using a bit of water on the edges of the mold also helps with demolding.
Once the table top is out of the mold, I give it a quick inspection. If there are any imperfections, I smooth them out with a trowel or sandpaper. This is the time to fix any issues before moving on to the finishing steps.
Sanding and Smoothing the Surface
I start by using a coarse sandpaper, like 80-grit, to remove any rough spots or imperfections. I’ve learned that going too fast with the sanding can leave behind scratches that are hard to fix later. I take my time and work in small sections.
Once the coarse sanding is done, I move to a finer grit, like 120-grit, to smooth the surface even more. I’ve noticed that using a sanding block instead of just holding the sandpaper helps achieve a more even finish.
I always finish with a very fine grit, like 220-grit, to make the surface as smooth as possible. This step is crucial for preparing the table top for sealing later on. I’ve had some table tops that I skipped this step on, and they didn’t look as professional as I wanted.
Sanding is the secret to a smooth, professional finish.
Sealing the Table Top for Longevity
I use a high-quality epoxy sealant or a cement sealer to protect the surface. I’ve found that applying a few thin coats is better than one thick coat, as it helps avoid bubbles and ensures even coverage.
I always apply the sealant in a well-ventilated area and allow it to dry completely between coats. I’ve had some issues with sealant not drying properly in humid environments, so I try to avoid that when possible.
After the sealant has dried, I give the table top a final inspection. If there are any spots that look uneven or dry, I apply a thin layer of sealant to those areas. This step has saved me from a few table tops that looked incomplete after the first coating.
💰 Budget Build
Use basic materials and a simple mold to create a table top without breaking the bank.
⏰ Weekend Version
Complete the project in one day with a pre-made mold and quick-dry cement mix.
✨ Upgraded Finish
Add decorative elements like colored pigments or metal inlays for a custom, high-end look.
🛋️ Small-Space Adaptation
Create a smaller table top that fits perfectly in a nook or corner of your home.
🏠 Rental-Safe Option
Use removable or temporary molds to make a table top that’s easy to remove and reinstall.
| The mistake | Why it happens | The fix |
|---|---|---|
| Using too much water in the mixture | Too much water weakens the cement, making it more prone to cracking and less durable over time. | Use the correct ratio of cement, sand, and water, and test the mix by letting it sit for a few minutes. |
| Curing the table top in a hot or humid environment | This can cause the cement to dry too quickly, leading to cracks or an uneven finish. | Cure the table top in a cool, dry place away from direct sunlight or heat sources. |
| Removing the table top from the mold too early | This can cause the table top to crack or break, ruining your work. | Wait at least 48 hours before attempting to remove the table top from the mold. |
| Skipping the sanding step | This can leave the surface rough and uneven, making the final product look unfinished. | Spend time sanding the surface with different grits of sandpaper to achieve a smooth finish. |
How To Make Cement Table Top
Common Questions
Can I use a different type of cement instead of regular concrete?
What should I do if my table top cracks during curing?
How long does the table top need to cure before I can use it?
Can I paint the table top after sealing it?
References
- Pavement Design Manual (PDM) - Ohio Department of Transportation (transportation.ohio.gov)
Cite this guide
DIY Furniture with Concrete Accents (2026). How To Make Cement Table Top. https://concreteshape.com/how-to-make-cement-table-top/
Feel free to cite or share this guide.