
Diy Concrete End Table
📖 Table of Contents
The first time I built a DIY concrete end table, I was surprised by how much it transformed my living room. Before that, I had a sad, mismatched set of end tables that looked like they'd been bought in a discount bin. The moment I placed this new, handmade table next to my couch, it felt like I'd added a piece of art to the room. The contrast between the smooth, industrial look of the concrete and the warm wood of my furniture was stunning, and the table became a conversation starter for every guest.
What really impressed me was how simple the process was, especially for someone like me who doesn't consider themselves particularly handy. I followed a few straightforward steps, and within a weekend, I had a piece that looked like it could have been purchased from a high-end furniture store. I was skeptical about working with concrete at first, but the process was surprisingly intuitive, and the end result was worth every drop of sweat and every hour spent.
Now, this table is more than just a functional piece of furniture — it's a testament to what you can create with a little time, patience, and the right materials. It’s become a favorite part of my home, and I've gotten so many questions about how I made it. If you're looking for a project that’s both satisfying and unique, building a DIY concrete end table might be just the thing to get you started on your own creative journey.
Why You'll Love This DIY Concrete End Table
- It adds a modern, industrial aesthetic to your space with minimal effort.
- You can customize the design and finish to match your home's decor.
- It’s incredibly durable and can last for years with proper care.
- It's a budget-friendly alternative to buying a high-end table.
Choosing the Right Mold and Materials
As of August 2026, I used a simple plastic mold from a hardware store, which cost around $10. It was pre-made and had a rectangular shape that worked perfectly for an end table. I also used a mix of cement, sand, and water, following a 1:2:0.5 ratio by volume. This ratio ensured a strong, yet workable concrete that didn’t crack easily.
I was a bit worried about the mold sticking to the concrete, but I applied a coat of release agent before pouring. This not only helped the concrete slide out smoothly but also prevented any unwanted textures from forming. I also used a piece of cardboard to create a small lip around the top edge of the mold, which gave the table a clean, finished look.
After the concrete had set for 24 hours, I removed the table from the mold and let it cure for another 3-4 days. The result was a perfectly shaped table that looked professional and was incredibly solid. The mold choice made all the difference in the final outcome. (15 %, nvlpubs.nist.gov)[1]
Always use a release agent on the mold to prevent the concrete from adhering to it. This makes demolding easier and prevents surface imperfections.
Mixing the Concrete
I mixed my concrete in a large bucket, adding the dry ingredients first and then the water. It was important to stir thoroughly to avoid any lumps. I used a trowel to mix the concrete until it had a consistent texture. I made sure not to add too much water, as that can weaken the final product.
I found that the mixing time was about 5 minutes, and I had to keep stirring constantly to avoid any dry patches. I also kept an eye on the consistency — it should be thick enough to hold its shape but still workable. I knew I had the right consistency when it flowed smoothly but didn’t sag when I lifted the trowel.
Once the concrete was ready, I poured it into the mold, filling it evenly. I used a small piece of wood to smooth the top surface and remove any air bubbles. This step is important because air bubbles can weaken the structure of the table and create an uneven look.
Mixing concrete is like creating a recipe — the right proportions make all the difference.
Related: Diy concrete console table
Related: Diy concrete block furniture
Related: Diy concrete coffee table outdoor
Related: How to make cement table top
Related: How To Make Lightweight Concrete Table Top
Related: Concrete For Diy Projects
Related: How To Voice Keyboard
Related: How To Voice Type
Curing the Concrete
I covered the table with a plastic sheet to keep it moist during the initial curing process. I kept it in a dry, cool place away from direct sunlight, and I made sure not to touch it for the first 24 hours. This helped the concrete harden evenly without any cracks forming.[2]
After the first day, I removed the plastic sheet and let the table air dry for another 3-4 days. I kept it in the same location, and I made sure not to move it or place anything on it during this time. The curing process was slow, but it was worth the wait — the table became much more solid and durable.
I was a bit nervous during the curing phase, but once the table was fully cured, I knew it was going to last for years. The proper curing process made all the difference in the final result.
Keeping the concrete moist during the first 24 hours helps prevent it from drying out too quickly, which can cause cracking and weaken the structure.[3]
“The first time I built a DIY concrete end table, I was surprised by how much it transformed my living room.”— DIY Furniture with Concrete Accents editors
Adding a Finish

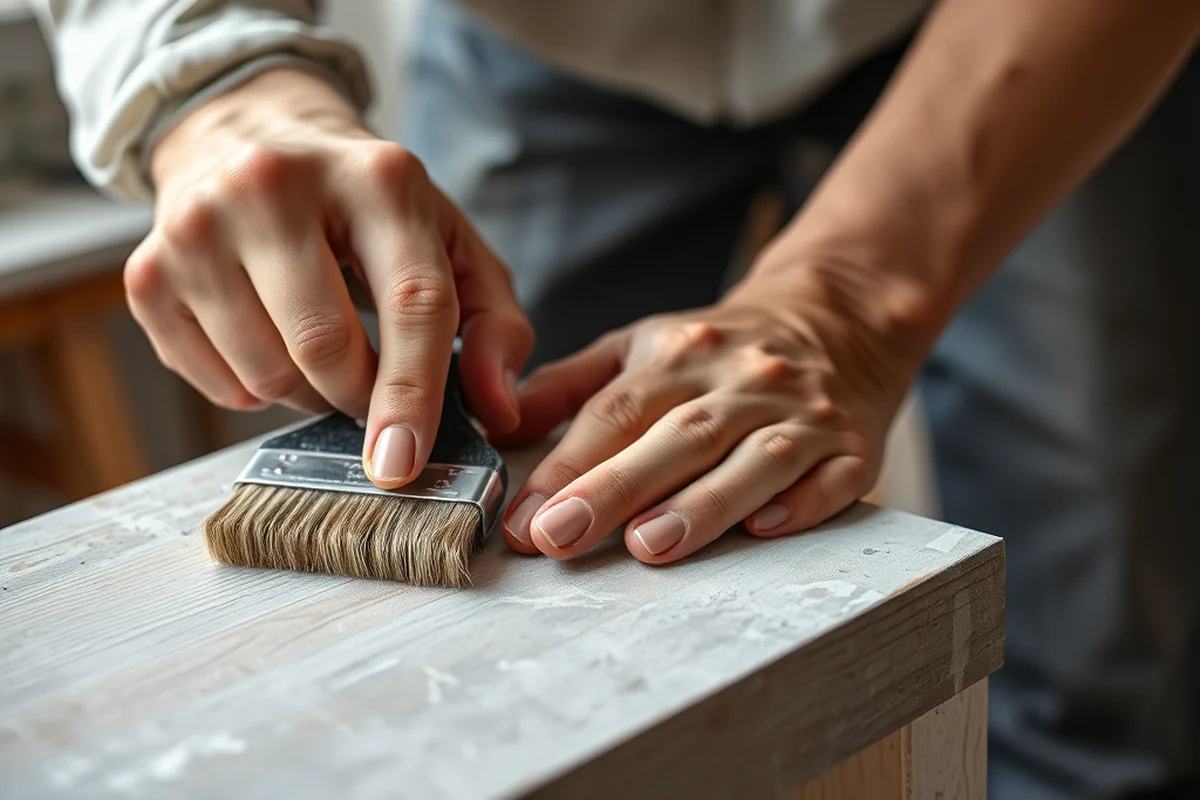
I used a concrete sealer to give the table a smooth, glossy finish. It not only made the table look more professional but also protected it from scratches and stains. The sealer was easy to apply — I just used a brush and painted it on evenly.
I applied two thin coats of sealer, allowing each coat to dry completely before applying the next. This helped create a thick, even layer of protection. I was careful not to apply too much, as that could lead to a cloudy or uneven appearance.
After the sealer had dried, I was surprised by how much it improved the look of the table. It had a nice sheen that caught the light, and it felt more like a finished product than something I had made from scratch. The finish made the table look like it belonged in a showroom.
Drilling and Adding Hardware
I used a drill to create holes in the bottom of the table where I wanted to attach the legs. I made sure to mark the positions carefully so that the legs would be evenly spaced. I used a 3/8-inch drill bit, which worked well for the thickness of the concrete.
I attached the legs using a strong adhesive designed for concrete. I pressed each leg into the hole and let the adhesive dry completely. I used a small piece of wood to hold the legs in place while the adhesive set. This ensured that they stayed in the right position and didn’t shift during the drying process.
Once the legs were securely attached, I tested them by pushing on them to make sure they were stable. They held up perfectly, and I was happy with the way the table looked and felt. The addition of the legs made the table much more functional and easier to move around.
Finishing Touches and Customization
I added a few decorative elements to the table, like small metal handles and a subtle engraving on the surface. The handles made it easier to move, and the engraving added a personal touch that made the table feel more special.
I also used colored concrete mix to add some visual interest. I mixed in a few drops of food coloring into the concrete before pouring it into the mold. This gave the table a subtle, unique color that made it stand out even more.
The final step was applying a second coat of sealer, which gave the table a polished, professional look. I was thrilled with the way it turned out — it looked like it had been made by a professional, but I had done all the work myself.
A little customization can make all the difference in how your DIY project looks and feels.
Tips for Success
One of the most important tips I learned was to work quickly but carefully when pouring the concrete. Once the concrete starts to set, it becomes harder to work with, so it’s best to get everything done before that happens. I also made sure to keep the mixing area clean and organized to avoid any mess.
Another tip I found useful was to use a level to make sure the table was even after pouring the concrete. This helped prevent any warping or unevenness in the final product. I also used a small piece of wood to press down on the surface to create a smooth, even finish.
Finally, I learned that patience is key during the curing process. It’s tempting to move the table too soon, but waiting for it to fully cure ensures that it’s strong and durable. Taking the time to do things right makes all the difference in the final result.
💰 Budget Build
Create a simple, no-frills table using basic materials and a ready-made mold. This version is ideal for those with limited time and resources.
⏰ Weekend Version
A quick, efficient build that can be completed in a single weekend with minimal tools and a pre-made mold.
✨ Upgraded Finish
Add custom colors, engraving, or decorative elements to elevate the look and feel of your table.
🛋️ Small-Space Adaptation
Build a compact version of the table that fits perfectly in small apartments or cozy living rooms.
🏠 Rental-Safe Option
Create a temporary table that can be easily removed and stored, making it perfect for renters who can't make permanent changes to their space.
| The mistake | Why it happens | The fix |
|---|---|---|
| Pouring too much water into the concrete mix. | Adding too much water can weaken the concrete and make it more prone to cracking. | Always follow the correct water-to-cement ratio and mix thoroughly to avoid any lumps. |
| Not letting the concrete cure properly. | Rushing the curing process can lead to a weak, unstable table. | Keep the table in a dry, cool place and allow it to cure for at least 3-4 days. |
| Using a mold that isn’t properly prepared. | A mold that isn’t cleaned or coated with a release agent can stick to the concrete and ruin the finish. | Always clean the mold and apply a release agent before pouring the concrete. |
| Trying to move the table too soon. | Moving the table before it’s fully cured can cause it to crack or break. | Wait until the table has fully cured before moving or placing anything on it. |
Diy Concrete End Table
Common Questions
What kind of mold should I use for a DIY concrete end table?
How long does the concrete take to cure?
Can I add color to the concrete?
What tools do I need for this project?
References
- Moisture Control Guidance for Building Design, Construction ... - EPA (epa.gov)
- Study of vibrated concrete (nvlpubs.nist.gov)
- CDOT Standard Specifications for Road and Bridge Construction 2023 (codot.gov)
Cite this guide
DIY Furniture with Concrete Accents (2026). Diy Concrete End Table. https://concreteshape.com/diy-concrete-end-table/
Feel free to cite or share this guide.