
Diy Cement Furniture
📖 Table of Contents
The first time I poured a batch of concrete for a DIY project, I was both terrified and thrilled. I’d spent months watching videos online and reading blogs. Nothing could have prepared me for the weight of the material in my hands, the texture of the mix, or the way the surface hardened into something solid and beautiful. The result was a concrete side table I made over the course of a weekend — it took me longer to find the right mold than to mix the concrete — and it became the centerpiece of my living room, a testament to patience and creativity. This is the story of how I got here, and how you can create your own DIY cement furniture, one pour at a time.[2]
I’ve always believed that the best DIY furniture projects are the ones that blend aesthetics with function, and nothing does that like concrete. It’s strong, durable, and incredibly versatile. Whether you're making a bench, a coffee table, or a planter, the material can be shaped into almost anything. I've tried everything from simple rectangular forms to intricate, sculptural pieces, and each time, I've been amazed by the transformation from messy mix to finished piece. The key is understanding the material, experimenting with forms, and most importantly, enjoying the process.[3]
DIY cement furniture is more than just a trend — it’s a movement. It’s about reclaiming control over your living space, about making things that are both personal and practical. I've built several pieces over the years, and each one taught me something new. Whether it was learning how to mix the perfect consistency of concrete or figuring out how to add color without compromising strength, every step brought me closer to mastering this material. If you’re ready to get your hands dirty and create something truly unique, this is where the journey begins.[4]
Why You'll Love This DIY Project
- DIY cement furniture allows for complete customization, from shape to color.
- It's a low-cost alternative to store-bought furniture that's often overpriced.
- Concrete is incredibly durable and can last for decades with proper care.
- The process is rewarding and can be completed with just a few simple tools.
Understanding Concrete and Its Properties
As of August 2026, Concrete is not just a material — it's a craft in itself. It’s a mixture of cement, sand, and aggregate (like gravel or crushed stone) that, when combined with water, becomes a pliable substance that hardens over time. The key to any successful DIY cement furniture project is understanding the balance between these components. I’ve learned through trial and error that the ratio of materials can drastically affect the final strength and texture of the piece.[5]
The most common mix ratio for DIY projects is 1 part cement to 2 parts sand to 3 parts aggregate. This gives a good balance of strength and workability. I often use a 5-gallon bucket to measure out my ingredients, which makes it easier to keep things consistent. It’s also important to use clean, dry materials, as any moisture can interfere with the mixing process.
The water-to-cement ratio is another crucial factor. I typically use about 0.4 parts water per part cement, which gives the mix a workable consistency without compromising strength. Too much water and the concrete will be weak and prone to cracking, while too little and it will be too dry to pour or shape properly.
Always measure your materials before mixing. Use a bucket or a scale to ensure consistency. This step alone can prevent many common mistakes.
Choosing the Right Mold
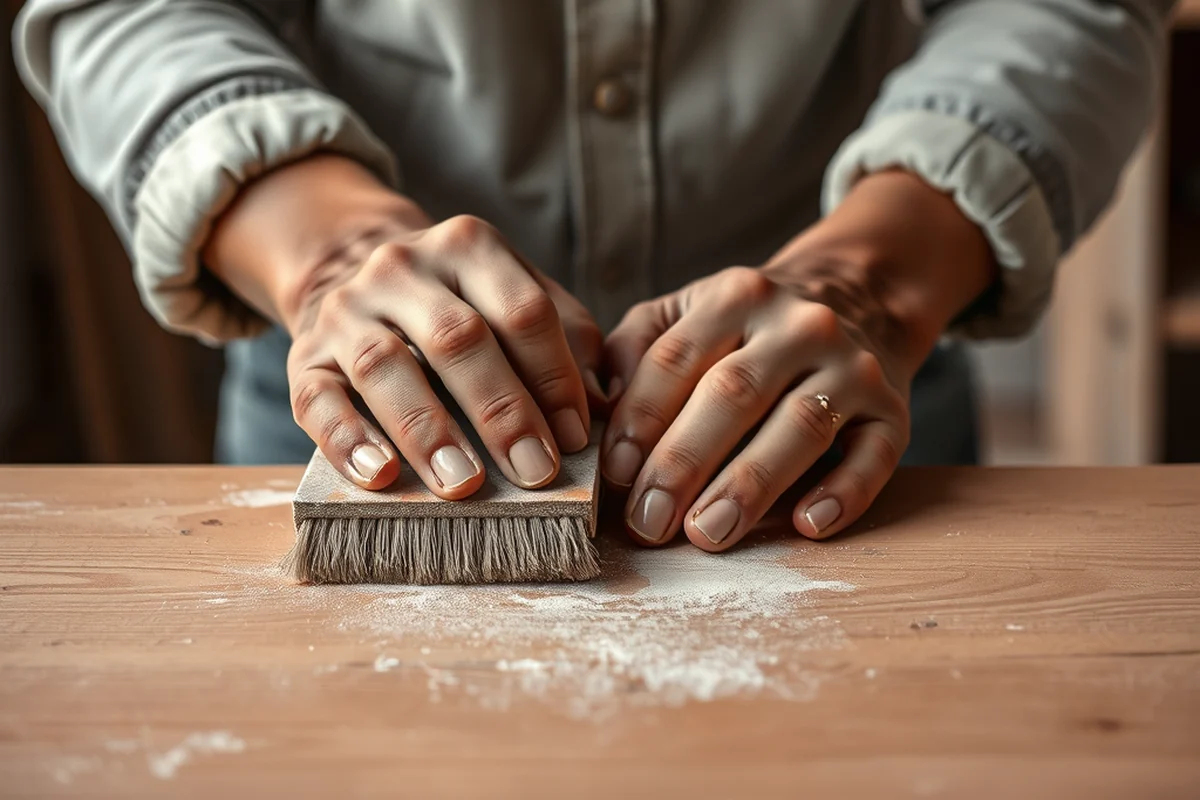
The mold you choose can make or break your project. I’ve used everything from store-bought plastic molds to custom-built wooden forms, and each has its own advantages and disadvantages. Plastic molds are easy to use and clean, but they can leave a slight texture on the surface of the concrete. Wooden molds, on the other hand, provide a smoother finish but require more effort to build and maintain.
When selecting a mold, consider the size and shape of the piece you want to create. For example, a simple table base can be made with a rectangular mold, while a decorative planter might require a more complex shape. I’ve found that using multiple smaller molds can be more effective than one large one, especially for beginners.
It's also important to line your mold with a release agent, like silicone spray or a plastic sheet. This prevents the concrete from sticking to the mold and makes it easier to remove once it has set. I’ve learned the hard way that skipping this step can lead to a lot of frustration later on.
A good mold is half the battle in creating beautiful DIY cement furniture.
Related: Diy concrete block patio furniture
Related: Diy concrete decor ideas
Related: Diy concrete console table
Related: Diy concrete end table
Related: Diy Cinder Block Patio Furniture
Related: How To Pronounce Spanish Alphabet
Related: How To Emoji Outlook Email
Related: What Is The Phonetic Alphabet For U
Related: How To Use Spanish Keyboard
Mixing the Concrete
Once you’ve selected your mold and gathered your materials, it’s time to mix the concrete. I always start by combining the dry ingredients — cement, sand, and aggregate — in a large mixing container. It’s important to mix them thoroughly to ensure an even distribution. I use a hand drill with a mixing paddle for the best results, but a shovel or trowel will work if you don’t have the right tools.
Next, I add water gradually, mixing until the concrete reaches a workable consistency. The mix should be moist but not wet — it should hold its shape when you press it with your hand. I’ve learned that adding water too quickly can lead to a weaker final product, so I take my time and add it in small increments.
After mixing, I pour the concrete into the mold and use a trowel to smooth the surface. I also tap the sides of the mold gently to remove any air bubbles, which can cause cracks as the concrete sets. This step is crucial, as air bubbles can weaken the structure of the piece.
Tap the sides of the mold gently to remove air bubbles. This prevents cracks and ensures a stronger final product.
“The first time I poured a batch of concrete for a DIY project, I was both terrified and thrilled.”— DIY Furniture with Concrete Accents editors
Curing the Concrete

After the concrete is poured and smoothed, the curing process begins. I always cover the piece with a plastic sheet or wrap to keep it moist, which helps the concrete gain strength gradually. This is an important step, as improper curing can lead to a weak or brittle final product.
The curing process can take anywhere from 24 to 48 hours, depending on the mix and environmental conditions. I’ve found that keeping the piece in a cool, dry place away from direct sunlight or extreme heat helps it cure evenly. I also avoid moving the piece for at least 72 hours to ensure it’s fully set.[1]
During the first few days, I check the piece regularly to make sure it’s not drying out too quickly. If it starts to look too dry, I’ll mist it with water to keep it moist. This step is essential for achieving a strong, durable piece that will last for years.
Finishing and Sealing the Concrete
Once the concrete has fully cured, it’s time to finish and seal the surface. I use a float to smooth the surface, removing any imperfections or rough spots. I’ve found that using a trowel for a smoother finish works best, especially for decorative pieces.
After smoothing, I apply a release agent or a concrete sealer to protect the surface. This not only enhances the appearance of the piece but also makes it more resistant to stains and damage. I’ve used a variety of sealers over the years, and my favorite is a water-based, clear sealer that doesn’t yellow over time.
Finally, I let the sealer dry completely before using the piece. This step is crucial, as applying it too soon can lead to a cloudy or uneven finish. Once the sealer is dry, the piece is ready to be used and displayed.
Adding Color and Texture
One of the most fun aspects of working with concrete is adding color and texture. I’ve experimented with a variety of methods, from using colored concrete mix to adding pigments or dyes. The results can be stunning, and it’s a great way to personalize your piece.
For texture, I’ve used tools like a trowel, sponge, or even a piece of fabric to create interesting patterns on the surface. I’ve also tried embedding objects like glass or metal into the wet concrete for a more sculptural look. These techniques can add depth and visual interest to your piece.
When adding color, I always mix the pigment into the dry ingredients before adding water. This ensures even distribution and a consistent finish. I’ve found that using a small amount of pigment goes a long way, and it’s always best to test it on a small area first.
Color and texture can turn a simple piece of concrete into a work of art.
Common Mistakes and How to Avoid Them
I’ve made my fair share of mistakes when working with concrete, and many of them came from rushing the process. One of the biggest mistakes I’ve seen, including my own, is not allowing enough time for the concrete to cure properly. This can lead to a weak or brittle piece that doesn’t last long.
Another common mistake is using too much water in the mix, which can weaken the structure and cause cracking. I’ve learned that the key is to add water gradually and mix thoroughly to achieve the right consistency.
Finally, I’ve made the mistake of not using a release agent, which can cause the piece to stick to the mold and make it difficult to remove. This can lead to frustration and wasted time, especially if the piece is already set.
💰 Budget Build
Create a simple, functional piece of furniture with minimal cost, using basic materials and tools.
🕘 Weekend Version
A quick and easy project that can be completed in a single day, perfect for those with limited time.
✨ Upgraded Finish
Enhance your piece with color, texture, and a professional finish for a more polished look.
🛋️ Small-Space Adaptation
Design a compact piece of furniture that fits perfectly in small apartments or homes.
🏠 Rental-Safe Option
Create a piece of furniture that is easy to remove and won’t damage floors or walls, ideal for renters.
| The mistake | Why it happens | The fix |
|---|---|---|
| Not allowing enough time for the concrete to cure properly. | Concrete that doesn't cure fully can be weak and prone to cracking. It's important to give it enough time to set and harden. | Keep the piece in a cool, dry place away from direct sunlight or extreme heat, and avoid moving it for at least 72 hours. |
| Using too much water in the mix. | Too much water can weaken the structure of the concrete and cause cracking. It can also lead to a weaker final product. | Add water gradually and mix thoroughly to achieve the right consistency. Always test the mix before pouring it into the mold. |
| Not using a release agent. | Not using a release agent can cause the concrete to stick to the mold, making it difficult to remove once it has set. | Always line your mold with a release agent, like silicone spray or a plastic sheet, to prevent the concrete from sticking. |
| Skipping the smoothing and tapping steps. | Skipping these steps can lead to air bubbles in the concrete, which can cause cracks as it sets. | Use a trowel to smooth the surface and tap the sides of the mold gently to remove air bubbles. |
Diy Cement Furniture
Common Questions
What is the best way to mix concrete for a DIY project?
How long does it take for concrete to cure?
Can I add color to my concrete furniture?
What tools are needed for a DIY concrete furniture project?
References
- TENORM: Consumer Products | Radiation Protection - US EPA (19january2021snapshot.epa.gov)
- Untitled | The Art Institute of Chicago (artic.edu)
- News Flash • Helpful Tips for Trash Collection - Beaumont, TX (beaumonttexas.gov)
- Dumping Guidelines | Butte County, CA (buttecounty.ca.gov)
- Weathering of Cement is an Important but Overlooked Sink ... - Caltech (caltech.edu)
Cite this guide
DIY Furniture with Concrete Accents (2026). Diy Cement Furniture. https://concreteshape.com/diy-cement-furniture/
Feel free to cite or share this guide.