
Diy Concrete Decor Ideas
📖 Table of Contents
There's something deeply satisfying about shaping raw concrete into a functional piece of decor. I remember the first time I mixed concrete in my garage, watching it go from a gritty slurry to a solid, cool surface in just a few hours. The smell of the mix, the texture under my hands, and the way the color deepened as it cured — it was like creating something from nothing. That's what DIY concrete decor ideas are all about: transforming a simple material into something unique, durable, and deeply personal.
Concrete isn't just for countertops or floors anymore. It's become a favorite among DIYers and furniture enthusiasts looking to add texture, weight, and a modern edge to their homes. Whether it's a minimalist coffee table, a sculptural wall art piece, or a decorative planter, concrete can be molded and shaped to suit any style. I've tried making everything from candle holders to bookends, and each project taught me something new about working with this material.
But here's the thing: concrete decor isn't as intimidating as it looks. With the right tools, techniques, and a little patience, even a beginner can create stunning, long-lasting pieces. I've spent the past few months experimenting with different molds, finishes. Additives, and I've found that the most rewarding projects are the ones that feel like a conversation between the material and your hands. These DIY concrete decor ideas are not only creative but also incredibly rewarding — and I'm here to walk you through every step.
Why You'll Love This Project
- Create one-of-a-kind decor that reflects your personal style
- Add weight and texture to your space with a durable, timeless material
- Save money by making custom decor instead of buying mass-produced items
- Enjoy the satisfaction of crafting with your hands and seeing your vision come to life
How to Make a Concrete Coffee Table
As of August 2026, Concrete coffee tables are a staple in modern interiors, and making one at home is surprisingly straightforward. I built mine using a simple rectangular mold made from two pieces of wood, sealed with silicone to prevent sticking. I mixed a standard concrete mix with a small amount of water, poured it into the mold, and used a trowel to smooth the surface. After letting it cure for 24 hours, I sanded the edges and applied a coat of concrete sealer for a polished look.[1]
What I love about this project is how much it can be customized. I used a colorant to give it a deep charcoal finish, which contrasted beautifully with the wood legs I found at a local hardware store. The table ended up being both sturdy and stylish, and I was amazed at how quickly it took shape. It's a piece I now use daily, and it always gets compliments.
The key to success here is patience. I learned that rushing the curing process can lead to cracks, so I made sure to follow the instructions carefully. If you're new to working with concrete, this is a great place to start — it's a project that's both satisfying and forgiving.
Always use a silicone mold release spray on your molds to ensure the concrete doesn't stick. I've tried skipping this step and ended up with messy cleanup and compromised finishes.
Concrete Planters for a Modern Touch
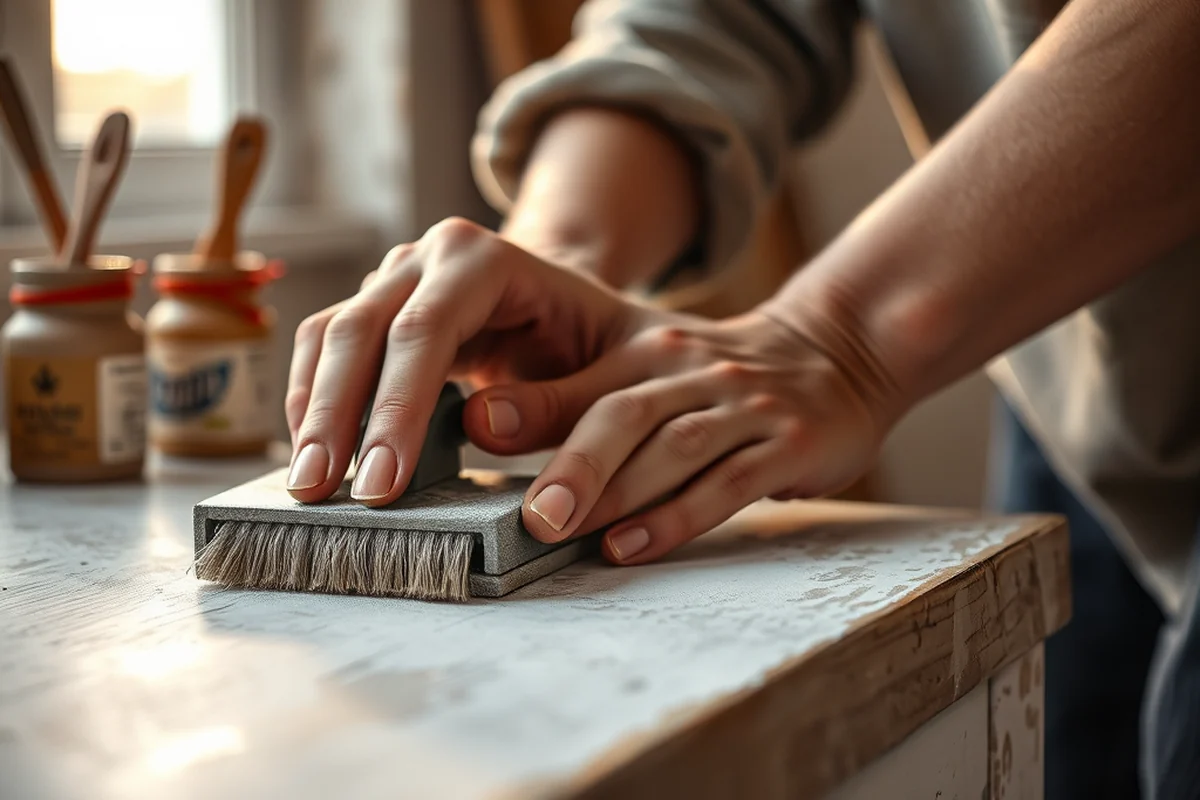
Concrete planters are a favorite of mine for their simplicity and adaptability. I made a few using plastic molds, which are easy to find at most home improvement stores. I filled them with a mix of concrete and sand, which helped with the strength and texture. After letting them cure, I used a masonry drill to make drainage holes and painted the outside with a high-quality concrete paint.
What I love about planters is how they can be customized. I used a colorant in one to make it a deep gray, and in another, I left it natural and painted the inside with a water-resistant sealant. They look great on my windowsill and in my living room, adding a touch of texture and modernity.
One thing to note is that the more intricate the shape, the more careful you need to be with the curing process. I found that using a mold with sharp edges required more attention to detail to prevent cracking. But with a little patience and the right tools, the result is worth it.
Concrete planters are like blank canvases — you can shape, color, and design them to fit any space.
Related: Diy concrete block patio furniture
Related: Diy cement furniture
Related: Diy concrete console table
Related: Diy Concrete End Table
Related: Concrete Symbols Examples
Related: Does Decor Have An Accent
Related: How To Type The N In Spanish
Related: How To Use Spanish Keyboard
Creating a Concrete Wall Art Piece
I've made a few concrete wall art pieces over the years, and each one has been a learning experience. I used a shallow mold made from a wooden frame covered in plastic sheeting. I mixed the concrete and added a small amount of sand for texture, then poured it into the mold. After it cured, I used a sander to smooth the edges and sealed it with a clear coat for a finished look.
What I love about wall art is how it can be shaped and colored in so many ways. I experimented with different colors and even added in some small pieces of metal for an industrial feel. It turned out to be a great conversation piece, and it's a reminder of how creative you can be with concrete.
One tip I learned is to use a mold that's slightly larger than the final piece. This allows for some slight shrinking during the curing process. I found that skipping this step can lead to uneven surfaces, so I always make sure to leave a little extra room.
Concrete shrinks slightly as it cures, so using a mold that's a bit larger than your final size helps prevent tight edges and cracks. I've made this mistake before and had to rework a few pieces.
“There's something deeply satisfying about shaping raw concrete into a functional piece of decor.”— DIY Furniture with Concrete Accents editors
DIY Concrete Candle Holders

Concrete candle holders are a perfect project for those who want to add a touch of elegance without a big investment. I made mine using small silicone molds, which are easy to find online or in craft stores. I mixed the concrete with a bit of colorant and poured it into the molds. After it cured, I used a small brush to clean up any excess and applied a coat of sealer.
I love how these little holders can be customized. I made some in different colors and even used some with a glossy finish for a more refined look. They look great on my mantel and add a subtle, modern touch to the space.
The best part about this project is how quickly it comes together. I was able to make a dozen holders in just one afternoon, and each one turned out unique. It's a great way to experiment with colors and shapes and see what works best for your home.
Making a Concrete Bookend Set
I made a set of concrete bookends using a simple rectangular mold. I mixed the concrete with a small amount of sand for texture and poured it into the mold. After it cured, I used a sander to smooth the edges and sealed them with a clear coat for a finished look.
I love how these bookends turned out — they're both functional and decorative. I used a colorant to give them a deep blue finish, and they look great on my bookshelf. They add a touch of modernity and are a great way to store books without having to use plastic or metal ones.
One thing to note is that the more intricate the design, the more time you'll need to spend on the details. I found that using a smooth mold and careful sanding helped create a more polished look. It's a small project with a big impact on the overall appearance of your space.
Concrete Coasters for a Unique Touch
Concrete coasters are a great way to add a unique, handmade touch to your home. I made mine using small silicone molds and a simple concrete mix. After pouring the concrete into the molds and letting it cure, I used a small sander to smooth the edges and applied a sealer for a finished look.
I love how these coasters look — they're simple but stylish, and I've made them in different colors to match various spaces in my home. They're also incredibly durable, and I've used them on my coffee table and side tables without any issues.
One thing to note is that the size of the mold is important. I found that using a slightly larger mold helped the concrete settle more evenly, and it prevented any cracks from forming during the curing process. It's a small but important detail that makes a big difference in the final result.
Concrete coasters are like tiny pieces of art — they add texture and personality to any surface.
Concrete Desk Organizer for a Practical Touch
I made a concrete desk organizer using a simple mold made from a plastic container. I mixed the concrete and poured it into the mold, making sure to smooth the surface as I went. After it cured, I used a small sander to smooth the edges and applied a coat of sealer for a polished finish.
What I love about this project is how functional it is. I used a small colorant to give it a deep gray finish, and it looks great on my desk. It's not only useful but also a great way to add a touch of modernity to my workspace.
One thing to note is that the more detailed the design, the more time you'll need to spend on the curing process. I found that using a mold with smooth edges helped the concrete settle more evenly, and it prevented any cracks from forming. It's a small but important detail that makes a big difference in the final result.
💰 Budget Build
Use basic materials like premixed concrete and simple molds to create a low-cost decor piece with a professional finish.
⏰ Weekend Version
A quick and easy project that can be completed in one day, perfect for those with limited time and space.
✨ Upgraded Finish
Add color, texture, and shine with high-quality materials and finishes for a more polished and refined look.
🏠 Small-Space Adaptation
Create compact, minimalist decor pieces that are perfect for small apartments or cozy living spaces.
🛡️ Rental-Safe Option
Use removable and temporary materials to create decor that won't damage rental properties or leave a mark.
| The mistake | Why it happens | The fix |
|---|---|---|
| Skipping the mold release spray | Concrete can stick to the mold, leading to a messy cleanup and damaged finished product. | Always apply a mold release spray or silicone oil to the mold before pouring concrete. |
| Pouring too much concrete into a small mold | This can lead to overfilling and uneven curing, resulting in cracks and a poor finish. | Measure the amount of concrete carefully and pour it into the mold in layers to avoid overfilling. |
| Not letting the concrete cure properly | Rushing the curing process can lead to weak, brittle concrete that cracks easily. | Follow the manufacturer's instructions for curing time and keep the concrete in a dry, cool place. |
| Using the wrong type of sealer | Using the wrong sealer can cause the concrete to lose its color or become slippery. | Choose a sealer that's specifically designed for concrete decor and follow the application instructions carefully. |
Diy Concrete Decor Ideas
Common Questions
Can I use any type of concrete for these projects?
Do I need any special tools?
How long does it take for the concrete to cure?
Can I paint the concrete after it's cured?
References
- DOWNTOWN STREETSCAPE INITIATIVE - Savannah, GA (savannahga.gov)
Cite this guide
DIY Furniture with Concrete Accents (2026). Diy Concrete Decor Ideas. https://concreteshape.com/diy-concrete-decor-ideas/
Feel free to cite or share this guide.