
Accent Wall With Panels
📖 Table of Contents
- Choosing the Right Panels for Your Accent Wall
- Preparing the Wall for Installation
- Cutting and Assembling the Panels
- Installing the Panels on the Wall
- Finishing Touches: Painting and Sealing
- Adding Decorative Elements to Your Accent Wall
- Maintaining Your Accent Wall with Panels
- Make It Your Way
- Frequently Asked Questions
I remember the first time I decided to build an accent wall with panels. It was in my tiny apartment, and I was tired of the stark white walls. I found a few online tutorials, but none of them really covered the full process with real numbers and concrete steps. That’s when I rolled up my sleeves, bought a few pieces of wood, and got to work. What I ended up with was a wall that didn’t just look good—it felt like it belonged in my space, and it only took me a weekend to complete.
Building an accent wall with panels is more than just a DIY project; it’s a way to add character and depth to a room without breaking the bank. I’ve tried several versions of this over the years, from using reclaimed wood to painting panels with bold colors. Each time, the results were different, but the satisfaction of creating something with my own hands was the same. If you’re looking for a way to transform your space without hiring a contractor or buying a new couch, this is the project for you.
One of the things I love most about an accent wall with panels is how it can be tailored to fit almost any style. I’ve seen versions that look rustic with rough-hewn wood, others that are sleek and modern with polished panels, and even a few that are painted with geometric patterns. Whether you’re going for a minimalist vibe or something more eclectic, the possibilities are endless. And the best part? You can do it all in a single weekend with just a few tools and a little bit of patience.
Why You'll Love This Accent Wall With Panels
- It adds visual interest without the cost of a major renovation.
- You can customize the look to match your style or room’s function.
- It’s a great way to showcase your DIY skills and creativity.
- It can be completed in a single weekend with minimal tools.
Choosing the Right Panels for Your Accent Wall
As of September 2026, I usually go with solid wood panels for the durability and warmth they bring to a room. I’ve also used MDF (medium-density fiberboard) for a more budget-friendly option, and it works surprisingly well if you paint or stain it properly. I always measure the wall space first to determine how many panels I’ll need. If the wall is 8 feet tall and 10 feet wide, I calculate the area and divide it by the size of each panel to get an accurate count.[1]
Texture is another important factor. Rough-sawn wood panels give a rustic, organic feel, while smooth panels are ideal for a more modern or minimalist look. I once used pre-finished wood panels with a glossy sheen for a living room, and it made the space feel instantly more polished and elegant. On the other hand, I’ve also used unfinished wood for a more DIY feel, which I then painted and sealed myself.
Color is the final piece of the puzzle. I like to choose a color that contrasts with the room’s existing palette. For example, if the room is painted in cool grays, a warm wood tone can add a nice contrast. I’ve also experimented with painted panels in bold colors like deep blue or emerald green for a dramatic effect. Just make sure the color complements your furniture and lighting in the room.
Always measure your wall and the panels you’re using before buying. This will help you avoid buying too many or too few. I often add an extra 10% to my calculations just in case.[2]
Part of our Where to put accent guide.
Preparing the Wall for Installation
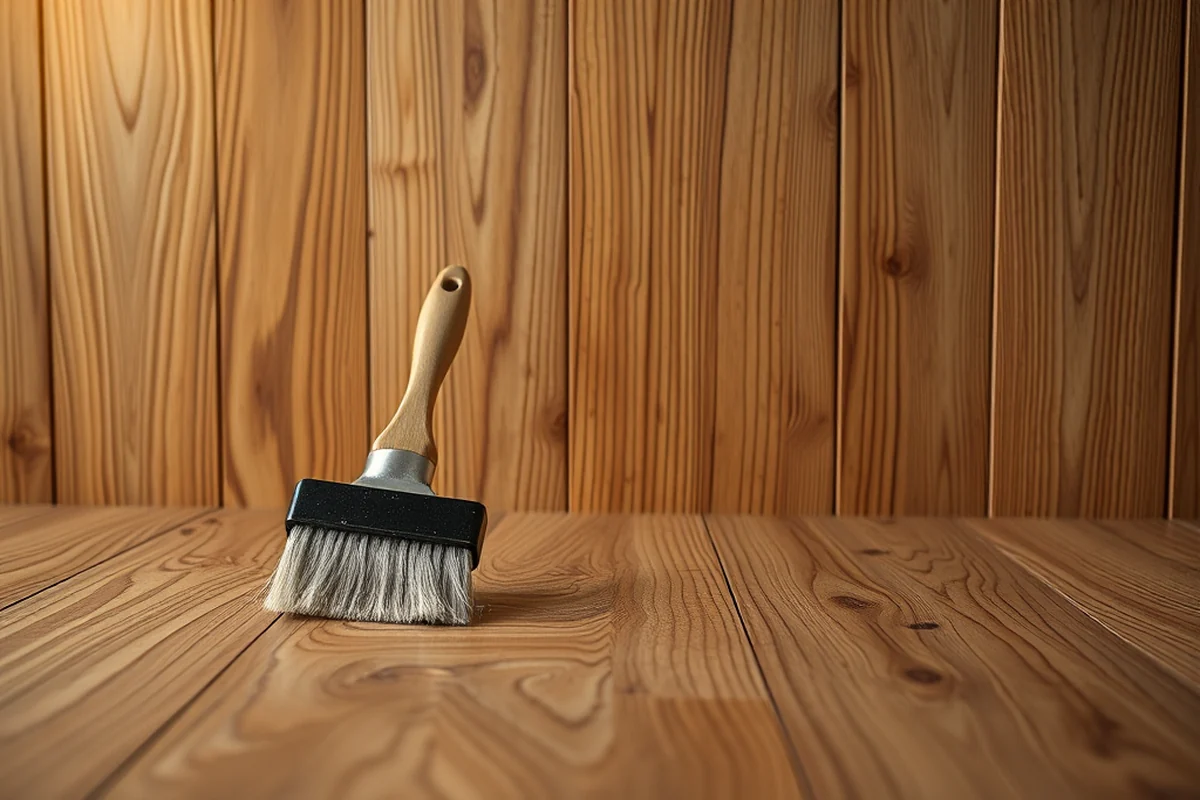
I always start by cleaning the wall with a mild detergent and water to remove any dust, grime, or old paint. If the wall has any cracks or imperfections, I fill them in with spackle and sand them down until they’re smooth. This step is crucial because it ensures that your panels will lie flat and not have any bumps or gaps once they’re installed.
Next, I apply a coat of primer to the wall. This helps the panels adhere better and also makes it easier to paint them if needed later. I’ve found that using a high-quality primer can make a big difference in how the panels look once they’re up. I always let the primer dry completely before moving on to the next step.
After the primer is dry, I use a level to mark the position of the first panel. I measure the center of the wall and mark it with a pencil, then use a level to make sure the line is straight. This helps me align the panels properly as I go. I’ve made the mistake of skipping this step before, and it ended up looking a bit off-center and unbalanced.
A little preparation goes a long way when it comes to installing your accent wall.
Related: How to make accents on keyboard windows 11
Cutting and Assembling the Panels
I use a circular saw or a jigsaw to cut the panels to size. I always measure twice and cut once to avoid mistakes. I’ve learned the hard way that even a small mistake in the cut can throw off the entire layout of the wall. I recommend using a straight edge or a guide to ensure the cuts are straight and even.
Once the panels are cut, I sand the edges to remove any splinters or rough spots. I’ve found that using a fine-grit sandpaper is best for this, as it gives a smooth finish without removing too much material. After sanding, I wipe the panels down with a damp cloth to remove any dust before moving on to the next step.
Assembling the panels is the final step before installation. I use wood glue to join the panels together, especially if they’re going to be part of a larger panel system. I always make sure the glue is applied evenly and that the panels are aligned properly before clamping them together. I’ve found that using clamps helps hold the pieces together until the glue dries completely.
Always sand the edges of your panels before installation. This ensures a smooth finish and prevents splinters. I always use a fine-grit sandpaper for this step.
“I remember the first time I decided to build an accent wall with panels.”— DIY Furniture with Concrete Accents editors
Related: How to write accents on spanish keyboard
Installing the Panels on the Wall
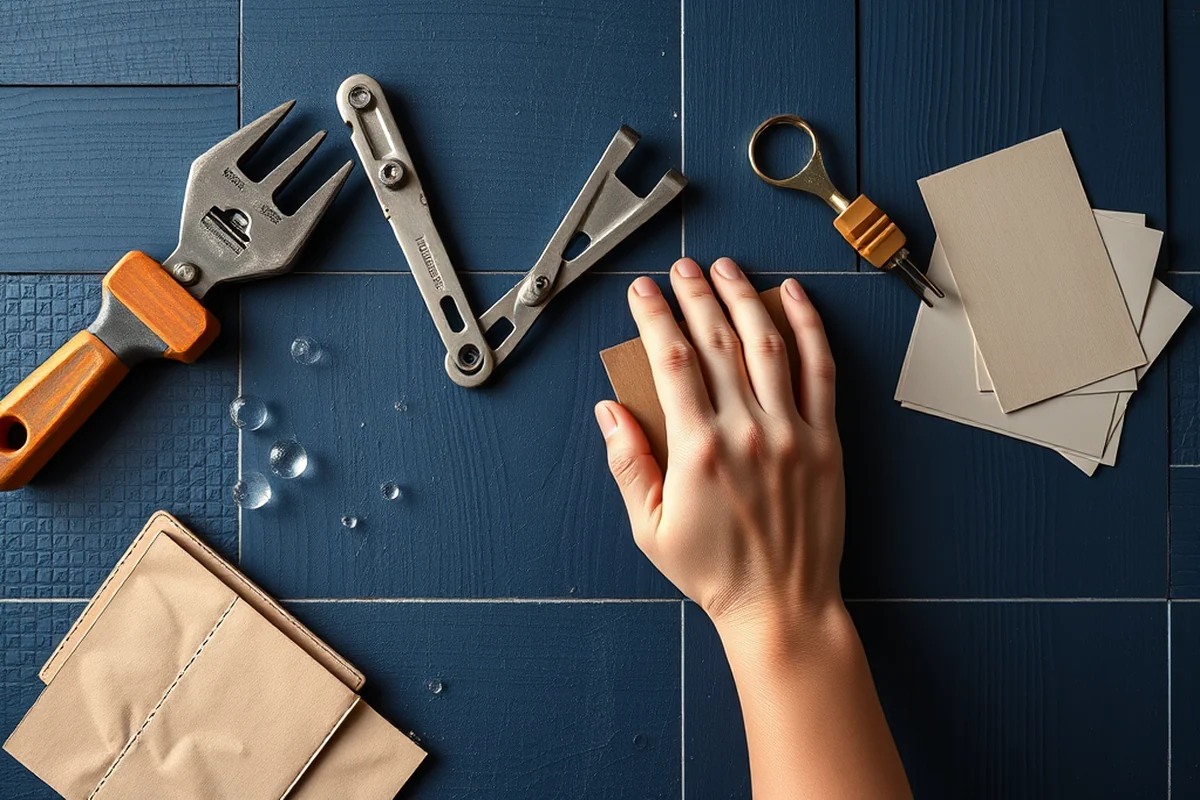
I start by applying a thin layer of wood glue to the back of each panel. This helps them stick to the wall and ensures a secure hold. I’ve found that using a brush or a small paint roller is the easiest way to apply the glue evenly. I always make sure the glue is spread out in a thin, even layer before placing the panel on the wall.
Once the glue is on the panel, I press it firmly against the wall and use a level to make sure it’s straight. I’ve learned that it’s easier to work on one panel at a time rather than trying to install them all at once. This way, I can check the alignment as I go and make sure everything is even.
After the first panel is up, I move on to the next one, repeating the process until the entire wall is covered. I always leave a small gap between the panels to allow for expansion and contraction, especially if I’m using wood. I’ve found that using a ruler or a measuring tape to space them out evenly is the most effective way to do this.
Related: How to make different accents
Finishing Touches: Painting and Sealing
If I’m painting the panels, I use a high-quality primer first to ensure the paint adheres properly. I’ve found that using a primer makes the paint look more vibrant and lasts longer. I always let the primer dry completely before applying the paint.
I use a brush or a roller to apply the paint, depending on the size of the panels and the amount of coverage I need. I’ve found that using a brush works best for small areas and corners, while a roller is better for larger, flat surfaces. I always apply two coats of paint to ensure even coverage and a professional finish.
After the paint is dry, I apply a clear sealant to protect the finish. I’ve used both water-based and oil-based sealants, and I’ve found that water-based is easier to work with and less smelly. I always apply two coats of sealant, waiting for each one to dry completely before applying the next.
Related: French accent type
Adding Decorative Elements to Your Accent Wall
I often add picture frames, shelves, or decorative mirrors to my accent wall to add visual interest. I’ve found that adding a few well-placed items can make a big difference in how the wall looks and feels. I always choose items that complement the color and style of the panels.
Another option is to add lighting, such as LED strips or sconces, to highlight the texture of the panels. I’ve tried adding LED strips behind my panels, and it creates a nice ambient glow that really makes the wall stand out. I always make sure the lighting is evenly spaced and positioned to avoid any shadows or uneven lighting.
I’ve also used decorative hardware, such as brackets or nails, to add a rustic or industrial feel to the wall. I’ve found that using hardware with a different finish, like brushed brass or black iron, can add a nice contrast to the panels. I always make sure the hardware is installed securely and evenly spaced to maintain a clean look.
A little extra decor can make your accent wall look like it was made by a designer.
Related: What is accent pieces
Maintaining Your Accent Wall with Panels
I recommend cleaning the panels regularly with a soft cloth and mild detergent to remove any dust or dirt that accumulates over time. I’ve found that using a microfiber cloth is best, as it doesn’t scratch the surface of the panels. I always avoid using harsh chemicals or abrasive cleaners, as they can damage the finish.
If the panels are painted or sealed, I make sure to reapply the sealant every few years to maintain the protective layer. I’ve noticed that over time, the sealant can wear off, especially in high-traffic areas. I always use the same type of sealant that I used initially to ensure consistency in the finish.
If any of the panels become damaged or start to look worn, I replace them as needed. I’ve found that replacing a single panel is easier than replacing the entire wall, especially if the damage is minor. I always make sure to match the color and texture of the new panel to the existing ones for a seamless look.
💰 Budget Build
Use MDF panels and paint them in a bold color for a budget-friendly accent wall that’s still stylish and eye-catching.
⏰ Weekend Version
Complete the entire project in one weekend by using pre-cut panels and a simple paint finish that dries quickly.
✨ Upgraded Finish
Add a premium wood finish or a custom stain to your panels for a more elegant and high-end look that will last for years.
🛋️ Small-Space Adaptation
Create a smaller accent wall using vertical panels to save space while still making a statement in a compact room.
🚪 Rental-Safe Option
Use removable adhesive panels or temporary wall art to create an accent wall that’s easy to remove and leave no damage behind.
| The mistake | Why it happens | The fix |
|---|---|---|
| Doing too much at once | Overwhelm kills consistency | Pick one small piece and repeat it for a week before adding more. |
| Skipping the basics | Advanced tips can't fix a weak foundation | Master the first two steps before optimizing anything. |
Accent Wall With Panels
Common Questions
Can I install an accent wall with panels on a drywall wall?
Do I need to use nails or screws to install the panels?
Can I paint my panels after installation?
How long does it take to complete an accent wall with panels?
References
- haines public safety facility haines borough, alaska - schematic design (hainesalaska.gov)
- city of cocoa safety manual (cocoafl.gov)
Cite this guide
DIY Furniture with Concrete Accents (2026). Accent Wall With Panels. https://concreteshape.com/accent-wall-with-panels/
Feel free to cite or share this guide.