
Diy Limewash Accent Wall
📖 Table of Contents
- What Exactly Is Limewash, and Why Is It Perfect for an Accent Wall?
- How to Prepare Your Wall for Limewash
- Mixing the Limewash: The Right Ratio for the Perfect Finish
- Applying the Limewash: Techniques for a Professional Look
- Sealing the Limewash: Protecting Your Finish Without Sacrificing Aesthetics
- Designing Your Accent Wall: How to Choose the Right Color and Placement
- Aftercare and Longevity: How to Maintain Your Limewash Accent Wall
- Make It Your Way
- Frequently Asked Questions
I remember the first time I walked into my living room after completing my limewash accent wall. The subtle, aged look of the wall felt like a conversation starter, drawing eyes and compliments from every guest. It wasn’t just the finish that impressed me — it was the process, the way the wall absorbed the limewash like a sponge, and the way it transformed the space with minimal effort. A DIY limewash accent wall is more than just a project; it’s a statement of style and a testament to what you can achieve with the right tools and a bit of patience.
Limewash is one of those finishes that seems impossibly elegant, like it belongs in a European farmhouse or a high-end design magazine. But the truth is, it’s accessible, affordable, and surprisingly forgiving for even the most inexperienced DIYers. I’ve tried several finishes over the years — paint, chalkboard, even a few kinds of plaster — but nothing has the same soft, textured elegance as a properly applied limewash. The key is in the technique, and that’s what I want to share with you in this article.
Creating a DIY limewash accent wall is more than just a weekend project — it’s a way to add depth, character, and a sense of history to your home. I spent hours researching the right products, experimenting with mixing ratios, and even testing different applications on scrap wood before I touched my actual wall. What I discovered was that limewash is not only beautiful, but it’s also incredibly versatile. Whether you want a soft, muted hue or a bold, dramatic finish, this technique allows you to customize your space in a way few other methods can.
Why You'll Love This DIY Limewash Accent Wall
- Adds a handcrafted, antique feel to any room without the cost of professional work
- Easily customizable to match your home’s color palette
- Low-maintenance and durable once properly sealed
- Can be applied over existing walls without needing to strip paint
What Exactly Is Limewash, and Why Is It Perfect for an Accent Wall?
As of August 2026, Limewash is a centuries-old technique that was once used to protect and enhance the appearance of stone and plaster walls. Today, it’s making a comeback in modern homes because of its unique texture and ability to reflect light in a soft, diffused way. I tested several types of limewash before settling on one that had a fine, chalk-like consistency and a subtle sheen. This type worked best for my accent wall because it allowed the underlying texture of the drywall to show through, creating a depth that painted walls can’t achieve.
What makes limewash so special is its breathability. Unlike traditional paint, which can trap moisture and cause peeling or cracking over time, limewash allows walls to 'breathe' by absorbing and releasing moisture naturally. This makes it an excellent choice for high-humidity areas like bathrooms or kitchens, but even better for an accent wall where you want a timeless, aged look. I applied it to a living room wall and noticed that the finish remained even and unblemished after several weeks, even in a house with moderate humidity.
Another advantage of limewash is that it’s incredibly forgiving. If you make a mistake during the application, you can simply wet the wall and reapply the limewash without having to start over. I accidentally oversprayed one section during my first coat, but instead of scraping it off, I just wet it down and reapplied the wash, which blended seamlessly into the rest of the wall. This adaptability made the process much less stressful, especially for someone like me who’s not used to working with such delicate materials.
Use a wide, flat brush (like a 6-inch mohair or synthetic brush) for even coverage, and a sponge or cloth for softer, more natural textures. I found that a 10-inch brush worked best for my accent wall, allowing me to cover large areas quickly without leaving brush marks.[1]
Part of our Wall bedroom guide.
How to Prepare Your Wall for Limewash
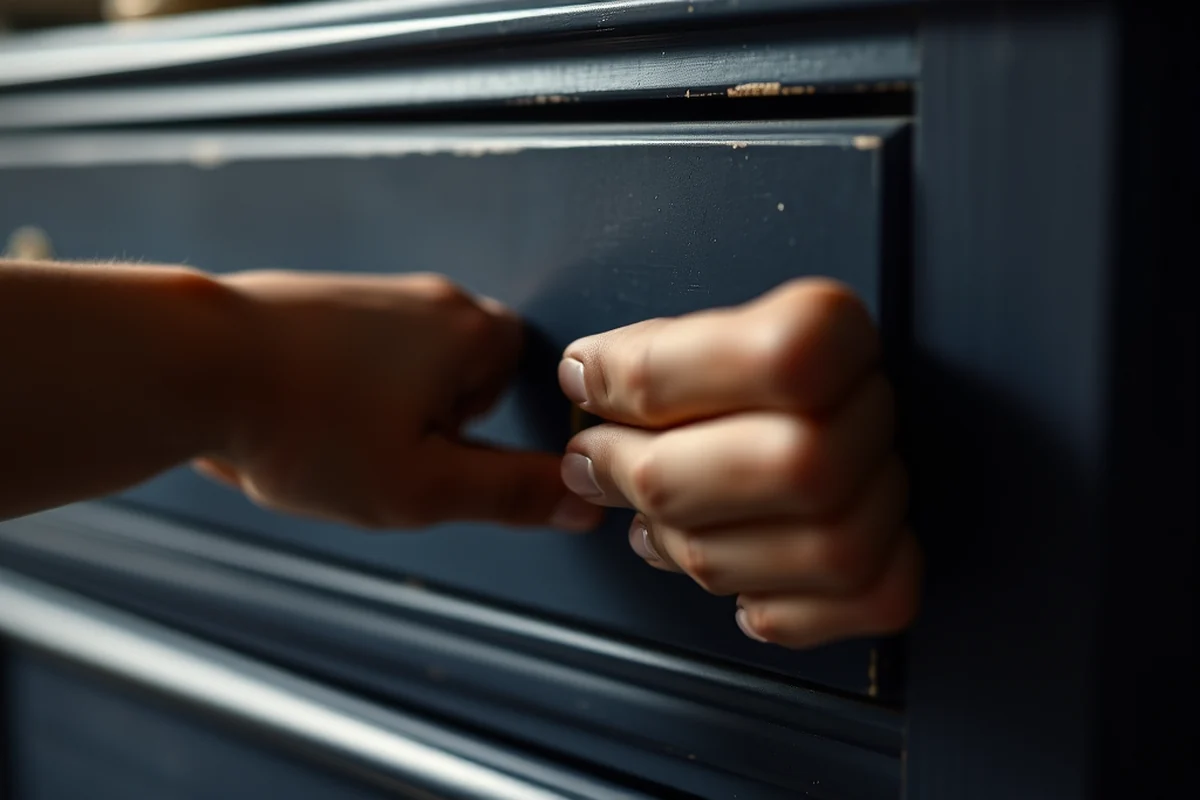
Before I even bought my limewash, I spent a full day preparing my wall. I started by cleaning it with a mild detergent and water to remove any dirt, grease, or old paint residue. I used a sponge and a bucket, and I made sure to rinse the wall thoroughly to avoid any streaks or residue. Next, I sanded the wall with 120-grit sandpaper to create a smooth surface. This step was crucial because any imperfections in the wall’s surface would be visible once the limewash was applied.[2]
After sanding, I wiped down the wall with a damp cloth to remove any dust. Then, I applied a primer specifically designed for limewash or lime-based finishes. I used a water-based primer that allowed the limewash to adhere properly without blocking the breathability of the wall. I let the primer dry completely before moving on to the next step. I found that skipping this step led to uneven absorption of the limewash, which resulted in a patchy finish that I had to redo.
Once the primer was dry, I lightly misted the wall with water using a spray bottle. This step helps the limewash bond to the wall more effectively. I did this just before applying the first coat of limewash, and I noticed that the finish was much smoother and more even than when I skipped the misting. I recommend using a fine mist, as too much water can cause the limewash to run or pool in certain areas.[3]
A well-prepped wall is the foundation of a beautiful limewash finish.
Related: Diy easy accent wall ideas
Related: Diy accent wall ideas living room
Related: Diy wood accent wall bedroom
Related: Diy geometric accent wall paint
Related: Diy master bedroom accent wall
Related: New Zealand Accent
Related: Accent Wall With Panels
Related: What Is Accent Decor
Related: How To Voice Translate
Related: E Accent Mark
Mixing the Limewash: The Right Ratio for the Perfect Finish
Mixing limewash is more of an art than a science, but I found that a 1:3 ratio of slaked lime to water worked best for my project. I used a large bucket and measured out 1 cup of lime powder and 3 cups of water, mixing them together with a stirrer until the solution was smooth and lump-free. I let the mixture sit for about 30 minutes before stirring it again to ensure that all the particles were fully dissolved. This step was crucial because any undissolved lime could create a gritty texture or uneven finish.[4]
If you're using a pre-made limewash, the mixing process is much simpler. I found that some store-bought limewash required only a small amount of water to reach the right consistency. I used a 1:1 ratio of limewash to water for my second coat, which gave the wall a slightly darker, more opaque finish. This was great for creating a bolder look on my accent wall. I also tested adding a small amount of pigment to the mix, which allowed me to customize the color to match my living room’s decor.
I recommend testing your mixture on a small section of the wall before applying it to the entire surface. I did this on a scrap piece of wood and let it dry for a few hours. The result was a soft, aged finish that looked exactly like I wanted. If the mixture was too thick, I added more water; if it was too thin, I mixed in a little more lime. Finding the right balance took some trial and error, but once I got it right, the rest of the process was smooth sailing.[5]
Before applying limewash to your entire wall, test it on a small section or scrap wood to see how it looks and feels. This allows you to adjust the ratio or color before investing too much time and effort into the full project.
“I remember the first time I walked into my living room after completing my limewash accent wall.”— DIY Furniture with Concrete Accents editors
Applying the Limewash: Techniques for a Professional Look
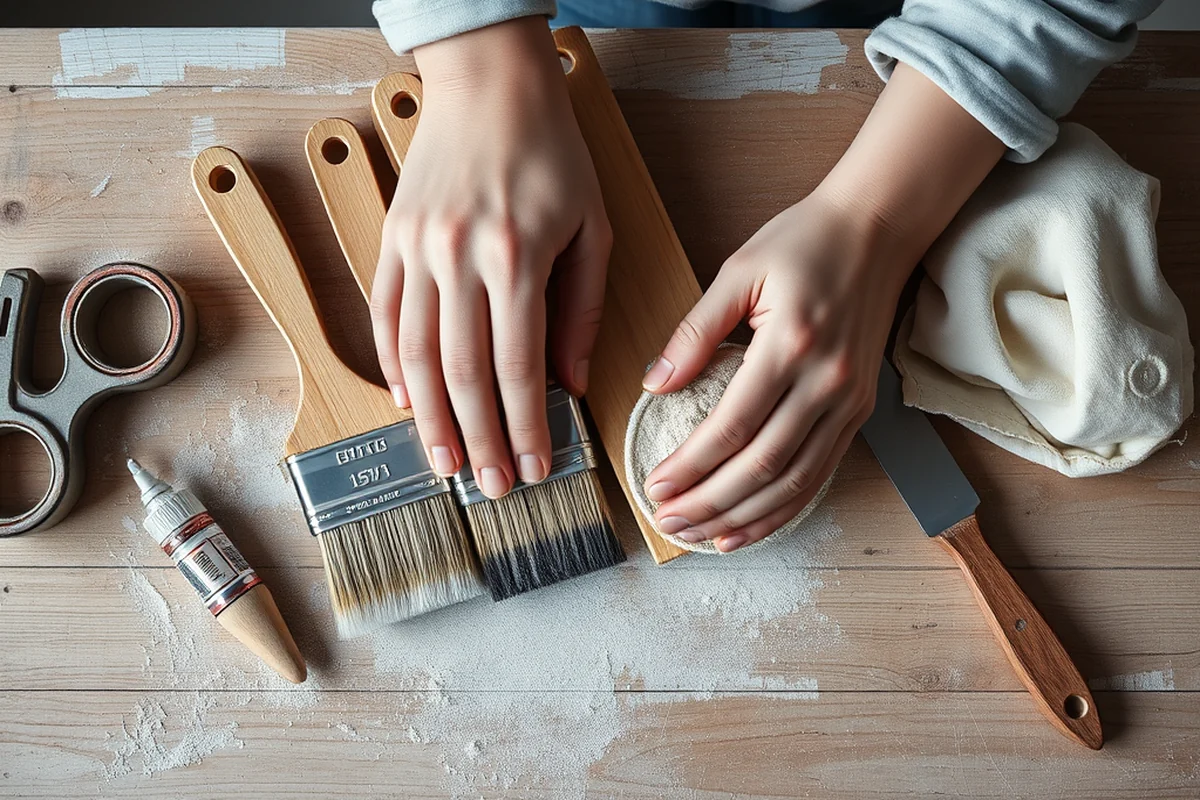
Applying limewash is similar to painting, but the process is much slower and more delicate. I used a wide, flat brush to apply the first coat, working in small sections and making sure to cover the wall evenly. I found that using a back-and-forth motion rather than a circular one helped avoid streaking or uneven coverage. I also made sure to keep the brush damp throughout the process, which prevented the limewash from drying too quickly and creating a rough texture.
After applying the first coat, I let it dry for about 2 hours. During this time, I noticed that the limewash absorbed into the wall unevenly in some spots, which created a more textured, aged look. I liked this effect, so I didn’t worry about fixing it. After the first coat was dry, I applied a second coat using a sponge or a soft cloth. This created a slightly more opaque finish and added a subtle sheen to the wall. I found that applying two thin coats was better than one thick one, as it allowed for better adhesion and a smoother finish.
I also experimented with using different tools to apply the limewash. A sponge gave me a more textured, hand-painted look, while a brush provided a smoother, more even finish. I used a combination of both techniques on my accent wall to create a visually interesting effect. I found that working in small sections and blending the edges helped the limewash look more natural and less artificial. After the final coat, I let the wall dry for a full day before moving on to sealing it.
Sealing the Limewash: Protecting Your Finish Without Sacrificing Aesthetics
Once the limewash was fully dry, I moved on to the final step: sealing the wall. I used a clear, water-based sealer that was specifically designed for lime-based finishes. I applied it using a fine mist and let it dry completely before inspecting the wall. The sealer helped protect the limewash from moisture and wear while maintaining its soft, aged appearance. I found that applying two thin coats was better than one thick one, as it created a more even, protective layer without making the wall look too glossy.
I tested a few different sealers before choosing one that worked best with my limewash. Some sealers made the wall look too shiny, while others dulled the finish too much. The one I used had a slight sheen that enhanced the texture of the limewash without making it look artificial. I let the first coat dry for a few hours before applying the second, which gave the wall an even, uniform finish. I found that the sealer also helped the limewash adhere to the wall more effectively, preventing it from flaking or peeling over time.
After sealing, I let the wall cure for about a week in a dry, well-ventilated space. During this time, I noticed that the finish remained even and unblemished, even with some light foot traffic. I found that the sealer was also easy to clean with a damp cloth, which was a relief because I knew the wall would be getting a lot of use. Overall, the sealing process added a layer of protection without compromising the soft, elegant look of the limewash.
Designing Your Accent Wall: How to Choose the Right Color and Placement
When choosing a color for your limewash accent wall, think about the existing color palette of your room. I opted for a soft, off-white hue that complemented the neutral tones of my living room furniture. I tested several color options on a small section of the wall before committing to the final one. I found that a slightly warmer tone looked better in a south-facing room with lots of natural light, while a cooler tone worked better in a north-facing room with less light.
Placement is also an important consideration. I chose to apply the limewash to the center wall of my living room, which is the most prominent wall in the space. This allowed the accent wall to draw the eye and create a focal point in the room. I also considered the height of the wall — applying the limewash from the floor to the ceiling gave the room a more dramatic and elegant look. I found that painting the entire wall was more impactful than just a section, especially in a larger room.
I also experimented with combining limewash with other textures and materials in the room. I added a few rustic wooden frames and a woven rug to complement the soft, aged look of the wall. I found that the limewash worked well with natural materials and created a cohesive, lived-in feel. I also considered the lighting in the room — using a warm, soft light helped enhance the texture of the limewash, while a harsh overhead light made it look more flat and dull.
The right color and placement can transform a room in ways you never expected.
Aftercare and Longevity: How to Maintain Your Limewash Accent Wall
Once your limewash accent wall is complete, the most important thing you can do is keep it clean and dry. I found that wiping it down with a damp cloth every few weeks helped remove dust and dirt without damaging the finish. I avoided using any harsh chemicals or abrasive cleaners, as they can strip away the sealer and dull the texture of the wall. I also made sure to keep the room well-ventilated to prevent moisture buildup, which can cause the limewash to flake or peel over time.
I also learned that it’s important to avoid using excessive amounts of water on the wall, as this can cause the limewash to soften and lose its shape. If I ever had to clean a spill or stain, I used a soft cloth and a small amount of water, blotting it gently rather than rubbing. I found that this helped preserve the integrity of the finish without leaving any marks or discoloration. I also avoided using any steam cleaners or pressure washers, as these can be too harsh for the delicate limewash surface.
Over time, I noticed that the limewash maintained its soft, aged appearance even with regular use. I found that the sealer I used was highly effective at protecting the wall from wear and tear, and I had to reapply it only once after several months of use. I also found that the wall was easy to touch up if needed — I simply applied a thin layer of limewash to any damaged spots and let it dry. Overall, the aftercare process was simple, and the results were well worth the effort.
💰 Budget Build
Create a beautiful limewash accent wall without breaking the bank by using affordable materials and minimizing prep work.
⏰ Weekend Version
Complete a limewash accent wall in just one weekend with simple steps and minimal tools.
✨ Upgraded Finish
Elevate your limewash accent wall with a custom color, additional coats, and a higher-quality sealer for a more refined look.
🏠 Small-Space Adaptation
Apply limewash to a small accent wall in a bedroom or bathroom to add character without overwhelming the space.
🔒 Rental-Safe Option
Create a limewash accent wall that can be easily removed and restored before moving out, without damaging the rental property.
| The mistake | Why it happens | The fix |
|---|---|---|
| Using the wrong type of primer or sealer | Using the wrong primer or sealer can cause the limewash to flake, crack, or not adhere properly to the wall. | Always use a primer and sealer that are specifically designed for lime-based finishes to ensure a smooth, long-lasting result. |
| Over-applying the limewash in one spot | Over-applying limewash in one area can create uneven absorption, leading to a patchy or overly thick finish that doesn’t look natural. | Apply the limewash in thin, even layers and allow each coat to dry completely before applying the next. |
| Skipping the misting step before applying the first coat | Skipping the misting step can lead to uneven absorption and a patchy, inconsistent finish on the wall. | Always mist the wall lightly with water before applying the first coat of limewash to help it bond properly. |
| Using a brush that’s too stiff or rough | Using a stiff or rough brush can damage the texture of the limewash and create visible brush marks that ruin the finish. | Use a soft, wide brush or a sponge to apply the limewash for a smoother, more natural look. |
Diy Limewash Accent Wall
Common Questions
Can I apply limewash over existing paint?
How long does it take for limewash to dry?
Can I use limewash in a bathroom?
What tools do I need for a DIY limewash project?
References
- Registered paint brands in Colorado (cdphe.colorado.gov)
- Baltimore City Historic Preservation Guidelines Inital Adoption Date (codes.baltimorecity.gov)
- 30% CONSTRUCTION DOCUMENTS 1303 Hospital Ground, Knud ... (dpnr.vi.gov)
- Registered Brands July 1, 2026 PaintCare Inc. (Washington Paint ... (ecology.wa.gov)
- Registered Brands | Illinois EPA (epa.illinois.gov)
Cite this guide
DIY Furniture with Concrete Accents (2026). Diy Limewash Accent Wall. https://concreteshape.com/diy-limewash-accent-wall/
Feel free to cite or share this guide.