
Diy Geometric Accent Wall
📖 Table of Contents
I remember the first time I tried to build a DIY geometric accent wall in my living room — it was messy, confusing, and I had no idea where to start. I had just moved into a new apartment and wanted to add some personality to the space without breaking the bank. I had seen online tutorials and felt inspired, but nothing prepared me for the reality of measuring, cutting, and assembling panels on my own. Looking back, that first attempt was a learning moment that taught me the value of planning and patience when tackling a DIY project.
Now, after several iterations and a few failed attempts, I've perfected the process and want to share my journey with you. A DIY geometric accent wall is more than just a design choice — it's a statement piece that adds depth and visual interest to any room. The right combination of materials, tools, and technique can transform a plain wall into a focal point that reflects your personal style and craftsmanship. Whether you're a seasoned DIYer or a beginner, this project is within reach if you take it step by step.
What I've learned is that a geometric accent wall can be both functional and artistic, and it doesn't have to be complicated. With the right approach, you can create a striking piece that adds value to your home. This guide will walk you through everything from planning and measuring to the final installation. By the end, you'll have a beautiful accent wall that's as unique as you are — and you'll know exactly how to do it yourself.
Why You'll Love This DIY Geometric Accent Wall
- It adds instant visual interest and depth to any room.
- It's a customizable project that reflects your personal style.
- It can be completed in under a weekend with basic tools.
- It's a cost-effective way to upgrade your home's aesthetic.
Planning and Measuring Your Space
As of September 2026, I always begin by sketching out my design on graph paper. This helps me visualize the layout and how the geometric shapes will interact with the space. For a 4x8 wall, I often opt for a 6x6 grid that gives a balanced appearance. Using a laser level and a tape measure, I mark the wall at regular intervals to ensure my layout is straight and even.
Next, I calculate the number of panels I'll need and the angles required for each shape. This is where a protractor and ruler come in handy. I also make sure to account for any doorways or windows that might interfere with the design. It's important to leave at least 6 inches of space around these areas for a clean look.
Once the measurements are confirmed, I create a template from cardboard or foam board that I can use to cut each panel. This saves time and ensures consistency across all pieces. I've found that this planning phase alone can save me hours of frustration during installation.
Divide your wall into equal sections using a grid system. This simplifies the process and ensures your design looks balanced and professional.
Part of our Wood accent guide.
Choosing the Right Materials
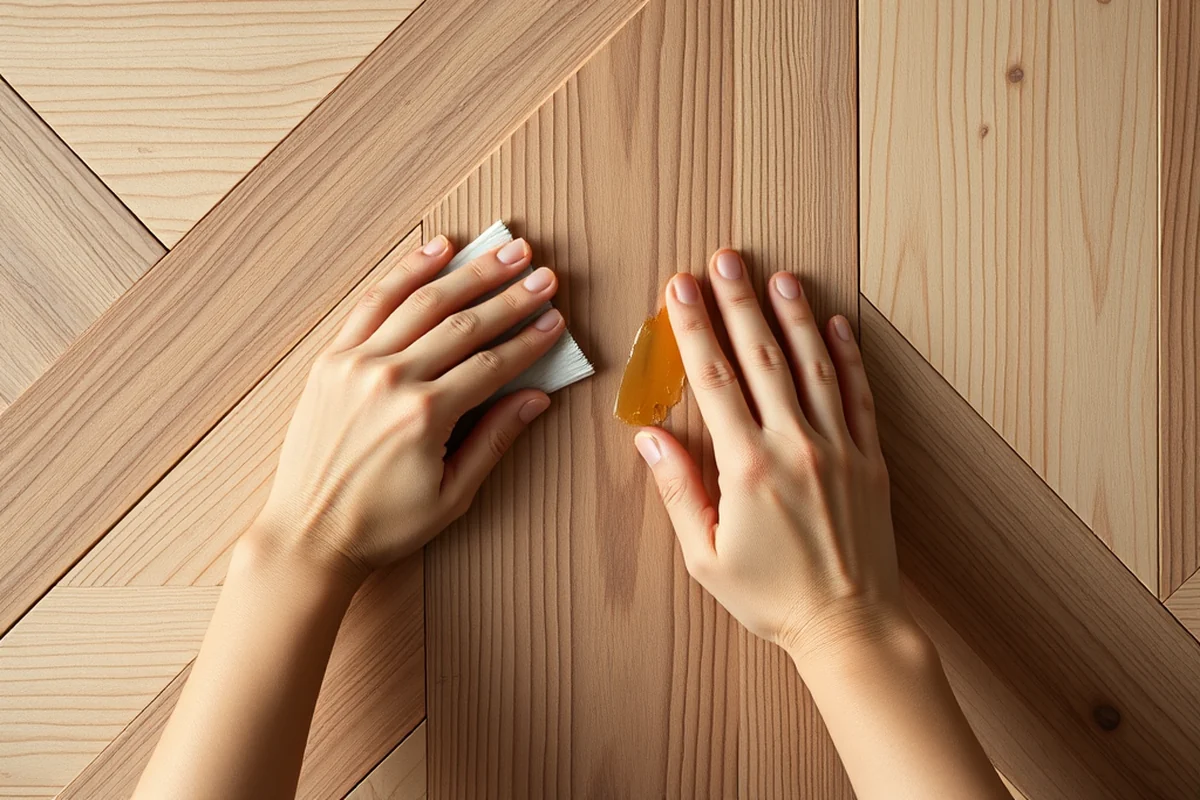
For a budget-friendly option, I often use MDF (medium-density fiberboard) panels. These are lightweight, easy to cut, and hold paint well. If you're looking for a more premium finish, consider using wood veneer or reclaimed wood for a natural, rustic look. Both options are available at most hardware stores and can be painted or stained to match your decor.
I've also experimented with using acrylic panels for a modern, glossy finish. These are more expensive but add a sleek, polished look that's perfect for contemporary spaces. If you're unsure which material to choose, I recommend visiting a few stores and touching the materials in person to get a better sense of texture and quality.
In terms of adhesive, I use a high-quality construction adhesive that's designed for vertical surfaces. It's important to choose something that's strong enough to hold the panels in place without sagging. I also recommend using a strong, water-resistant paint for the final coat to ensure your wall looks great for years to come.[1]
The right materials make all the difference in the final look and longevity of your accent wall.
Related: Diy accent wall home depot
Related: Diy concrete accent wall
Related: How to diy wood accent wall
Related: Small bathroom accent wall ideas
Related: What is accent furniture
Cutting and Assembling the Panels
I always start by cutting my panels using a jigsaw or a circular saw, depending on the thickness of the material. I've found that using a guide rail helps keep the cuts straight and even. After the panels are cut, I sand the edges with 120-grit sandpaper to remove any rough spots or splinters.
Next, I apply a thin layer of adhesive to the back of each panel and press it against the wall. I use a level to ensure that each panel is straight and even. I've discovered that working from the top down is the most effective way to avoid sagging and ensure the pieces stay in place.
Once the adhesive is applied, I use clamps or painter's tape to hold the panels in place while the glue dries. This allows the adhesive to set properly and prevents any shifting during the process. After everything is dry, I apply a coat of paint or stain and let it dry completely before finishing with a clear sealant.
Apply painter's tape to the wall to mark the edges of each panel. This ensures that each piece is aligned correctly and makes the installation process much smoother.
“I remember the first time I tried to build a DIY geometric accent wall in my living room — it was messy, confusing, and I…”— DIY Furniture with Concrete Accents editors
Painting and Finishing the Wall

I always use a high-quality primer before painting to ensure even coverage and a smooth finish. I've found that using a spray paint can be more efficient than a brush, especially for achieving a consistent color and texture. If you're using a brush, I recommend using a foam brush for a smoother application.
Once the paint is dry, I apply a clear sealant to protect the wall from moisture and wear. I've tried a few different sealants, and my favorite is a water-based polyurethane that's easy to apply and dries quickly. It adds an extra layer of protection without affecting the color or texture of the paint.
After the sealant is applied, I take a step back and inspect the wall for any imperfections. If I see any bubbles or uneven spots, I touch them up with a small brush. Once everything looks good, I hang artwork or decor on the wall and enjoy the finished result. It's a simple but impactful way to add personality to any room.
Adding Decorative Elements
One of the easiest ways to enhance your geometric accent wall is by adding decorative elements like metallic trim, fabric inserts, or even small mirrors. These can be attached using adhesive or small nails for a secure hold. I've found that metallic trim can add a touch of elegance and make the wall stand out even more.
If you're feeling creative, you can also add fabric inserts to some of the panels. I've used felt or velvet fabric to create a contrast between the panels and add texture to the wall. I recommend using a strong adhesive to secure the fabric and ensuring that it's tightly stretched for a clean look.
Another option is to add small mirrors or glass inserts in some of the panels. This not only adds a modern touch but also reflects light, making the room feel brighter. I've used small mirrors in a 6x6 grid to create a striking visual effect that's both functional and beautiful.
Maintaining Your Accent Wall
I always recommend cleaning your wall with a soft, dry cloth to remove dust and debris. If you spill something on the wall, I suggest wiping it up immediately with a damp cloth and then drying it with a clean towel. Avoid using harsh chemicals or abrasive materials, as these can damage the paint or sealant.
If the wall starts to look worn or faded, you can repaint it using the same method as before. I've found that a light sanding with 220-grit sandpaper before repainting helps the new paint adhere better and creates a smoother finish. I also recommend using a high-quality primer and paint to ensure the best results.
Over time, the sealant on your wall may start to wear off, especially in high-traffic areas. If you notice any peeling or chipping, I recommend reapplying a fresh coat of sealant to protect the wall and maintain its appearance. With proper care, your geometric accent wall can remain a stunning feature in your home for years to come.
A little maintenance goes a long way in preserving the beauty of your geometric accent wall.
Troubleshooting Common Issues
One of the most common issues I've encountered is when panels don't align properly after installation. This can happen if the adhesive isn't applied correctly or if the panels are not cut precisely. To fix this, I recommend using a level to check each panel and adjusting them as needed before the adhesive dries completely.
Another issue that can occur is when the paint starts to drip or run. This is often due to using too much paint or not allowing the previous coat to dry properly. To prevent this, I recommend applying thin, even coats and allowing each coat to dry completely before applying the next.
If your wall starts to sag or bulge, this could be a sign that the adhesive isn't strong enough or that the panels are too heavy. In this case, I recommend using a stronger adhesive or reinforcing the wall with additional support, such as a backing board or extra layers of material.
💰 Budget Build
Use MDF panels and basic paint for an affordable, quick-to-complete accent wall that adds style without the expense.
⏰ Weekend Version
Opt for pre-made panels and minimal decoration to complete the accent wall in a single weekend with minimal effort.
✨ Upgraded Finish
Add metallic trim, fabric inserts, or glass panels for a more luxurious and eye-catching finish that elevates the design.
🏠 Small-Space Adaptation
Create a smaller geometric wall using a grid that's scaled down for compact rooms while maintaining visual interest.
🛡️ Rental-Safe Option
Use removable wall panels or temporary adhesive to create a geometric wall that can be easily removed without damaging the rental property.
| The mistake | Why it happens | The fix |
|---|---|---|
| Not measuring the wall correctly before cutting the panels. | This can result in misaligned panels and a lopsided design. | Always measure and mark the wall carefully before cutting to ensure accuracy. |
| Using the wrong type of adhesive. | The adhesive may not hold the panels in place, leading to sagging or falling pieces. | Choose a high-quality, strong adhesive designed for vertical surfaces. |
| Applying too much paint at once. | This can cause the paint to drip or run, ruining the appearance of the wall. | Apply thin, even coats and allow each coat to dry completely before adding the next. |
| Ignoring the need for a sealant. | Without a sealant, the paint or stain may chip or fade over time, affecting the wall's appearance. |
Diy Geometric Accent Wall
Common Questions
Can I use this method on a textured wall?
What if I don't have a laser level?
Can I use this technique in a bathroom?
How do I clean the panels if they get dirty?
References
- Chapter 1 Engineering Aid Rating (media.defense.gov)
Cite this guide
DIY Furniture with Concrete Accents (2026). Diy Geometric Accent Wall. https://concreteshape.com/diy-geometric-accent-wall/
Feel free to cite or share this guide.